Introduction
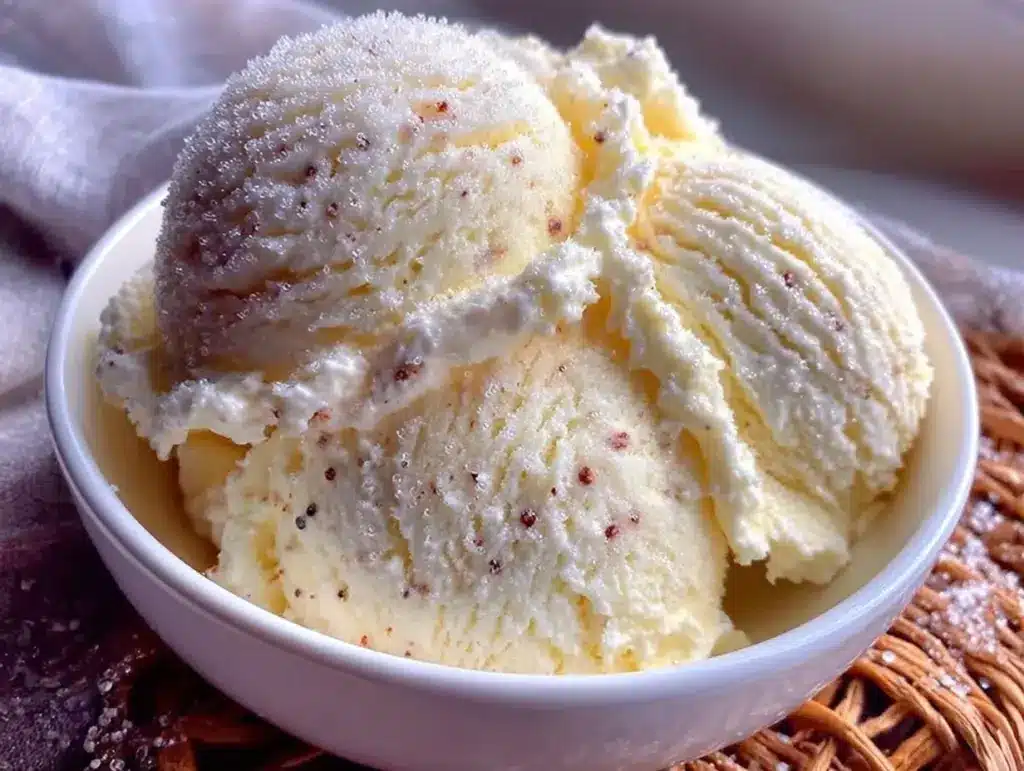
It was one of those sweltering summer evenings when the idea of waiting for an ice cream maker to do its thing just felt like a cruel joke. Honestly, I was craving something cold and creamy, but the thought of hauling out that bulky machine made me sigh. Then, I stumbled upon a simple, no-fuss method for making homemade vanilla ice cream without any churning at all. At first, I was skeptical—how could something this effortless actually taste good? But after the first spoonful, that skepticism melted away faster than the ice cream itself. The texture was silky, the vanilla flavor comforting and just right, and the whole thing came together with only five ingredients I always have on hand. This creamy no-churn vanilla ice cream recipe quickly became my go-to for those spontaneous dessert cravings, and it’s been quietly winning over friends during casual hangouts ever since. There’s something quietly satisfying about crafting a classic treat without the usual equipment, and it reminds me that sometimes the simplest solutions are the tastiest ones.
Why You’ll Love This Recipe
- Quick & Easy: This creamy no-churn vanilla ice cream recipe comes together in under 15 minutes—perfect for those last-minute sweet tooth moments.
- Simple Ingredients: No need for fancy or hard-to-find items; the recipe uses pantry staples you likely already have, including heavy cream, sweetened condensed milk, and vanilla extract.
- Perfect for Any Occasion: Whether it’s a sunny afternoon, a family gathering, or a cozy night in, this ice cream fits right in without any fuss.
- Crowd-Pleaser: Kids and adults alike adore the smooth texture and classic vanilla flavor, making it a reliable dessert for any crowd.
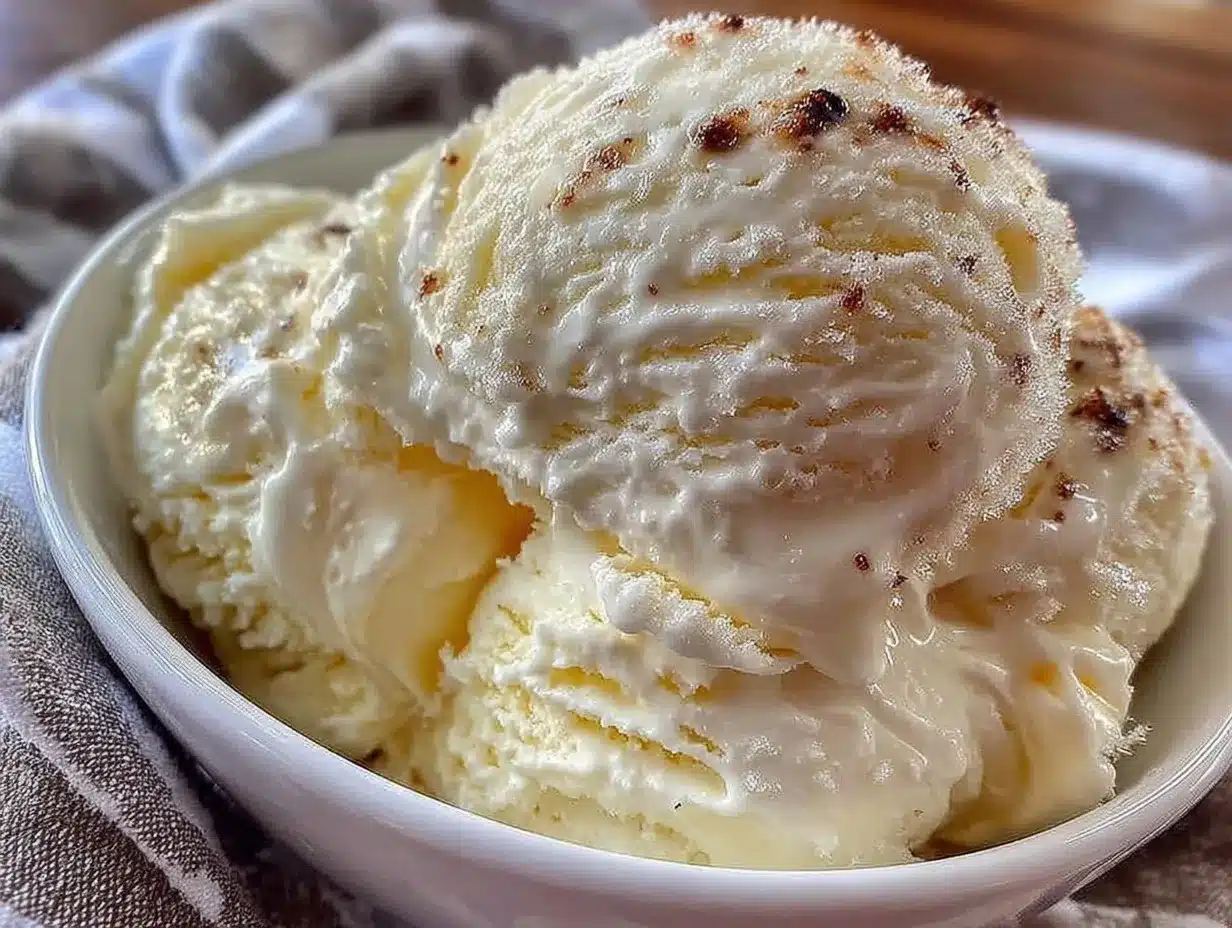
- Unbelievably Delicious: The creamy, airy texture rivals that of churned ice cream, but with less effort and zero machine noise.
- What Sets It Apart: Unlike traditional no-churn recipes that can be icy or dense, this version balances sweetened condensed milk and whipped cream just right for a luscious mouthfeel. Plus, a splash of pure vanilla extract adds that nostalgic warmth you expect from homemade vanilla ice cream.
- This isn’t just any vanilla ice cream—it’s the quiet comfort of a classic treat, made easy and reliable.
What Ingredients You Will Need
This recipe uses simple, wholesome ingredients to deliver bold flavor and satisfying texture without the fuss. All are pantry staples or easy to source year-round.
- Heavy whipping cream (1 ½ cups / 360 ml) – Chilled for best whipping results. I prefer organic cream for a richer taste.
- Sweetened condensed milk (1 can, 14 oz / 396 g) – This adds sweetness and creaminess, replacing the need for sugar and stabilizers.
- Pure vanilla extract (2 teaspoons) – Use real vanilla extract, not imitation, for authentic flavor. I like Nielsen-Massey brand for its deep aroma.
- Salt (a pinch) – Just a tiny bit to balance sweetness and enhance flavor.
- Optional: Vanilla bean seeds (from 1 vanilla bean) – For an extra burst of vanilla fragrance and those little black specks that look fancy but are totally worth it.
If you want a dairy-free version, swap heavy cream for coconut cream and use a dairy-free sweetened condensed milk alternative. For a lower-sugar option, look for sweetened condensed milk with reduced sugar or use a sugar substitute, but keep in mind it may slightly affect texture.
Equipment Needed
- Mixing bowl: A large, chilled bowl helps with whipping the cream faster and better.
- Electric mixer or stand mixer: Essential for whipping the heavy cream to soft peaks. Hand whisks work but require patience and muscle.
- Spatula: For gently folding ingredients without deflating the whipped cream.
- Freezer-safe container: A loaf pan or airtight plastic container works well for freezing the ice cream evenly.
- Measuring cups and spoons: Accurate measurements matter for consistent results.
If you don’t own a stand mixer, I’ve used a handheld mixer with great results. Just make sure the cream is very cold, and don’t rush the whipping. For budget-friendly options, any basic electric mixer will do the trick. Also, keeping your mixing bowl in the freezer for 10-15 minutes before whipping can make a noticeable difference.
Preparation Method
- Chill your equipment: Place your mixing bowl and beaters in the freezer for about 15 minutes. Cold tools whip cream better and faster.
- Whip the heavy cream: Pour 1 ½ cups (360 ml) of chilled heavy cream into the cold bowl. Using an electric mixer, beat on medium-high speed until soft peaks form—this usually takes 3-4 minutes. Soft peaks mean when you lift the beater, the cream holds its shape but the tip folds over gently.
- Combine condensed milk and vanilla: In a separate bowl, stir together the 14 oz (396 g) sweetened condensed milk, 2 teaspoons of pure vanilla extract, and a pinch of salt. If you’re using vanilla bean seeds, scrape them from the pod and mix them in here for extra flavor.
- Fold whipped cream into condensed milk mixture: Add about one-third of the whipped cream to the condensed milk mixture and fold gently using a spatula. Folding means carefully mixing with a gentle motion to keep the airiness intact. Then, fold in the remaining whipped cream until just combined. Avoid overmixing to keep the ice cream light and creamy.
- Transfer and freeze: Pour the mixture into a freezer-safe container, smoothing the top with the spatula. Cover tightly with a lid or plastic wrap to prevent ice crystals.
- Freeze for at least 6 hours: Let the ice cream set in the freezer until firm. For best texture, overnight freezing is ideal.
- Serve: Remove from freezer about 5 minutes before scooping to soften slightly. Scoop and enjoy that rich, creamy no-churn vanilla ice cream you’ve made yourself!
If the ice cream is too hard after freezing, let it sit at room temperature a little longer before scooping. Also, for smoother texture, make sure your folding is gentle to keep the whipped cream’s airiness intact.
Cooking Tips & Techniques
Whipping cream properly is the heart of this creamy no-churn vanilla ice cream recipe. Always start with very cold heavy cream and chilled equipment. This helps trap air and create that fluffy texture.
Be patient when whipping your cream—stop as soon as soft peaks form. Over-whipping leads to grainy or buttery textures, which you don’t want here. Folding the whipped cream into the condensed milk mixture should be gentle and slow; you’re preserving all that fluffiness.
Salt is a small but mighty player—it balances the sweetness and brings out vanilla notes beautifully. Don’t skip it, even if it’s just a pinch.
Another tip: cover your ice cream tightly while freezing. Exposure to air causes ice crystals, which can ruin the creamy texture you’re after.
Lastly, if you want to add mix-ins (like chocolate chips or crushed cookies), fold them in just before freezing for even distribution without deflating the mixture.
Variations & Adaptations
- Chocolate Swirl: Gently fold in ½ cup (120 ml) of chocolate fudge sauce or melted chocolate before freezing for a decadent twist.
- Berry Bliss: Stir in 1 cup (150 g) of fresh or frozen berries (thawed and drained) for a fruity burst. Perfect for summer vibes.
- Dairy-Free Version: Use coconut cream instead of heavy cream and a vegan sweetened condensed milk alternative. The texture will be just as rich, with a hint of coconut flavor.
- Spiced Vanilla: Add ½ teaspoon ground cinnamon or a pinch of nutmeg to the condensed milk mixture for an extra cozy touch.
- Nutty Crunch: Fold in toasted chopped nuts like pecans or almonds just before freezing for contrasting texture.
One personal favorite is adding a teaspoon of espresso powder to the vanilla base—it brings out the vanilla and adds a subtle depth that’s surprisingly addictive.
Serving & Storage Suggestions
Serve this creamy no-churn vanilla ice cream slightly softened for easy scooping. It pairs wonderfully with fresh fruit, warm pies, or a drizzle of caramel sauce. For a simple presentation, sprinkle with crushed nuts or a few mini chocolate chips.
Store leftovers in an airtight container in the freezer. The ice cream keeps well for up to 2 weeks without losing its creamy texture. If you notice any ice crystals forming, let it sit at room temperature for 5-10 minutes before scooping to soften.
When reheating or softening, avoid microwaving—just patience and room temperature will do. Over time, the flavors meld and deepen, making leftovers even tastier.
Nutritional Information & Benefits
Each serving of this creamy no-churn vanilla ice cream (about ½ cup / 125 ml) contains approximately:
| Calories | 220 |
|---|---|
| Fat | 14g |
| Saturated Fat | 8g |
| Sugar | 20g |
| Protein | 3g |
The heavy cream provides healthy fats that keep you satisfied, and the vanilla extract offers antioxidants. Using sweetened condensed milk means no added refined sugar beyond that, keeping things straightforward. This recipe is naturally gluten-free and can be modified for dairy-free diets.
From a wellness point of view, making ice cream at home means you control the ingredients—no preservatives or artificial additives sneaking in. It’s a treat that feels honest and simple, just like good home cooking should.
Conclusion
This creamy no-churn vanilla ice cream recipe is a sweet little victory for anyone who loves homemade treats without the hassle. It’s simple, reliable, and delivers that classic vanilla flavor and smooth texture you crave. What makes it special to me is how it turns a handful of everyday ingredients into something that feels indulgent but straightforward. I hope you find it as comforting and easy as I do—perfect for any time you want a little scoop of happiness in your day.
Feel free to tweak the vanilla intensity or add your favorite mix-ins—this recipe is a blank canvas for your creativity. If you try it, I’d love to hear how it turned out for you or what fun twists you added. Happy scooping!
FAQs
Can I use skim milk or low-fat milk instead of heavy cream?
Unfortunately, no. Heavy cream is necessary to achieve the fluffy, creamy texture since it whips into soft peaks, something low-fat milk can’t do.
How long does the ice cream keep in the freezer?
Stored properly in an airtight container, it stays fresh and creamy for up to 2 weeks. After that, texture may start to decline.
Can I add mix-ins like chocolate chips or nuts?
Absolutely! Fold them in gently just before freezing to keep the texture light and even.
What if I don’t have sweetened condensed milk?
You can’t really substitute it directly because it provides sweetness and structure together. However, you could try making your own condensed milk or look for dairy-free versions if needed.
Is this recipe suitable for vegans?
Not as written, but you can use coconut cream and a vegan condensed milk alternative to make a dairy-free, vegan-friendly version with similar results.
Pin This Recipe!
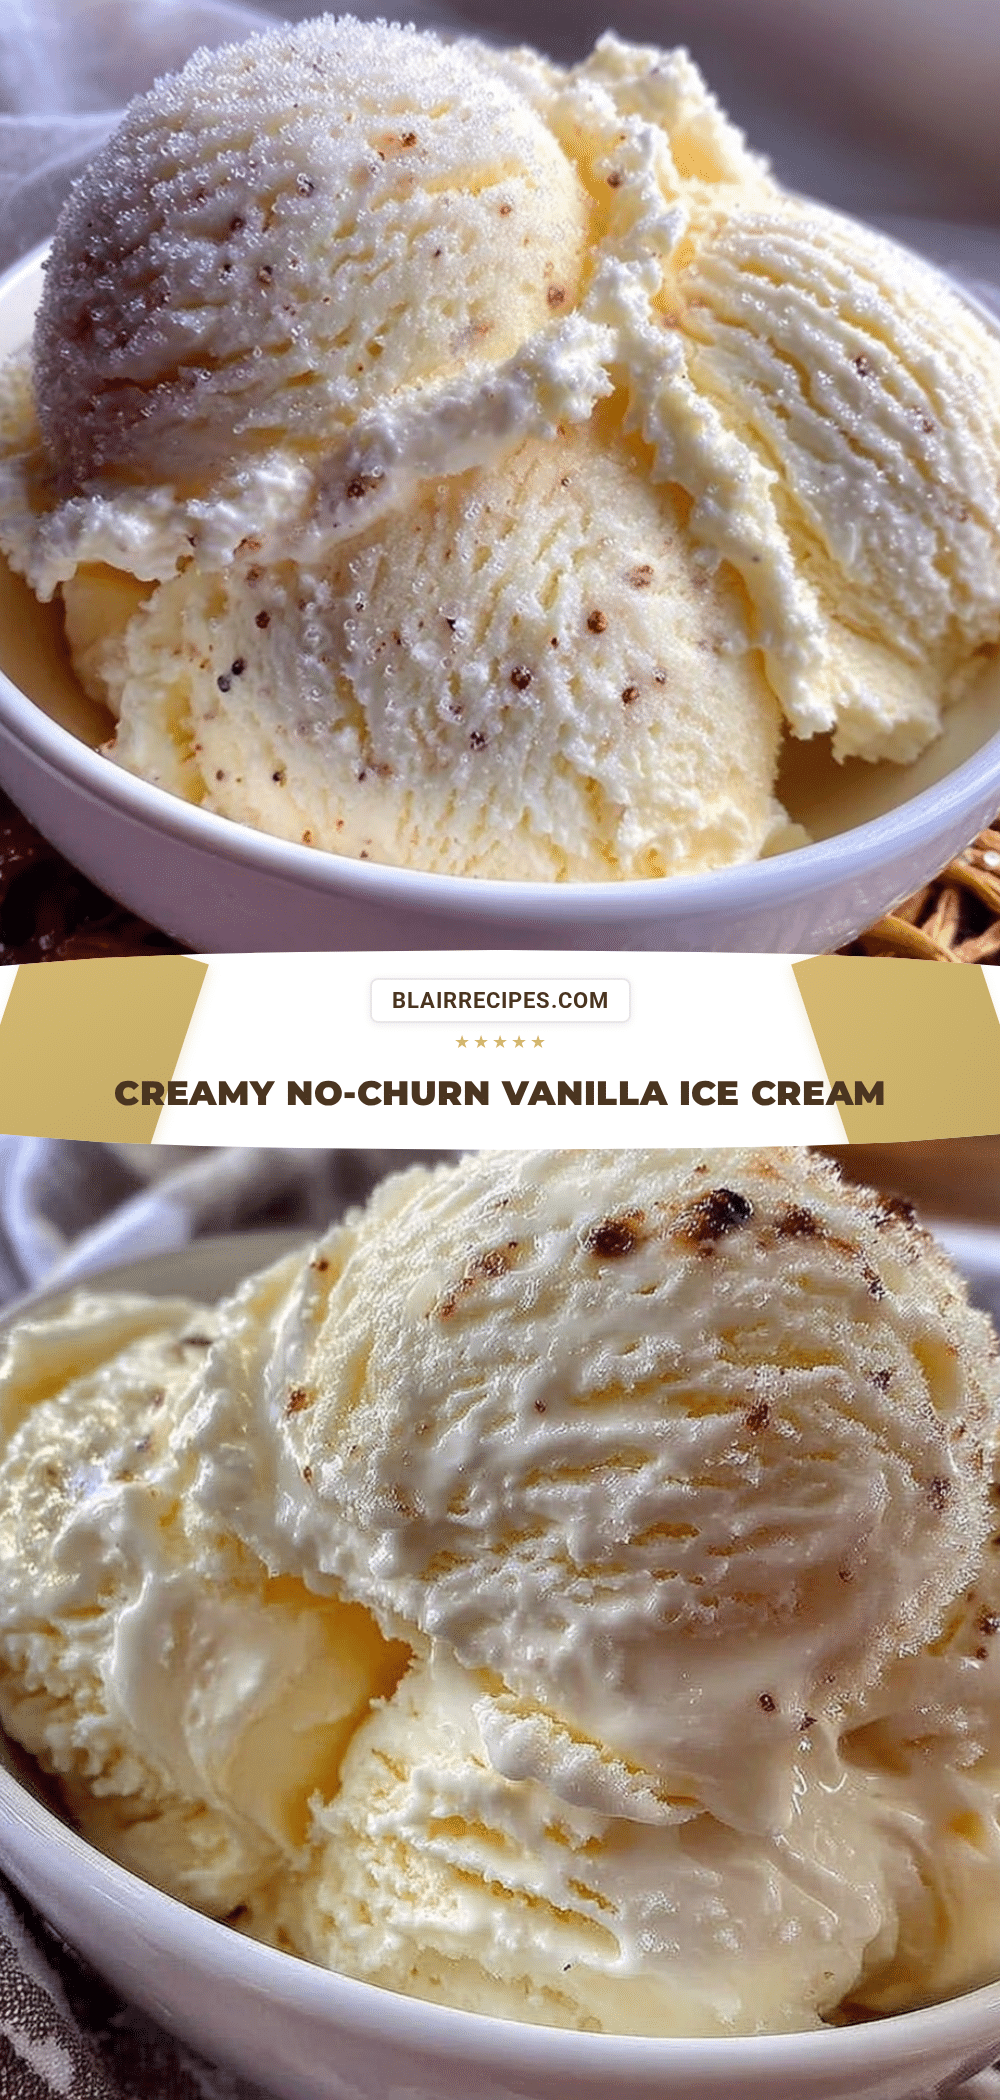
Creamy No-Churn Vanilla Ice Cream Recipe Easy Homemade 5-Ingredient Treat

A quick and easy no-churn vanilla ice cream recipe made with just five simple ingredients, delivering a creamy, silky texture without the need for an ice cream maker.
- Prep Time: 15 minutes
- Cook Time: 6 hours
- Total Time: 6 hours 15 minutes
- Yield: About 6 servings 1x
- Category: Dessert
- Cuisine: American
Ingredients
- 1 ½ cups (360 ml) heavy whipping cream, chilled
- 1 can (14 oz / 396 g) sweetened condensed milk
- 2 teaspoons pure vanilla extract
- A pinch of salt
- Optional: Seeds from 1 vanilla bean
Instructions
- Chill your mixing bowl and beaters in the freezer for about 15 minutes to help whip the cream faster and better.
- Pour 1 ½ cups (360 ml) of chilled heavy cream into the cold bowl. Using an electric mixer, beat on medium-high speed until soft peaks form, about 3-4 minutes.
- In a separate bowl, stir together the 14 oz (396 g) sweetened condensed milk, 2 teaspoons pure vanilla extract, and a pinch of salt. If using vanilla bean seeds, add them now.
- Add about one-third of the whipped cream to the condensed milk mixture and fold gently with a spatula to keep the mixture airy. Then fold in the remaining whipped cream until just combined.
- Pour the mixture into a freezer-safe container, smooth the top, and cover tightly with a lid or plastic wrap.
- Freeze for at least 6 hours, preferably overnight, until firm.
- Remove from freezer about 5 minutes before scooping to soften slightly, then serve.
Notes
Use very cold heavy cream and chilled equipment for best whipping results. Fold whipped cream gently to keep airiness. Cover ice cream tightly while freezing to prevent ice crystals. Let ice cream sit at room temperature for a few minutes before scooping if too hard. Optional mix-ins like chocolate chips or nuts can be folded in just before freezing.
Nutrition
- Serving Size: ½ cup (125 ml)
- Calories: 220
- Sugar: 20
- Fat: 14
- Saturated Fat: 8
- Protein: 3
Keywords: no-churn vanilla ice cream, easy homemade ice cream, 5-ingredient ice cream, creamy vanilla dessert, no ice cream maker recipe


