It was one of those evenings when the oven decided to throw a tantrum—midway through prepping dessert for a last-minute dinner with friends. Honestly, I was half-ready to give up and just call it a night. But then, my eyes landed on a nearly full pack of Oreos sitting lonely on the counter. I thought, “Why not try something quick and fuss-free?” The idea of a creamy no-bake Oreo cheesecake delight popped up, and I figured, what’s the worst that could happen?
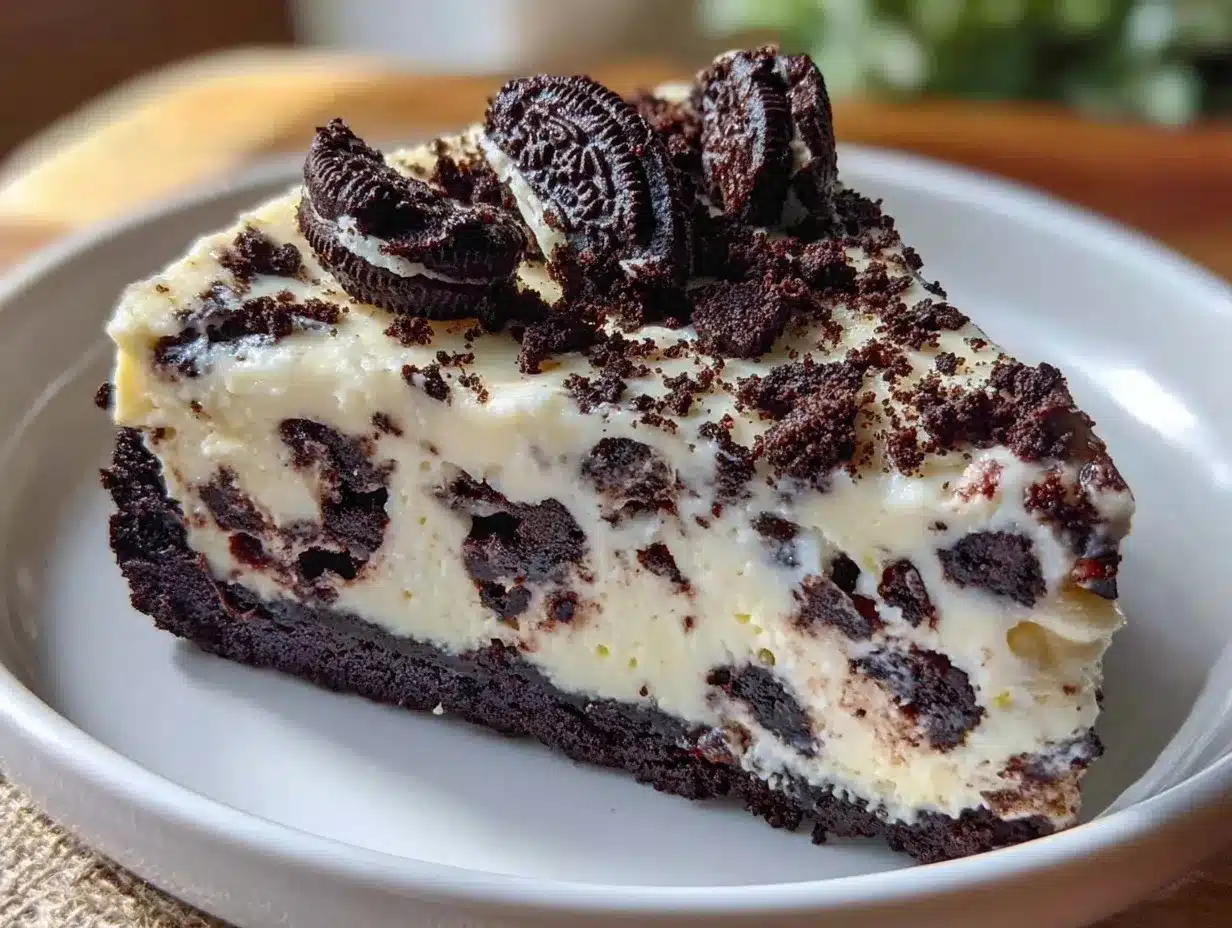
To my surprise, this simple concoction turned out to be an instant crowd-pleaser. The texture was silky smooth, with those crunchy Oreo bits creating the perfect contrast. Friends kept asking for the recipe, and honestly, I found myself making it every weekend after that chaotic night. It’s funny how a baking mishap led to my go-to dessert when I want something impressive but zero stress.
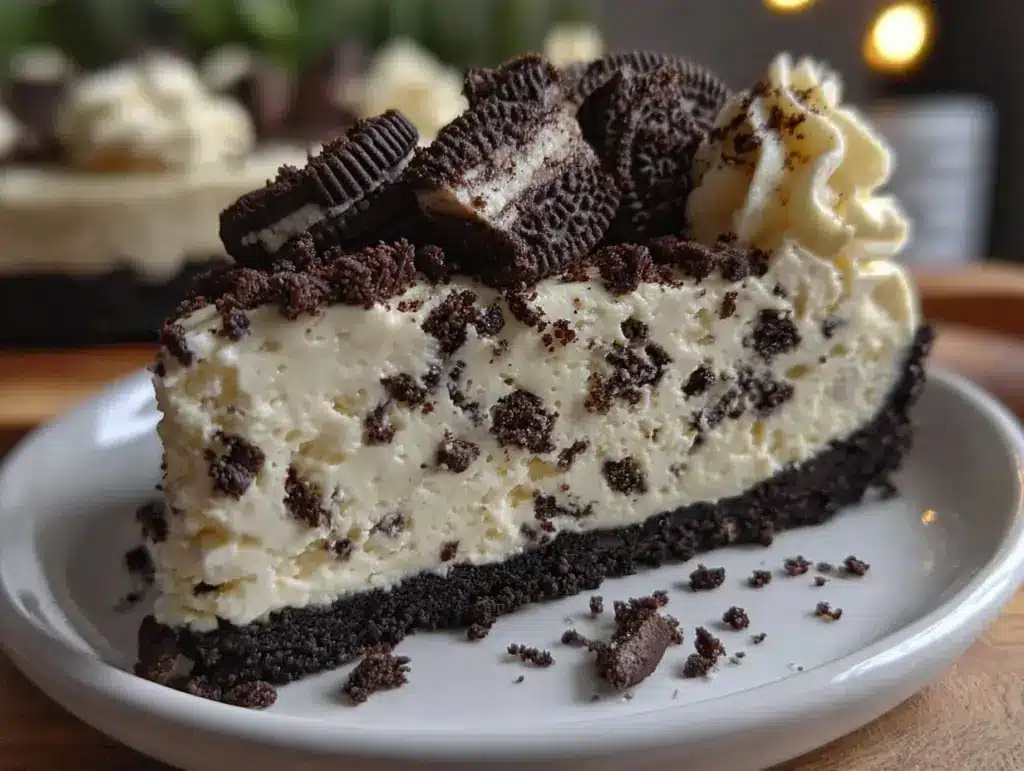
There’s something quietly satisfying about spooning that creamy, chocolate-speckled goodness straight from the fridge, especially when you didn’t have to turn on the oven at all. It’s the kind of dessert that feels indulgent without the fuss. And that’s exactly why this recipe stuck around in my kitchen and heart.
Why You’ll Love This Recipe
- Quick & Easy: Whips up in under 20 minutes, perfect for busy weeknights or unexpected guests.
- Simple Ingredients: Uses pantry staples like cream cheese, Oreos, and whipped cream—no surprise trips to specialty stores.
- Perfect for Any Occasion: Whether it’s a birthday party, casual get-together, or just a cozy night in, this cheesecake fits right in.
- Crowd-Pleaser: Kids and adults alike love the creamy texture combined with crunchy cookie goodness.
- Unbelievably Delicious: The balance between rich creaminess and Oreo crunch makes every bite feel like a mini celebration.
Unlike traditional cheesecakes that require hours of baking and cooling, this no-bake Oreo cheesecake delight relies on a simple mixing technique and chilling time, making it accessible for cooks of all skill levels. The magic lies in folding just the right amount of whipped cream into the cream cheese mixture, which keeps it airy yet rich. Plus, incorporating crushed Oreos throughout—not just in the crust—gives texture and bursts of chocolaty flavor in every bite.
Honestly, this is the kind of dessert you’ll find yourself craving after a tough day or when you need a little pick-me-up. It’s got that familiar comfort-food vibe but without the stress. Once you try it, you’ll feel like you’ve found a secret weapon for easy entertaining.
What Ingredients You Will Need
This recipe uses simple, wholesome ingredients to deliver bold flavor and satisfying texture without any fuss. Most are pantry staples or easy to grab from any grocery store.
- Oreo Cookies: About 24 cookies, crushed—divided for crust and filling. I prefer the classic Oreos for that perfect balance of cream and chocolate.
- Unsalted Butter: 6 tablespoons (85g), melted—for binding the crust. Using unsalted lets you control the saltiness better.
- Cream Cheese: 16 ounces (450g), softened—this is the creamy base. Full-fat cream cheese works best for that rich texture.
- Powdered Sugar: ¾ cup (90g)—adds sweetness without graininess.
- Vanilla Extract: 1 teaspoon—just enough to round out the flavors.
- Heavy Whipping Cream: 1 cup (240ml), chilled—whipped to soft peaks to lighten the cheesecake filling.
Optional Ingredients:
- Mini Oreo Pieces: For garnish or extra crunch on top.
- Chocolate Shavings or Cocoa Powder: For a decorative touch if you want to impress guests.
If you’re looking for variations, you can swap cream cheese with mascarpone for a slightly different tang or use dairy-free cream cheese and coconut cream for a vegan-friendly version. The key is that the ingredients should be cold or room temperature as specified to get the right consistency.
Equipment Needed
- Mixing Bowls: One large bowl for the cream cheese mixture and another for whipping the cream. Glass or metal bowls work best to keep the cream cold.
- Electric Mixer: Hand mixer or stand mixer makes whipping cream and creaming cheese a breeze.
- Food Processor or Plastic Bag & Rolling Pin: To crush Oreos finely for the crust.
- Springform Pan (8 or 9-inch): Easiest for removing the cheesecake without breaking it. If you don’t have one, a pie dish or any round cake pan lined with parchment works too.
- Spatula: Silicone spatula for folding the whipped cream gently into the cream cheese mixture.
- Measuring Cups and Spoons: To keep ingredient amounts accurate.
Personally, I’ve tried crushing Oreos with a rolling pin inside a zip-top bag when I was in a pinch and it worked fine—just slower. The stand mixer’s whisk attachment makes whipping cream effortless and fast. For budget-friendly options, a hand mixer is perfect and easier to store.
Preparation Method
- Prepare the Oreo Crust: Crush 18 Oreos into fine crumbs using a food processor or by placing them in a plastic bag and smashing with a rolling pin. Combine the crumbs with melted unsalted butter until the mixture resembles wet sand.
Press this evenly into the bottom of your springform pan, about 8 or 9 inches in diameter. Use the back of a spoon or a flat-bottomed cup to compact it firmly.
Place the crust in the fridge to chill while you prepare the filling. This takes about 10 minutes but can be longer if you want a firmer base. - Cream the Cheese and Sugar: In a large mixing bowl, beat the softened cream cheese and powdered sugar together with an electric mixer on medium speed until smooth and creamy, about 2-3 minutes. Scrape the sides occasionally to avoid lumps.
Add vanilla extract and mix to combine. - Whip the Cream: In a separate chilled bowl, whip the heavy cream using a mixer on high speed until soft peaks form. This usually takes around 3-4 minutes. Be careful not to overwhip, or it will turn grainy.
- Fold Whipped Cream into Cream Cheese Mixture: Gently fold about one-third of the whipped cream into the cream cheese mixture to lighten it up.
Then fold in the remaining whipped cream carefully to keep the airy texture. This process should be slow and deliberate, using a spatula with a gentle turning motion. - Add Crushed Oreos: Roughly crush the remaining 6 Oreos into chunks and fold them into the cheesecake filling. This gives texture and little surprises of crunch in every bite.
- Assemble the Cheesecake: Pour the filling over the prepared Oreo crust and smooth the top with a spatula.
Cover the pan with plastic wrap and refrigerate for at least 4 hours, ideally overnight. This chilling step is crucial to let the cheesecake set properly. - Serve: Before serving, optionally garnish with mini Oreo pieces or chocolate shavings.
Run a warm knife around the edges of the springform pan to loosen the cheesecake before removing the sides.
If you notice the filling is too soft after chilling, just give it a bit more time. The texture should be firm enough to slice but still creamy. If the crust feels crumbly, next time try pressing it down more firmly or adding a touch more melted butter.
Cooking Tips & Techniques
- Softening Cream Cheese: Make sure your cream cheese is fully softened to room temperature. Cold lumps will make mixing a nightmare and result in uneven texture.
- Whipping Cream Just Right: Stop whipping as soon as you get soft peaks. Overwhipping leads to butter formation, which can ruin the smoothness.
- Folding Technique: Use a gentle folding motion to keep as much air in the mixture as possible. You want light, fluffy filling, not dense and heavy.
- Crust Firmness: Press the crust firmly to avoid crumbling when slicing. Using a flat-bottomed glass helps here.
- Chill Time is Key: Don’t rush the chilling. This cheesecake needs time to set properly, so overnight is best if you can swing it.
- Mix-in Oreos: For chunkier bits, crush Oreos by hand instead of in a processor for uneven texture.
- Multi-tasking: While the crust chills, whip the cream and prepare the filling to save time.
- Personal Lesson: I once skipped folding carefully and ended up with a dense cheesecake. Trust me, patience in folding makes all the difference!
Variations & Adaptations
- Chocolate Lover’s Twist: Add ¼ cup (25g) cocoa powder to the cream cheese mixture for a chocolatey base.
- Fruit Infused: Fold in fresh raspberries or chopped strawberries for a fruity contrast. Swap Oreos for gluten-free cookies if needed.
- Vegan Version: Use dairy-free cream cheese and coconut cream whipped to soft peaks. Replace Oreos with vegan-certified cookies.
- Mini Cheesecakes: Make individual servings in cupcake liners with Oreo crumbs pressed as crust—great for parties.
- Nutty Addition: Sprinkle chopped toasted pecans or walnuts over the top before chilling for extra texture and flavor.
- Personal Favorite: I like stirring in a tablespoon of espresso powder for a subtle mocha flavor that pairs amazingly with the Oreos.
Serving & Storage Suggestions
This creamy no-bake Oreo cheesecake delight is best served chilled straight from the fridge. Let it sit at room temperature for 10 minutes before slicing to soften slightly for cleaner cuts. Serve slices with a dollop of whipped cream or a drizzle of chocolate sauce for an indulgent touch.
Pairing suggestions include a cup of coffee, iced tea, or a cold glass of milk—classic and comforting. For a party, serve alongside fresh berries or a scoop of vanilla ice cream for an extra treat.
Leftovers store well in an airtight container in the refrigerator for up to 4 days. The flavors meld beautifully overnight, so it often tastes even better the next day. For longer storage, you can freeze slices wrapped tightly in plastic wrap and foil for up to 2 months. Thaw overnight in the fridge before serving.
When reheating, it’s best to enjoy cold or at room temperature since heating can alter the creamy texture.
Nutritional Information & Benefits
Per serving (assuming 12 servings): approximately 320 calories, 26g fat, 15g carbohydrates, 4g protein.
This dessert packs a good dose of calcium and protein from cream cheese and cream. While it’s indulgent, the recipe avoids added preservatives and artificial flavors thanks to its simple ingredients.
For those mindful of gluten, swapping Oreos for gluten-free sandwich cookies keeps this treat accessible. Using full-fat cream cheese and heavy cream contributes to the rich texture but can be moderated by portion size.
From a wellness perspective, this cheesecake feels like a treat that doesn’t demand hours of prep or complicated ingredients, making it easier to enjoy mindfully.
Conclusion
The creamy no-bake Oreo cheesecake delight has earned a special spot in my recipe arsenal because it’s both effortless and decadent in all the right ways. It’s proof that you don’t have to slave over an oven to impress with dessert. Plus, the combination of creamy filling and crunchy Oreos hits that comfort-food sweet spot every time.
Feel free to tweak the amount of Oreos or try out the variations to make it truly yours. Whether you’re feeding a crowd or just craving a solo indulgence, this recipe adapts well and never disappoints.
Give it a whirl next time you want a no-fuss, delicious dessert and watch how fast it disappears. And hey, let me know if you put your own spin on it—I love hearing how recipes evolve in real kitchens.
Happy no-baking!
FAQs
Can I use low-fat cream cheese for this recipe?
Yes, but the texture might be less creamy and a bit more dense. Full-fat cream cheese gives the best richness and smoothness.
How long should I chill the cheesecake before serving?
At least 4 hours is recommended, but overnight chilling helps it set perfectly and improves flavor melding.
Can I make this recipe ahead of time?
Absolutely! It stores well in the fridge for up to 4 days, making it great for prepping in advance.
What if I don’t have a springform pan?
You can use a regular cake or pie pan lined with parchment paper, but removing the cheesecake might be trickier. Chill well to help it hold shape.
Is it possible to freeze this cheesecake?
Yes, freeze individual slices wrapped tightly for up to 2 months. Thaw in the fridge overnight before serving.
Pin This Recipe!
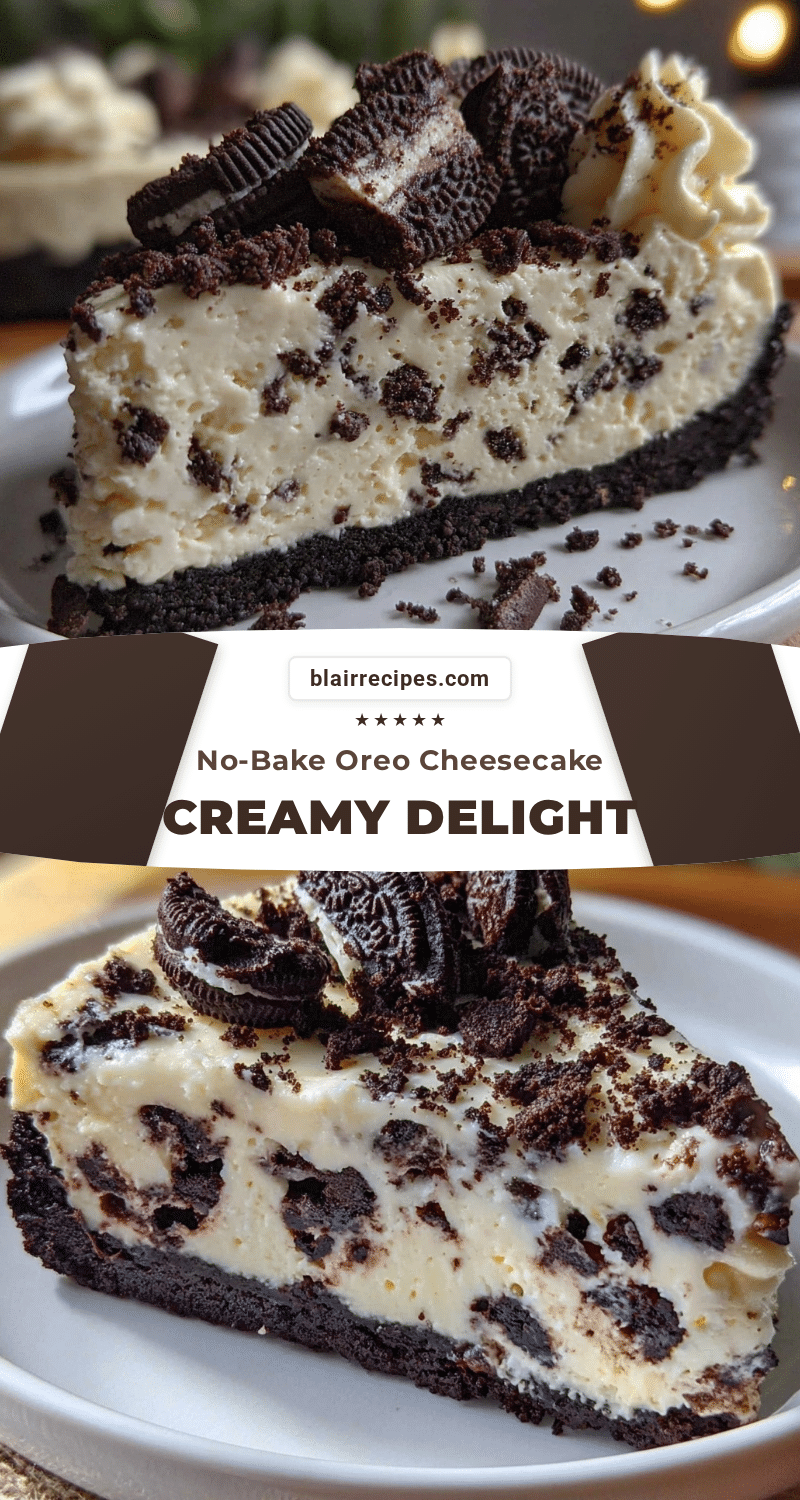
Creamy No-Bake Oreo Cheesecake Delight

A quick and easy no-bake Oreo cheesecake with a creamy texture and crunchy cookie bits, perfect for any occasion and requiring no oven.
- Prep Time: 15 minutes
- Cook Time: 0 minutes
- Total Time: 4 hours 15 minutes
- Yield: 12 servings 1x
- Category: Dessert
- Cuisine: American
Ingredients
- 24 Oreo Cookies, crushed (divided for crust and filling)
- 6 tablespoons (85g) unsalted butter, melted
- 16 ounces (450g) cream cheese, softened
- 3/4 cup (90g) powdered sugar
- 1 teaspoon vanilla extract
- 1 cup (240ml) heavy whipping cream, chilled
- Optional: Mini Oreo pieces for garnish
- Optional: Chocolate shavings or cocoa powder for decoration
Instructions
- Prepare the Oreo crust: Crush 18 Oreos into fine crumbs using a food processor or by placing them in a plastic bag and smashing with a rolling pin. Combine the crumbs with melted unsalted butter until the mixture resembles wet sand.
- Press this mixture evenly into the bottom of an 8 or 9-inch springform pan. Use the back of a spoon or a flat-bottomed cup to compact it firmly. Place the crust in the fridge to chill for about 10 minutes.
- Cream the cheese and sugar: In a large mixing bowl, beat the softened cream cheese and powdered sugar together with an electric mixer on medium speed until smooth and creamy, about 2-3 minutes. Scrape the sides occasionally to avoid lumps. Add vanilla extract and mix to combine.
- Whip the cream: In a separate chilled bowl, whip the heavy cream using a mixer on high speed until soft peaks form, about 3-4 minutes. Be careful not to overwhip.
- Fold whipped cream into cream cheese mixture: Gently fold about one-third of the whipped cream into the cream cheese mixture to lighten it up. Then fold in the remaining whipped cream carefully to keep the airy texture.
- Add crushed Oreos: Roughly crush the remaining 6 Oreos into chunks and fold them into the cheesecake filling.
- Assemble the cheesecake: Pour the filling over the prepared Oreo crust and smooth the top with a spatula. Cover the pan with plastic wrap and refrigerate for at least 4 hours, ideally overnight.
- Serve: Optionally garnish with mini Oreo pieces or chocolate shavings. Run a warm knife around the edges of the springform pan to loosen the cheesecake before removing the sides.
Notes
[‘Make sure cream cheese is fully softened to room temperature for smooth mixing.’, ‘Stop whipping cream at soft peaks to avoid grainy texture.’, ‘Use gentle folding motions to keep the filling airy and light.’, ‘Press crust firmly to avoid crumbling when slicing.’, ‘Chill cheesecake overnight for best texture and flavor.’, ‘If filling is too soft after chilling, allow more time to set.’, ‘For chunkier Oreo bits, crush Oreos by hand instead of food processor.’]
Nutrition
- Serving Size: 1 slice (1/12th of c
- Calories: 320
- Fat: 26
- Carbohydrates: 15
- Protein: 4
Keywords: no-bake cheesecake, Oreo cheesecake, easy dessert, no oven dessert, creamy cheesecake, Oreo dessert, quick dessert


