Last Fourth of July, the kids begged me for homemade ice cream sandwiches after a long day of backyard games and swimming. I was tempted to grab a box from the store, but something told me to try making them from scratch instead. Spoiler: it was a game changer. After testing this recipe over a dozen times (because the first few batches were too crumbly or too icy), I finally nailed the perfect balance of soft, chewy cookies hugging a creamy, dreamy ice cream center.
These homemade ice cream sandwiches are not only easy to make but also incredibly creamy and customizable for summer treats that beat anything you can buy. Whether you want a classic vanilla filling or something more adventurous, this recipe has you covered. Plus, making them at home means no mystery ingredients and total control over sweetness and texture.
I’ve been making these easy, creamy summer treats for family barbecues and impromptu celebrations all season long. Once you try this homemade ice cream sandwiches recipe, you’ll want to keep it in your summer rotation too.
Why You’ll Love This Recipe
This recipe has completely changed my approach to summer desserts. I used to shy away from homemade ice cream sandwiches because I thought they were complicated or took forever. Not this one.
- Super Simple to Make — If you can mix cookie dough and scoop ice cream, you’re halfway there. The cookie dough comes together in under 10 minutes, and there’s no fancy equipment required.
- Ready in Under an Hour — From mixing to freezing, these sandwiches take about 50 minutes. Perfect if you want a quick summer dessert without waiting all day.
- Customizable Flavors — Make classic chocolate chip cookies or swap in oatmeal or peanut butter. The ice cream can be vanilla, chocolate, or even a no-churn homemade flavor.
- Perfect for Summer Parties — Whether you’re hosting a casual barbecue or packing treats for a picnic, these ice cream sandwiches are a crowd-pleaser that’s easy to transport and serve.
- Kid-Tested and Approved — My picky eaters can’t get enough. The soft cookies and creamy filling are a winning combo every time.
This easy, creamy summer treat is my go-to for any warm-weather gathering where I want something homemade that feels special but doesn’t take hours. Plus, it pairs beautifully with a fresh summer salad or grilled veggies—like my sautéed green beans with lemon zest for a light dinner after a day in the sun.
Ingredient List
Here’s what you’ll need to make homemade ice cream sandwiches that are soft, chewy, and creamy without any fuss.
- All-purpose flour (2 ½ cups / 315g) — The base for the cookies. I always use Gold Medal or King Arthur for consistent results.
- Baking soda (1 teaspoon) — Helps the cookies rise just enough without getting cakey.
- Salt (½ teaspoon) — Balances the sweetness and enhances flavor.
- Unsalted butter (1 cup / 225g, softened) — Use real butter, not margarine. It makes the cookies taste richer and gives that perfect chewiness.
- Granulated sugar (¾ cup / 150g) — Sweetens the cookies without overpowering.
- Brown sugar (¾ cup / 165g, packed) — Adds moisture and depth. Don’t skip this one.
- Large eggs (2) — Bind everything together. Room temperature eggs mix better.
- Vanilla extract (2 teaspoons) — The secret to that warm, inviting flavor.
- Chocolate chips (2 cups / 340g) — Semi-sweet or milk chocolate, your call. I like Ghirardelli for melt and flavor.
- Vanilla ice cream (1 quart / 950ml) — Softened slightly for easy scooping. You can swap this for any flavor you love.
Equipment Needed
You don’t need anything fancy for this. Here’s what I actually use:
- Mixing bowls — Two large ones, for dry and wet ingredients.
- Electric mixer or stand mixer — Makes creaming the butter and sugars a breeze, but a sturdy whisk and some elbow grease work too.
- Baking sheets — Two, lined with parchment paper or silicone mats to prevent sticking.
- Cookie scoop — For evenly sized cookies. I swear by my 2-tablespoon scoop.
- Spatula — To gently flip cookies halfway through baking.
- Freezer-safe container — For assembling and freezing the sandwiches. A shallow baking dish works great.
- Optional but handy: Silicone baking mats — They make cleanup easier and help cookies bake evenly.
How to Make Homemade Ice Cream Sandwiches Easy Creamy Summer Treat Recipe: Step by Step
Alright, let’s get into it. I’ll walk you through exactly how I make these, including the small tricks that actually make a difference.
- Prep Your Ingredients (5 minutes)
Measure out your flour, baking soda, salt, and sugars so everything’s ready to go. Soften your butter ahead of time or zap it for 15 seconds in the microwave if you forgot. Take the ice cream out of the freezer to soften just a bit—it should be scoopable but not melted. - Cream Butter and Sugars (3-5 minutes)
Using your mixer, beat the softened butter with granulated sugar and brown sugar until light and fluffy. You want it creamy with no lumps. This step is crucial for soft, chewy cookies—don’t rush it. - Add Eggs and Vanilla (2 minutes)
Crack in the eggs one at a time, mixing well after each. Add the vanilla extract and mix until everything is smooth and combined. The batter will be glossy and thick, which is exactly what you want. - Mix Dry Ingredients (2 minutes)
In a separate bowl, whisk together flour, baking soda, and salt. Gradually add this to the wet mixture on low speed, just until combined. Overmixing will make the cookies tough. - Fold in Chocolate Chips (1 minute)
Use a spatula to fold in the chocolate chips evenly. This keeps the batter light and helps the chips stay intact. - Scoop and Bake Cookies (12-15 minutes)
Scoop dough onto lined baking sheets, spacing them about 2 inches apart. Bake at 350°F (175°C) for 10-12 minutes until edges are golden but centers are still soft. They’ll firm up as they cool. - Cool Cookies (15 minutes)
Let cookies cool completely on a wire rack. If they’re too warm when assembling, the ice cream will melt and make a mess. - Assemble Ice Cream Sandwiches (10 minutes)
Scoop a generous tablespoon of softened ice cream onto the flat side of one cookie. Top with another cookie, flat sides together, and gently press to spread the ice cream evenly. Don’t squish too hard or the ice cream will squish out. - Freeze Until Firm (20-30 minutes)
Place assembled sandwiches in a single layer in a freezer-safe container. Freeze until firm before serving.
Total time: about 50 minutes. Most of that is hands-off baking and cooling.
Expert Tips & Tricks
Here’s everything I’ve figured out from making this recipe dozens of times. These tips will save you from the mistakes I already made.
- Don’t Overbake the Cookies
Underbaking by a minute or two keeps them soft and chewy. Overbaked cookies turn hard and ruin the sandwich texture. - Use Room Temperature Ingredients
Softened butter and eggs blend better, giving you a smooth dough. Cold ingredients make mixing harder and the texture less even. - Chill Dough if Needed
If your kitchen is warm, pop the dough in the fridge for 15-20 minutes before baking. This helps cookies hold their shape. - Softened Ice Cream is Key
Ice cream that’s too hard won’t spread, and too soft will melt. Let it sit out for about 5-10 minutes before scooping. - Wrap Sandwiches Individually for Storage
Wrap in parchment or plastic wrap before freezing to prevent freezer burn and keep them fresh. - Save the Ice Cream Scooping
Use a tablespoon-sized scoop for even portions and less mess. It also makes assembly faster. - Mix Up the Flavors
Don’t just stick to chocolate chip cookies and vanilla ice cream. Try your favorite cookie dough or ice cream flavors for unique combos.
Variations & Substitutions
Once you’ve got the base version down, here’s how I mix it up. I’ve actually tried all of these.
- Peanut Butter Cookie Sandwiches
Swap out the chocolate chip dough for peanut butter cookie dough. The salty-sweet combo with vanilla ice cream is a summer hit with my kids. - Oatmeal Raisin Version
Use oatmeal raisin cookies for a slightly healthier twist. The chewy oats add great texture, and raisins bring natural sweetness. - Chocolate Ice Cream Filling
Use chocolate or mint chocolate chip ice cream instead of vanilla for a richer flavor. My husband’s favorite for a backyard movie night. - Lighter Version
Use a lower-fat ice cream or frozen yogurt to cut calories, but keep the cookie dough the same for that chewy texture. - Dairy-Free Option
Use dairy-free ice cream (like coconut milk-based) and swap butter for vegan margarine. I tested this once for a friend and it turned out surprisingly good.
These homemade ice cream sandwiches are perfect for summer parties, family gatherings, or just a simple weekend treat. They hold up well in the freezer, so you can make a batch ahead and pull them out when cravings strike.
Serving & Storage
I usually serve these straight from the freezer, letting them sit out for 2-3 minutes so the ice cream softens slightly and the cookies aren’t rock hard. They’re perfectly portioned and mess-free, making them ideal for kids and adults alike.
For sides, I like keeping it simple with fresh fruit like sliced strawberries or a light summer salad. If you want a savory meal to pair with your dessert, try a fresh green bean side like the vibrant green bean and tomato salad with feta—it’s bright and refreshing after a sweet treat.
Storage:
- Fridge: Not ideal. The ice cream melts and refreezing ruins texture.
- Freezer: Wrap sandwiches individually in parchment or plastic wrap, then store in an airtight container for up to 2 weeks.
- Reheating: Best enjoyed straight from the freezer or let sit at room temperature for a few minutes to soften before eating.
Nutrition Information
I’m not a nutritionist, but here’s the breakdown if you’re keeping track. These values are approximate per serving (based on 12 sandwiches):
| Calories | Protein | Carbs | Fiber | Sugar | Fat | Saturated Fat | Sodium |
|---|---|---|---|---|---|---|---|
| 220 | 3g | 30g | 1g | 18g | 9g | 5g | 120mg |
Look — this is a creamy summer treat made with butter, sugar, and ice cream. Not a diet food, no way. But it’s homemade, cost-effective, and free from preservatives or weird additives. When I want a lighter option, I swap in frozen yogurt or add fruit. Most of the time though? I make the real thing and enjoy every bite.
Final Thoughts
Remember that Fourth of July when I first tried making these homemade ice cream sandwiches? That sticky summer evening, the kids’ faces lit up with every bite, and the backyard felt like the happiest place on earth. That’s the magic of this recipe — simple ingredients, a little patience, and a lot of love.
Make this recipe yours. Add extra chocolate chips, sprinkle in some crushed nuts, or swap the ice cream flavor. More ice cream is always the right call in my book, and the cookie dough base is forgiving enough for you to play with.
If you make this, drop a comment and tell me how it went. And if something goes wrong, tell me that too — I genuinely want to help troubleshoot. That’s what the comments are for.
Happy cooking — I hope your kitchen smells amazing.
Frequently Asked Questions
Q: Can I make these homemade ice cream sandwiches without an ice cream maker?
A: Yes, absolutely! You don’t need an ice cream maker for this recipe. I usually buy good-quality store-bought ice cream or use no-churn recipes. Just make sure the ice cream is softened a bit before assembling so it spreads easily. I’ve done this many times with great results.
Q: Why did my ice cream sandwiches turn out icy or hard?
A: This usually happens if the ice cream was too frozen when you assembled or if the sandwiches froze for too long without wrapping. To fix this, let your ice cream soften for 5-10 minutes before scooping. Also, wrap each sandwich tightly to prevent freezer burn and icy texture.
Q: Can I make these ice cream sandwiches ahead for a summer party?
A: Yes! They’re perfect for making ahead. Assemble the sandwiches, wrap them individually, and freeze. I usually make them the day before a party. Just let them sit out a few minutes before serving so they soften just right.
Q: Can I make these ice cream sandwiches gluten-free or dairy-free?
A: For gluten-free, use your favorite gluten-free all-purpose flour blend for the cookies. For dairy-free, swap butter for vegan butter and use dairy-free ice cream like coconut milk-based flavors. I tried this once for a friend and was pleasantly surprised at how tasty they were.
Q: How do I double or halve this recipe?
A: You can easily double or halve the recipe. Just keep the same ratios and baking times. If doubling, bake in batches so cookies have enough space on the sheets. Halving is great if you’re just making a small treat or testing it out.
Q: Can I substitute the cookie dough with store-bought cookie dough?
A: Yes, you can use store-bought cookie dough to save time. Just bake according to package instructions and assemble with softened ice cream. It won’t be quite the same as homemade, but still delicious and much quicker.
Q: What’s the best way to prevent ice cream from melting during assembly?
A: Work quickly and keep the ice cream slightly firm but scoopable. Have your cookies completely cooled and assemble in a cool room or even on a chilled surface. If things get melty, pop the sandwiches in the freezer for a few minutes to firm back up before serving.
Pin This Recipe!
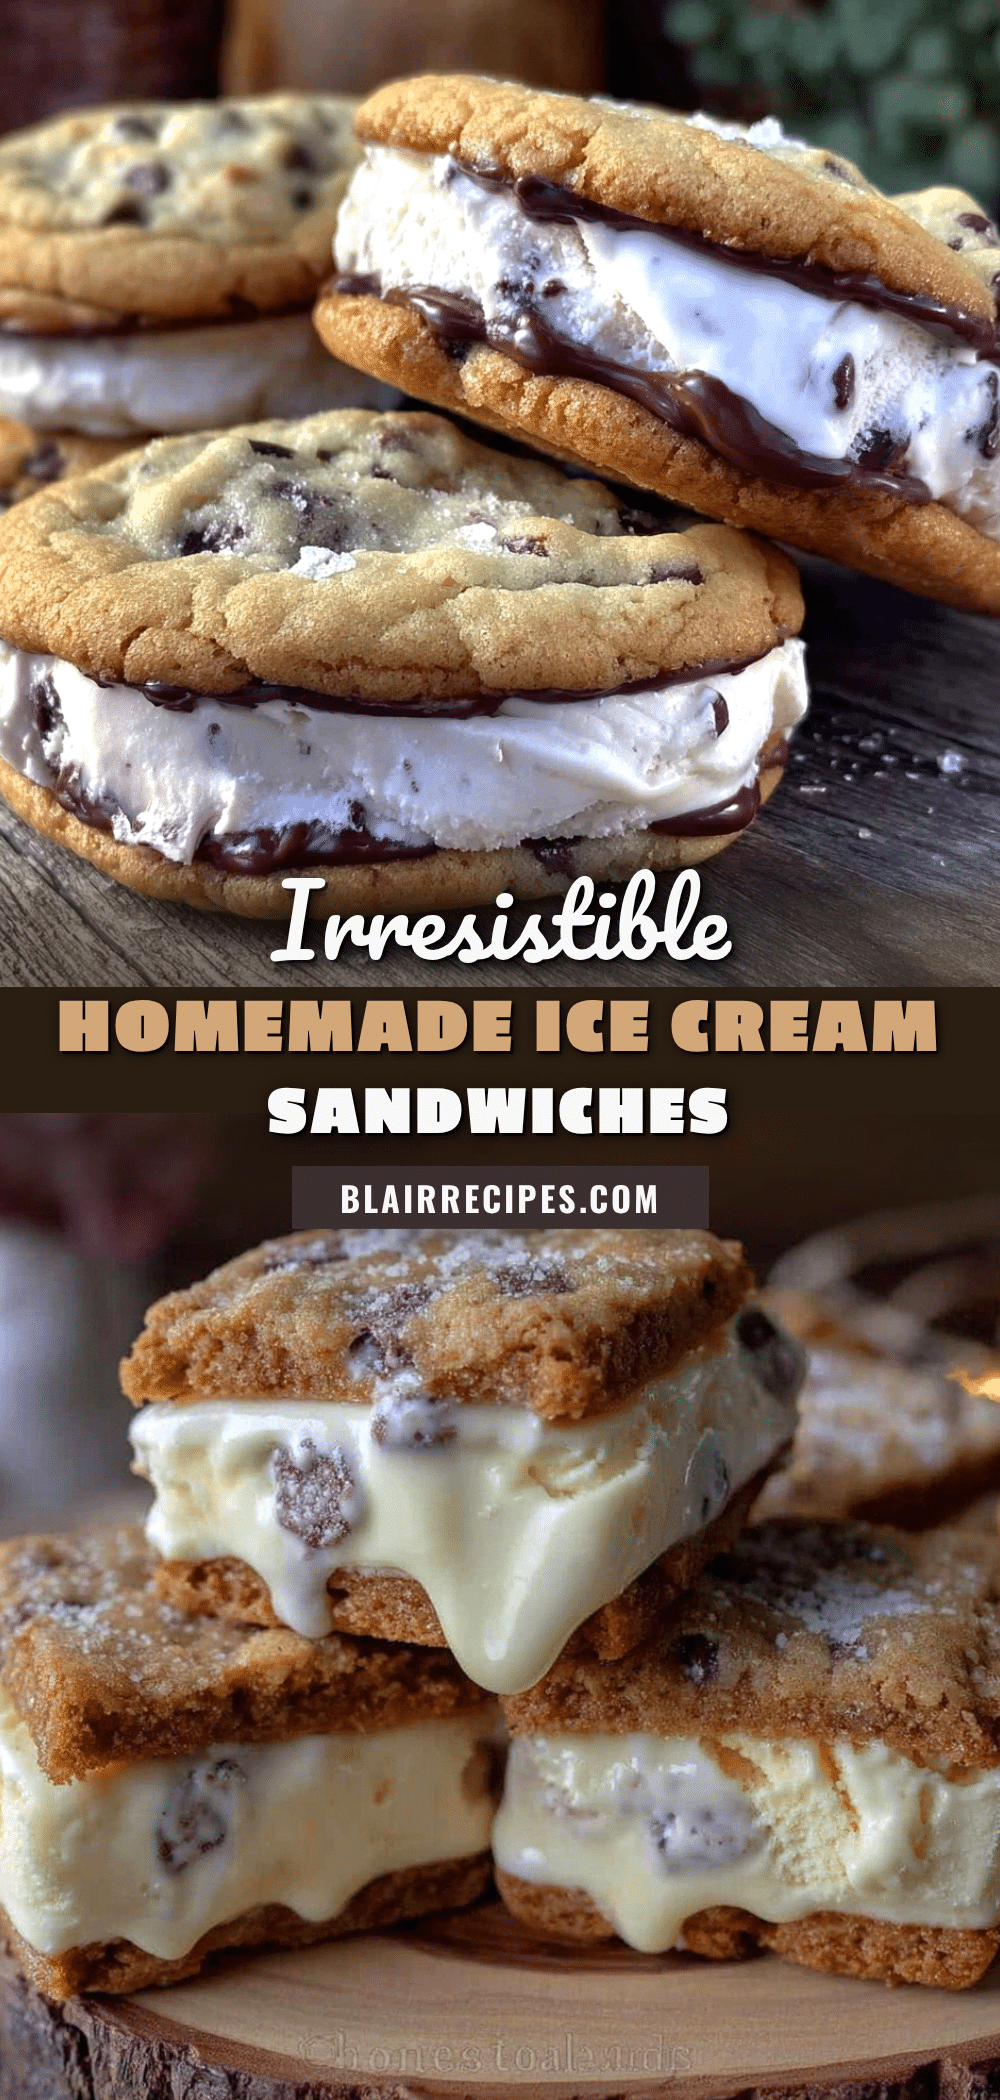
Homemade Ice Cream Sandwiches Easy Creamy Summer Treat Recipe

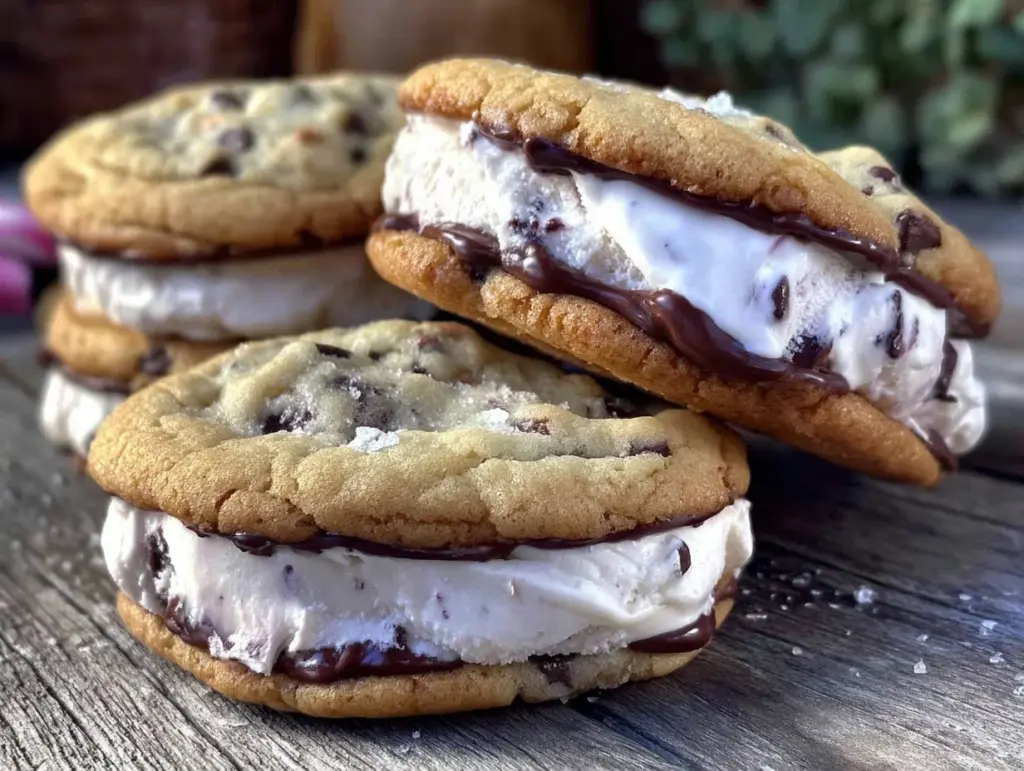
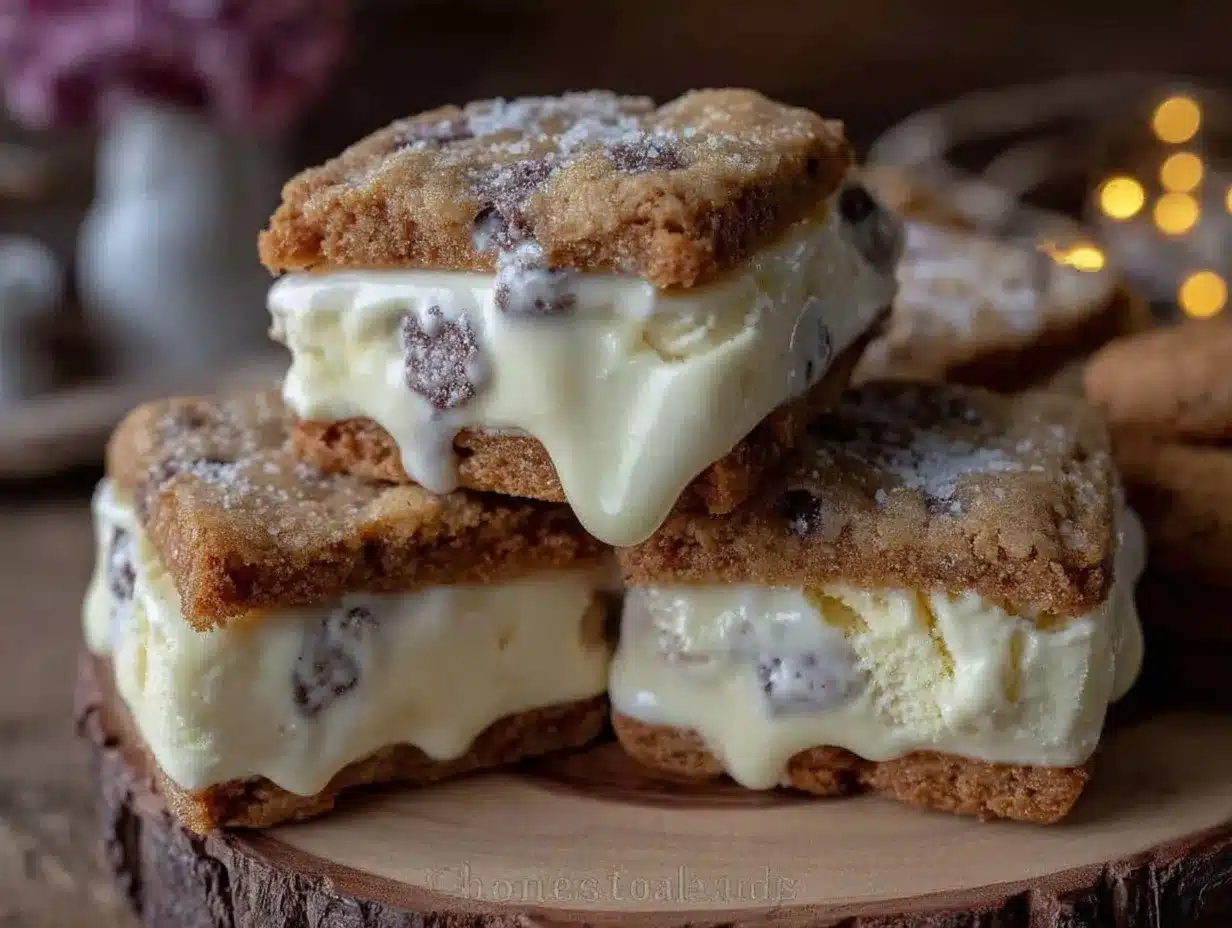
These homemade ice cream sandwiches feature soft, chewy cookies hugging a creamy ice cream center, perfect for easy, customizable summer treats that beat store-bought versions.
- Prep Time: 15 minutes
- Cook Time: 12 minutes
- Total Time: 50 minutes
- Yield: 12 sandwiches 1x
- Category: Dessert
- Cuisine: American
Ingredients
- 2 ½ cups all-purpose flour (315g)
- 1 teaspoon baking soda
- ½ teaspoon salt
- 1 cup unsalted butter, softened (225g)
- ¾ cup granulated sugar (150g)
- ¾ cup packed brown sugar (165g)
- 2 large eggs
- 2 teaspoons vanilla extract
- 2 cups chocolate chips (340g), semi-sweet or milk chocolate
- 1 quart vanilla ice cream (950ml), softened
Instructions
- Prep Your Ingredients (5 minutes): Measure out flour, baking soda, salt, and sugars. Soften butter and ice cream (ice cream should be scoopable but not melted).
- Cream Butter and Sugars (3-5 minutes): Beat softened butter with granulated sugar and brown sugar until light and fluffy.
- Add Eggs and Vanilla (2 minutes): Add eggs one at a time, mixing well after each. Add vanilla extract and mix until smooth.
- Mix Dry Ingredients (2 minutes): Whisk flour, baking soda, and salt in a separate bowl. Gradually add to wet mixture on low speed until combined.
- Fold in Chocolate Chips (1 minute): Fold chocolate chips evenly into the batter with a spatula.
- Scoop and Bake Cookies (12-15 minutes): Scoop dough onto lined baking sheets spaced 2 inches apart. Bake at 350°F (175°C) for 10-12 minutes until edges are golden but centers are soft.
- Cool Cookies (15 minutes): Let cookies cool completely on a wire rack.
- Assemble Ice Cream Sandwiches (10 minutes): Scoop a tablespoon of softened ice cream onto the flat side of one cookie. Top with another cookie, flat sides together, and gently press.
- Freeze Until Firm (20-30 minutes): Place sandwiches in a single layer in a freezer-safe container and freeze until firm.
Notes
[‘Do not overbake cookies to keep them soft and chewy.’, ‘Use room temperature butter and eggs for better mixing.’, ‘Chill dough for 15-20 minutes if kitchen is warm to help cookies hold shape.’, ‘Let ice cream soften for 5-10 minutes before scooping to avoid melting or icy texture.’, ‘Wrap sandwiches individually in parchment or plastic wrap before freezing to prevent freezer burn.’, ‘Use a tablespoon-sized scoop for even ice cream portions.’, ‘Try different cookie doughs and ice cream flavors for variety.’, ‘Assemble sandwiches quickly and in a cool environment to prevent melting.’]
Nutrition
- Serving Size: 1 ice cream sandwich
- Calories: 220
- Sugar: 18
- Sodium: 120
- Fat: 9
- Saturated Fat: 5
- Carbohydrates: 30
- Fiber: 1
- Protein: 3
Keywords: ice cream sandwiches, homemade ice cream sandwiches, summer dessert, chocolate chip cookies, creamy ice cream, easy dessert, summer treat


