The scent of warm, bubbling blueberries drifting out of the oven gets me every single time. There’s something magical about it—like the promise of summer baked right into your kitchen. I remember the first time I made these blueberry pie bars: my counters were dusted in flour, my hands stained purple, and my heart was so full. It all started with a craving for pie, but (let’s be honest) I didn’t want to fuss with rolling out dough on a 90-degree day. That’s when these easy blueberry pie bars became my go-to summer dessert bar treat.
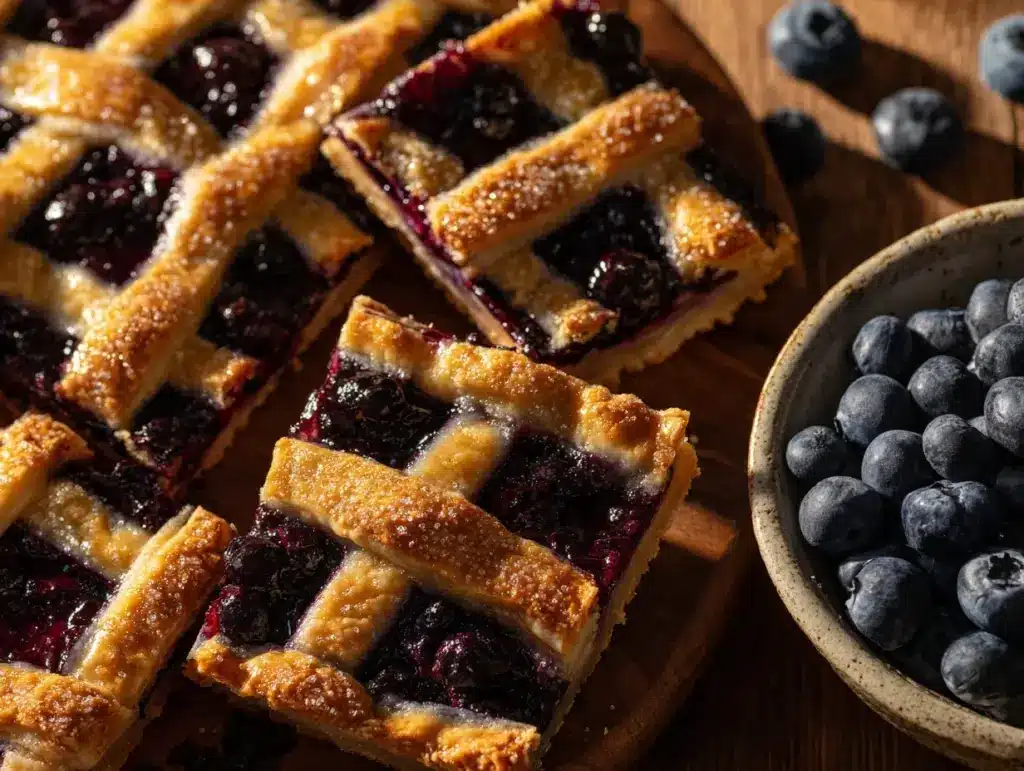
Blueberry pie bars bring together everything I adore about classic pie—juicy berries, a hint of lemon, buttery crust—but with half the effort and double the fun. You get that glorious mix of crumbly and soft, sweet and tart, handheld and totally irresistible. No forks needed! Over the years, I’ve tweaked and tested this recipe at family picnics, backyard BBQs, and lazy Sunday brunches. It’s never let me down, and I promise it won’t let you down either.
If you’ve got a bowl of fresh blueberries (or even frozen ones hiding in the back of your freezer) and a hankering for something special, these blueberry pie bars are calling your name. They’re perfect for busy families, potluck parties, or just when you need a slice of summer. I’m sharing all my secrets, tips, and love for these bars—so you can enjoy them anytime you want. Trust me, after one bite, you’ll understand why this recipe is always on repeat in my kitchen.
Why You’ll Love This Recipe
- Quick & Easy: These blueberry pie bars come together in about an hour, start to finish. No finicky pastry crusts or special techniques required—just mix, layer, and bake!
- Simple Ingredients: You probably have everything you need already. Flour, sugar, butter, and blueberries—nothing fancy, nothing hard to find.
- Perfect for Any Occasion: I’ve served these at summer brunches, holiday gatherings, and even as an after-school snack. They fit right in, every single time.
- Crowd-Pleaser: My family (including the pickiest eaters) devours these bars. Friends always ask for the recipe, and there are never leftovers.
- Unbelievably Delicious: Think of the best blueberry pie you’ve ever tasted—these bars capture that flavor, but in a handheld, buttery, perfectly-sweet treat.
What sets these blueberry pie bars apart? I blend a bit of lemon zest into the filling for fresh zing, and the base doubles as both crust and crumbly topping. No need for extra bowls or complicated steps. And because you don’t have to worry about pie perfection, they’re basically foolproof—even if you’re new to baking.
Honestly, these bars are more than just dessert. They’re a slice of summer joy, a little comfort on a plate. The kind of treat that makes you close your eyes and savor every bite. I’ve made them for new neighbors, to cheer up a friend, and just because blueberries were on sale. Whether you want to impress guests or simply treat yourself, this is the recipe you’ll reach for again and again.
What Ingredients You Will Need
This recipe uses simple, wholesome ingredients to deliver bold flavor and that signature pie bar texture—without any fuss. Most are pantry staples, and you can easily swap or adapt a few things to suit your needs.
- For the Crust & Topping:
- All-purpose flour (2 1/2 cups / 315g) (the base of our bars, creating structure and crumb)
- Granulated sugar (1 cup / 200g) (adds sweetness and helps the crust brown)
- Unsalted butter, cold and cubed (1 cup / 226g) (for that rich, melt-in-your-mouth texture)
- Salt (1/2 tsp) (balances the sweetness and intensifies the flavors)
- Baking powder (1/2 tsp) (gives a slight lift so bars aren’t too dense)
- Egg, large (1) (binds everything together—room temp is best!)
- Vanilla extract (1 tsp) (for a warm, comforting aroma)
- For the Blueberry Filling:
- Fresh or frozen blueberries (3 cups / 450g) (I use local berries in summer, but frozen work great year-round—no need to thaw!)
- Granulated sugar (1/2 cup / 100g) (adjust to taste, especially if your berries are super sweet or tart)
- Cornstarch (2 tbsp) (thickens the filling so it’s jammy, not runny)
- Lemon juice (2 tbsp / about 1 small lemon) (brightens the filling and balances the sweetness)
- Lemon zest (1 tsp) (adds that zingy, fresh flavor—don’t skip it!)
- Optional: ground cinnamon (1/4 tsp) (for a hint of cozy spice—I do this in late summer or fall!)
Ingredient notes: For gluten-free bars, swap in a 1:1 gluten-free baking flour (I like King Arthur’s blend). If you’re dairy-free, substitute vegan butter. You can also mix in a handful of raspberries or blackberries if you want a berry medley. And if you only have salted butter, just skip the added salt in the crust.
I’m picky about my blueberries—firm, plump, and deep blue always win. But honestly, even slightly mushy berries get new life in these bars. Don’t stress if your fruit isn’t perfect!
Equipment Needed
- 9×13-Inch Baking Pan: The classic size for perfect bars—if you use an 8×8-inch, reduce the recipe by half or expect thicker bars and a slightly longer bake time.
- Mixing Bowls: You’ll need one large and one medium bowl. Glass or metal both work.
- Pastry Cutter or Fork: For cutting cold butter into the flour. You can use your hands if you don’t have a cutter (just work quickly so the butter doesn’t melt).
- Zester or Microplane: For that fresh lemon zest. If you don’t have one, use the fine side of a box grater.
- Measuring Cups & Spoons: For accuracy—especially with flour and cornstarch.
- Spatula or Wooden Spoon: For mixing and spreading the crust and filling.
- Parchment Paper (optional): Makes lifting the bars out and cleanup a breeze. If you skip it, just grease your pan well.
I’ve made these with nothing but a bowl, a fork, and my hands in a pinch—so don’t let tools slow you down. Just make sure your butter stays cold for that perfect crumbly texture. If you’re using a glass pan, you might need a few extra minutes of bake time. I always hand-wash my zester because it stays sharper longer that way—just a little tip from years of baking mishaps!
Preparation Method
- Preheat & Prep: Set your oven to 350°F (175°C). Line a 9×13-inch pan with parchment paper, leaving an overhang for easy removal, or grease well with butter or nonstick spray. (This step saves you from stuck-on bars—trust me!)
- Mix the Crust & Topping: In a large bowl, whisk together 2 1/2 cups (315g) flour, 1 cup (200g) sugar, 1/2 tsp salt, and 1/2 tsp baking powder. Cut in 1 cup (226g) cold, cubed butter using a pastry cutter or fork, until the mixture looks like coarse crumbs with pea-sized bits. (Butter chunks = flaky bars!) In a small bowl, whisk 1 egg with 1 tsp vanilla extract, then pour it over the flour mixture. Stir gently until just combined—don’t overmix.
- Form the Base: Take about two-thirds of the dough and press it firmly into the bottom of your prepared pan. It should form an even, compact layer. (If the dough sticks, lightly flour your fingers.) Set the remaining third aside for the topping.
- Make the Blueberry Filling: In a medium bowl, toss 3 cups (450g) blueberries with 1/2 cup (100g) sugar, 2 tbsp cornstarch, 2 tbsp lemon juice, 1 tsp lemon zest, and 1/4 tsp cinnamon (if using). The berries should look glossy and evenly coated. (Frozen berries may clump a little—just break them up as best you can.)
- Layer the Filling: Pour the blueberry mixture over the crust. Spread it out into an even layer, making sure you get blueberries into the corners.
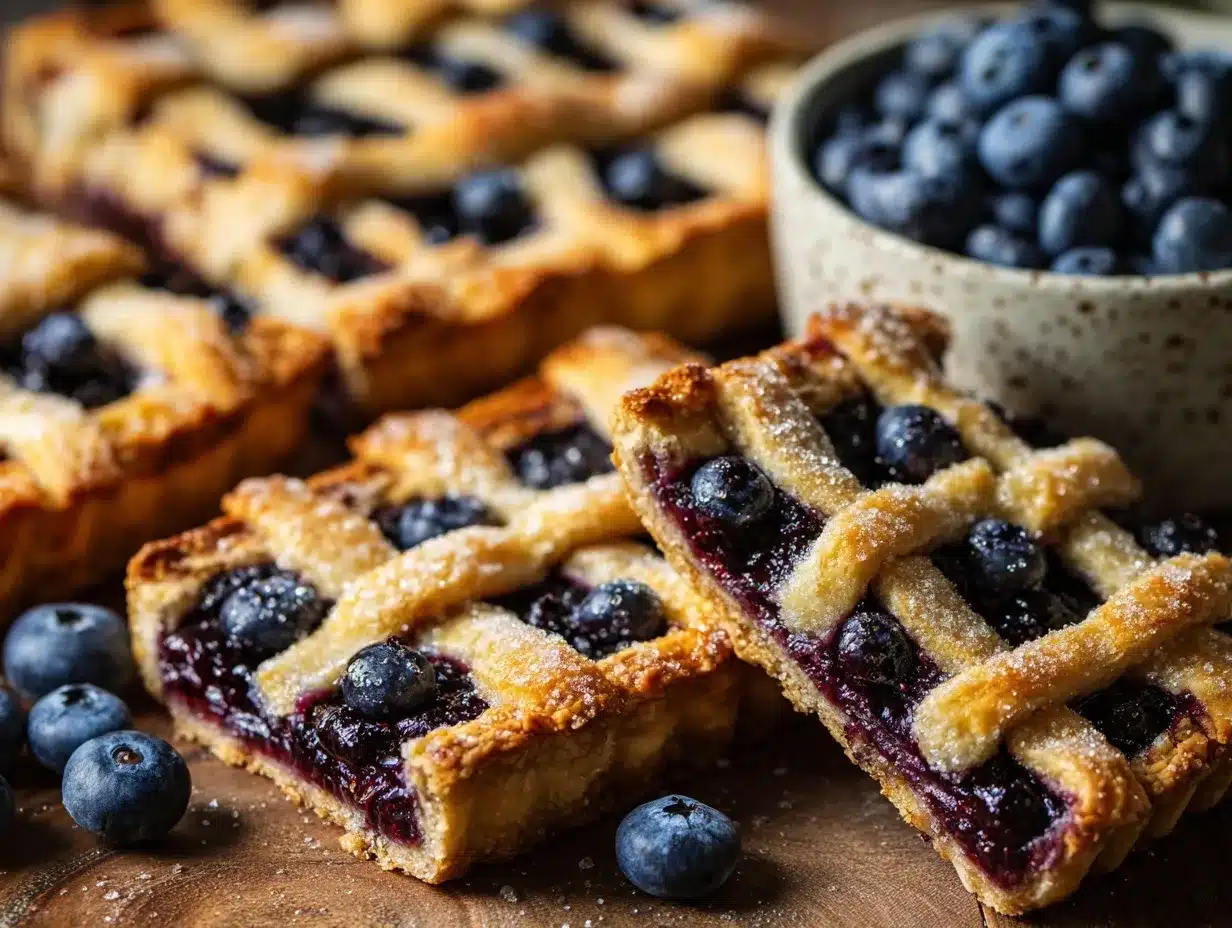
- Add the Crumb Topping: Crumble the reserved dough over the berries. It won’t cover them completely—that’s okay! You want some berries peeking through for that classic pie bar look.
- Bake: Bake in the preheated oven for 40–50 minutes, or until the top is golden and the blueberry filling is bubbling at the edges. (If your bars brown too quickly, loosely cover with foil after 35 minutes.)
- Cool Completely: This is the hardest part! Let bars cool in the pan for at least 2 hours—otherwise they’ll be too soft to cut. For cleaner slices, chill in the fridge for 30–60 minutes before cutting.
- Slice & Serve: Lift the bars out using the parchment overhang. Slice into 16 squares (or smaller if you want bite-sized treats). Bars will be soft and jammy at room temp, firmer if chilled.
Troubleshooting: If your crust feels too dry, add a splash of milk or water. If the topping seems too sticky, add a spoonful of flour. And if your berries are extra juicy, increase cornstarch by 1 tbsp for a thicker filling. You’ll know the bars are done when the top is golden and the berries are bubbling—don’t be afraid to bake a few extra minutes if needed.
Cooking Tips & Techniques
- Keep Butter Cold: Cold butter is your friend here—it creates that perfect, crumbly texture. If your kitchen is warm, pop the butter (and even the flour!) in the fridge before starting.
- Don’t Overwork the Dough: Mix just until combined. Overmixing makes the crust tough and the topping dense. Some chunks are good!
- Layer Evenly: Press the base into the pan firmly and spread the berries out so every bite is balanced. I use a spatula for the base and my hands for the crumb topping.
- Test for Doneness: Bars are ready when the top is golden and the filling bubbles. If the edges brown too fast, cover them with foil after about 35 minutes.
- Wait Before Slicing: I know, it’s hard—but cooling lets the bars set and slice cleanly. If you cut too soon, you’ll get blueberry goo (delicious, but messy!).
I once tried to speed-cool these bars with a fan—bad idea! The topping went soggy. Patience really pays off here. If you want extra sparkle, sprinkle a little coarse sugar over the topping before baking. And if you’re baking on a humid day, add an extra teaspoon of cornstarch to help the filling hold together.
For consistent results, I always weigh my flour (especially on rainy days, when flour can pack down in the cup). And don’t forget: oven times can vary, so check at the 40-minute mark, then go from there.
Variations & Adaptations
- Gluten-Free: Use a 1:1 gluten-free baking flour in place of all-purpose. I’ve used King Arthur’s and Bob’s Red Mill blends with great success.
- Dairy-Free: Substitute vegan butter for the unsalted butter. Coconut oil works too, but you’ll get a slightly different texture and a hint of coconut flavor.
- Berry Medley: Swap in raspberries, blackberries, or even diced strawberries for some or all of the blueberries. It’s a fantastic way to use up whatever’s in season.
- Lemon-Lover’s Twist: Add a simple lemon glaze (mix powdered sugar and lemon juice) over the cooled bars for extra zing. My family loves this for a brunch treat.
- Nutty Crunch: Mix 1/2 cup (50g) chopped pecans or walnuts into the topping for a bit of crunch and earthy flavor.
For a personal touch, I sometimes add a pinch of cardamom to the filling—it’s subtle, but so good. And if you want to bake these in a smaller pan (like an 8×8), just halve the recipe and bake for about 5–10 minutes longer. If you’re baking for someone with food allergies, double-check all your substitutions and taste-test a small batch first. You never know until you try!
Serving & Storage Suggestions
These blueberry pie bars are delicious at room temperature, chilled, or gently warmed. For a pretty presentation, dust with powdered sugar or drizzle with lemon glaze just before serving. I love serving them in big squares for picnics, or cut smaller for a dessert platter.
Pair with a scoop of vanilla ice cream, a dollop of whipped cream, or even a spoonful of Greek yogurt for brunch. They’re perfect with coffee, iced tea, or lemonade—especially outside on a sunny day.
To store, keep bars in an airtight container in the fridge for up to 5 days. (The flavors actually get better as the bars sit—a little more jammy and intense!) For longer storage, freeze tightly wrapped bars for up to 3 months. Thaw overnight in the fridge, or warm individual bars in the microwave for 15–20 seconds. If you like a crispier top, reheat briefly in a toaster oven.
Honestly, I’ve never had these last more than a couple of days in my house. They always disappear before I get a chance to freeze them!
Nutritional Information & Benefits
Each blueberry pie bar (based on 16 bars per batch) has approximately:
- Calories: 210
- Fat: 8g
- Carbohydrates: 33g
- Fiber: 1g
- Protein: 2g
Blueberries are packed with antioxidants, vitamin C, and fiber, making these bars a slightly better-for-you treat. Using fresh lemon adds a boost of vitamin C and brightness without extra calories. You can make these bars gluten-free or dairy-free for dietary needs, and they’re naturally nut-free unless you add nuts to the topping. Just a heads up—these do contain eggs and wheat (unless modified), so be mindful if you’re baking for someone with allergies.
I love that these bars offer a sweet treat with a little fruit, and I always feel better about sharing them with friends and family. After all, dessert should be delicious and a little nourishing, too!
Conclusion
If you’re looking for a foolproof summer baking project, these blueberry pie bars are it. They’re easy, packed with juicy flavor, and guaranteed to make any occasion feel special. Whether you’re a pie skeptic, a blueberry superfan, or just want something you can share at a picnic, this recipe never disappoints.
Don’t be afraid to play around—try different berries, add a glaze, or make them gluten-free. That’s the fun of baking at home! I come back to this recipe over and over again not just because it’s simple, but because it tastes like sunshine and happy memories. I hope you love these bars as much as I do.
If you try this blueberry pie bars recipe, let me know what you think! Leave a comment, share a photo, or tell me how you made it your own. There’s nothing better than swapping baking stories and seeing how these treats bring a little extra sweetness to your table. Happy baking!
Frequently Asked Questions
Can I use frozen blueberries for blueberry pie bars?
Absolutely! No need to thaw—just toss them with the sugar, cornstarch, and lemon as directed. If they’re extra icy, add an extra tablespoon of cornstarch to help the filling set.
Can I make blueberry pie bars gluten-free?
Yes. Use your favorite 1:1 gluten-free flour blend instead of all-purpose flour. I’ve had great results with King Arthur’s and Bob’s Red Mill blends.
How do I keep the bars from getting soggy?
Be sure to use enough cornstarch in the filling, and let the bars cool completely before cutting. If your berries are super juicy, add a bit more cornstarch to thicken the filling.
Can I add other fruits to this recipe?
Definitely! Raspberries, blackberries, or even diced peaches mix beautifully with blueberries. Just keep the total amount of fruit to about 3 cups (450g) for best results.
What’s the best way to store blueberry pie bars?
Store them in an airtight container in the fridge for up to 5 days. You can also freeze bars for up to 3 months—just thaw before serving, or warm for a few seconds in the microwave.
Pin This Recipe!
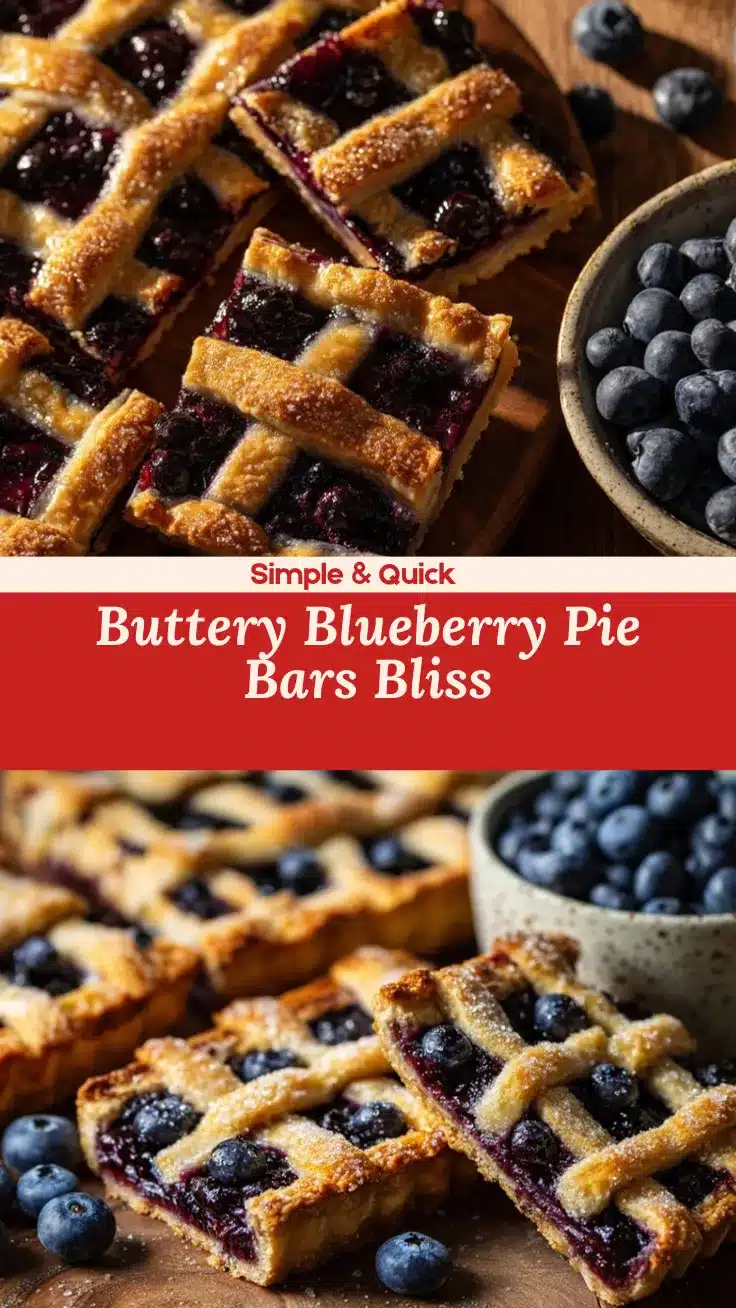
Blueberry Pie Bars

These easy blueberry pie bars capture all the flavor of classic blueberry pie in a handheld, buttery dessert bar. With a crumbly crust, juicy blueberry filling, and a hint of lemon, they’re the perfect summer treat for picnics, brunches, or anytime you crave something sweet and simple.
- Prep Time: 20 minutes
- Cook Time: 40-50 minutes
- Total Time: 1 hour 10 minutes
- Yield: 16 bars 1x
- Category: Dessert
- Cuisine: American
Ingredients
- 2 1/2 cups all-purpose flour (315g)
- 1 cup granulated sugar (200g), divided
- 1 cup unsalted butter, cold and cubed (226g)
- 1/2 teaspoon salt
- 1/2 teaspoon baking powder
- 1 large egg
- 1 teaspoon vanilla extract
- 3 cups fresh or frozen blueberries (450g)
- 1/2 cup granulated sugar (100g) (for filling)
- 2 tablespoons cornstarch
- 2 tablespoons lemon juice (about 1 small lemon)
- 1 teaspoon lemon zest
- 1/4 teaspoon ground cinnamon (optional)
Instructions
- Preheat oven to 350°F (175°C). Line a 9×13-inch baking pan with parchment paper or grease well.
- In a large bowl, whisk together flour, 1 cup sugar, salt, and baking powder. Cut in cold, cubed butter using a pastry cutter or fork until mixture resembles coarse crumbs.
- In a small bowl, whisk egg with vanilla extract. Pour over flour mixture and stir gently until just combined.
- Press about two-thirds of the dough firmly into the bottom of the prepared pan to form an even layer. Set aside remaining dough for topping.
- In a medium bowl, toss blueberries with 1/2 cup sugar, cornstarch, lemon juice, lemon zest, and cinnamon (if using) until evenly coated.
- Spread blueberry mixture evenly over the crust in the pan.
- Crumble reserved dough over the blueberry layer. It’s okay if some berries peek through.
- Bake for 40–50 minutes, or until the top is golden and the blueberry filling is bubbling at the edges. If browning too quickly, cover loosely with foil after 35 minutes.
- Let bars cool completely in the pan for at least 2 hours. For cleaner slices, chill in the fridge for 30–60 minutes before cutting.
- Lift bars out using parchment overhang and slice into 16 squares. Serve at room temperature, chilled, or gently warmed.
Notes
Keep butter cold for the best crumbly texture. Don’t overmix the dough. Let bars cool completely before slicing for clean cuts. For gluten-free, use a 1:1 gluten-free flour blend. For dairy-free, substitute vegan butter. You can use a berry medley or add nuts to the topping for variation. Store in the fridge for up to 5 days or freeze for up to 3 months.
Nutrition
- Serving Size: 1 bar (1/16 of recipe)
- Calories: 210
- Sugar: 17
- Sodium: 70
- Fat: 8
- Saturated Fat: 5
- Carbohydrates: 33
- Fiber: 1
- Protein: 2
Keywords: blueberry pie bars, summer dessert, blueberry bars, easy dessert bars, picnic dessert, handheld pie, fruit bars, lemon blueberry bars


