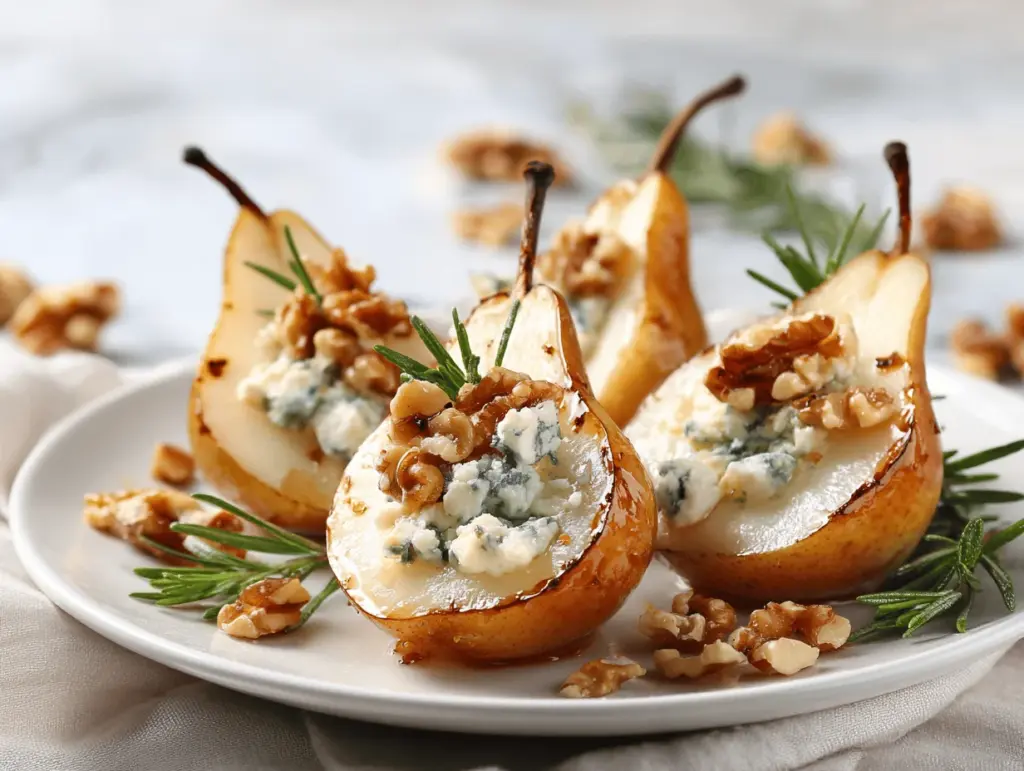
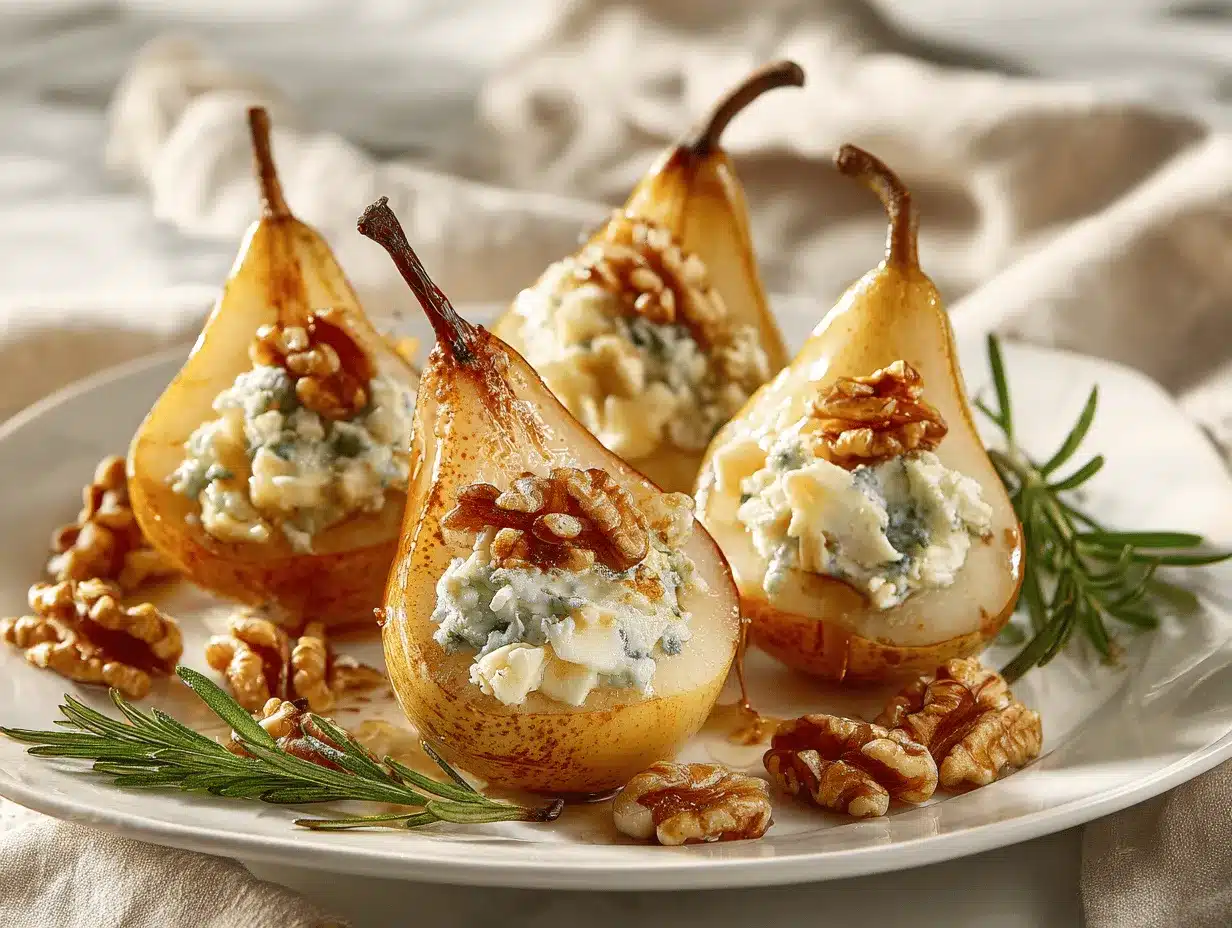
Sharp, creamy blue cheese tucked inside juicy, ripe pears—if that doesn’t make your taste buds perk up, I don’t know what will! The first time I made blue cheese stuffed pears, it was for a last-minute dinner party. I’d run out of crackers, my cheese board looked sad, and those pears on my counter were practically begging to be used. Honestly, this recipe saved the day and wowed my guests (even my friend who swore she hated blue cheese went back for seconds).
There’s something magical about how the sweet, floral notes of the pear mingle with the tangy, salty punch of blue cheese. It’s like they were meant to be together. Over the years, I’ve tweaked this appetizer a bunch—sometimes with walnuts, sometimes with honey, sometimes baked, sometimes fresh. Each time, blue cheese stuffed pears have proven themselves to be an easy, elegant solution for any occasion.
This recipe isn’t just for fancy gatherings—though it looks and tastes sophisticated, it’s so simple, you’ll want to whip it up for casual snacking, holiday spreads, or even as a quick lunch. If you’re looking for an appetizer that feels special without fuss, blue cheese stuffed pears are your answer. Trust me, after making these more times than I can count (and watching everyone’s eyes light up after the first bite), I’m convinced this is the appetizer every busy host should have in their back pocket.
Whether you’re a blue cheese devotee or just looking for something unique to serve, these pears will win you over. Let’s get into why you’ll love this recipe!
Why You’ll Love This Recipe
- Quick & Easy: Ready in 15 minutes, so you can focus on enjoying your guests (or just yourself!).
- Simple Ingredients: No need to hunt down rare cheeses or exotic fruit—just grab pears, blue cheese, and a few pantry basics.
- Perfect for Entertaining: Ideal for brunches, cocktail parties, or holiday gatherings. These look and taste like you spent hours, but you didn’t.
- Crowd-Pleaser: Even folks who aren’t blue cheese fans usually love the combo. Kids might surprise you, too!
- Unbelievably Delicious: The contrast of creamy cheese and crisp, juicy pear is just… chef’s kiss.
Here’s the thing: blue cheese stuffed pears aren’t just another “fancy fruit and cheese” recipe. The secret is in how you balance the flavors and textures. I like to use a creamy, mellow blue cheese (like Gorgonzola Dolce or Danish Blue) because it melts into the pear without overpowering it. Sometimes I’ll whip the cheese with a little cream for ultra-lush filling, and a sprinkle of toasted nuts adds crunch.
This recipe is more than the sum of its parts. It turns a humble pair of ingredients into an appetizer that feels restaurant-worthy but is totally doable at home. If you want to impress guests, make something memorable for a potluck, or just treat yourself to a special snack, blue cheese stuffed pears deliver every time.
It’s genuinely comforting, too. There’s something about the sweet-savory combo that makes you feel a little pampered. I’ve made this for holiday mornings, quiet nights in, and rowdy family gatherings—and it always disappears fast. If you want a go-to appetizer that earns rave reviews and endless requests for your “secret recipe,” this is it.
What Ingredients You Will Need
This recipe relies on just a handful of ingredients, but each one plays a big role in the flavor and texture. Most are easy to find, and a few simple swaps make it work for almost any diet.
- Ripe pears (Bosc, Bartlett, or Anjou work best; firm but yielding to gentle pressure)
- Blue cheese (Gorgonzola, Roquefort, Stilton, or Danish Blue—choose creamy varieties for best results)
- Walnuts or pecans (toasted and roughly chopped for crunch; optional but recommended)
- Honey (for drizzling; balances the tang of blue cheese and highlights the pear’s sweetness)
- Fresh thyme or rosemary (a sprinkle of herbs adds freshness and aroma; chives also work)
- Cracked black pepper (for a little zing at the end)
- Lemon juice (just a splash to keep pears from browning and add brightness)
Ingredient tips: For the pears, I swear by Bosc—they hold their shape and don’t get mushy. If you prefer a milder blue cheese, Danish Blue is a safe bet. If you need to skip nuts for allergies, pumpkin seeds or sunflower seeds add crunch without the risk.
Substitutions: Use dairy-free blue cheese style spreads if you’re vegan or lactose intolerant. Swap honey for maple syrup if you want a vegan option. For gluten-free folks, you’re in luck—this appetizer is naturally gluten-free.
Optional additions: A sprinkle of pomegranate seeds for color and tang, a dash of balsamic glaze for extra oomph, or a few microgreens for drama. I’ve tossed in dried cranberries once and loved it!
Honestly, this recipe is super forgiving. If your pears are super ripe, chill them before slicing. If blue cheese is too strong, mix it with a little cream cheese. Just keep it simple and don’t overthink it—the flavors do all the work for you.
Equipment Needed
- Sharp chef’s knife: For cleanly halving and coring the pears. A paring knife works, but I find a chef’s knife gives better control.
- Small spoon or melon baller: To scoop out the core and create space for the filling. I’ve used a teaspoon in a pinch—works just fine!
- Baking sheet or serving platter: If baking, line with parchment. For serving, choose a pretty plate or wooden board for visual impact.
- Mixing bowl: For blending blue cheese with cream cheese or whipping in herbs if you want a smoother filling.
- Measuring spoons: For honey, lemon juice, and toppings. Not strictly necessary, but it keeps things consistent.
If you don’t have a melon baller, don’t stress—a teaspoon or even your thumb can help scoop out the pear core. I’ve made these with nothing but a knife and a spoon while camping (not joking!). For nuts, a zip-top bag and rolling pin can chop them up if you don’t own a fancy nut chopper. The only thing you really want sharp is your knife—dull blades crush pears and make the filling messy.
Cleanup is a breeze, especially if you use parchment on your baking sheet. If you’re serving cold, just wash your platter and utensils—no fancy maintenance required. I often use my budget-friendly IKEA chef’s knife for this recipe and it works like a charm.
Preparation Method
-
Prepare the pears: Wash and dry 2 large pears (about 350g each). Slice each pear in half lengthwise. Using a melon baller or teaspoon, gently scoop out the seed cavity to create a small “bowl” for the filling. If desired, slice a small sliver off the underside so the halves sit flat on your platter.
Time: 5 minutes. Pears should be firm but just ripe—too soft and they’ll fall apart. -
Prevent browning: Brush the cut surfaces with a little lemon juice (about 1/2 tsp per pear half). This keeps the pears looking fresh and adds a subtle brightness.
Note: If prepping ahead, cover loosely with plastic wrap and refrigerate. -
Prepare the filling: In a small bowl, crumble 90g (3 oz) blue cheese. If you prefer a creamier texture, blend with 30g (1 oz) cream cheese until smooth. Fold in 2 tbsp chopped toasted walnuts or pecans, 1 tsp fresh thyme leaves, and a pinch of cracked black pepper.
Time: 3 minutes. The filling should be chunky and creamy—don’t overmix. -
Stuff the pears: Divide the blue cheese mixture evenly among the pear halves, pressing gently into the cavity. Mound the filling slightly for a dramatic look. If you want warm pears, preheat your oven to 180°C (350°F) and bake stuffed pears for 7-9 minutes until cheese is just softened.
Warning: Don’t overbake—cheese will melt and run off. Pears should be just warm, not mushy. -
Finishing touches: Drizzle each pear half with 1 tsp honey (or maple syrup). Sprinkle with extra chopped nuts, fresh herbs, and a crack of black pepper. For color, add pomegranate seeds or microgreens.
Time: 2 minutes. The honey adds beautiful gloss and aroma. -
Serve: Arrange pears on a platter. Serve immediately if warm, or chill for up to 2 hours if you prefer them cold.
Sensory cues: Pears should be tender, cheese creamy, nuts crisp. The aroma is fruity and tangy.
Troubleshooting: If your pears tip over, slice a thin base. If cheese is too strong, blend with cream cheese. If nuts burn during toasting, lower your heat—trust me, I’ve ruined a batch or two by getting distracted!
Personal tip: Prep everything ahead, but assemble just before serving for maximum freshness. These pears hold up well at room temp for about an hour (after that, they get a bit weepy).
Cooking Tips & Techniques
There’s a little art to getting blue cheese stuffed pears just right, but honestly, most of my best tricks came from messing up a few times first.
- Pick the right pears: Go for firm, ripe pears. Overripe ones collapse under the weight of the filling (been there, done that). If you’re unsure, refrigerate the pears for an hour before slicing—they firm up nicely.
- Don’t overstuff: It’s tempting to cram in as much cheese as possible, but a modest mound is best. Otherwise, the cheese can slide right off (especially if serving warm).
- Toast the nuts: Toasting brings out flavor and crunch. I usually toss walnuts in a dry pan for 2 minutes—watch closely, they burn fast. The difference is huge.
- Bake or not to bake? If you want oozy cheese, bake at 180°C (350°F) for just 7-9 minutes. For a fresher bite, serve cold. Both ways are delicious, but baked pears feel extra fancy.
- Multitasking: Prep the filling while pears chill in lemon water. That way, everything comes together in under 15 minutes.
- Consistency: Use a small ice cream scoop for uniform filling. Makes them look neat (learned this after a few lopsided appetizers!).
- Watch the honey: Drizzle just before serving—otherwise it can soak into the pears and make them mushy.
- Herb hack: Use kitchen scissors to snip fresh thyme or chives over the top for perfect distribution.
After a few rounds, you’ll know what works for you. If you’re serving a crowd, assemble on a large board—it looks gorgeous and lets guests help themselves. The real trick is not to stress—these pears are forgiving, even if your filling isn’t perfect.
Variations & Adaptations
One of the best things about blue cheese stuffed pears is how adaptable they are. You can tweak them for any diet, season, or taste preference.
- Dairy-free/Vegan: Use a plant-based cheese spread (there are some surprisingly good vegan blue cheese options), and swap honey for maple syrup or agave.
- Gluten-free: These are naturally gluten-free—just double-check your blue cheese if you have a severe sensitivity.
- Nut-free: Skip walnuts and use toasted pumpkin seeds or sunflower seeds for crunch (my nephew is allergic, so I always do this for family gatherings).
- Baked variation: For a warm appetizer, bake pear halves with cheese filling at 180°C (350°F) for 7-9 minutes. Top with honey and nuts after baking.
- Seasonal twists: In fall, add dried cranberries or a sprinkle of cinnamon. In summer, use peaches or plums instead of pears—blue cheese loves stone fruit!
- Flavor boosters: Add a dab of fig jam under the filling or finish with a balsamic glaze drizzle. Both add complexity without extra effort.
My personal favorite? Swapping out pears for roasted apples in the winter, and adding a pinch of chili flakes for a little kick. It’s fun to play around—even a sprinkle of lemon zest can change the whole vibe.
Serving & Storage Suggestions
Serve blue cheese stuffed pears slightly chilled or at room temperature—they’re perfect on a platter with sprigs of fresh thyme. For a wow factor, add a drizzle of honey and a scattering of pomegranate seeds before guests arrive.
Pair these pears with sparkling wine, crisp white wine, or even a dry cider. They’re also lovely alongside a simple arugula salad or a charcuterie board.
For storage, cover leftovers tightly and refrigerate for up to 24 hours. The pears may brown a bit, but the flavor stays great. If you want to make them ahead, prep the filling and pears separately, then assemble right before serving. You can also freeze the filling for up to a month (thaw overnight in the fridge).
To reheat baked pears, pop them in a 150°C (300°F) oven for 5 minutes—just enough to warm through. Cold pears are great for snacking the next day (I’ve eaten them straight from the fridge, no shame!). Flavors deepen over time—the honey and cheese meld for a richer taste.
Nutritional Information & Benefits
Each serving (half a pear stuffed with blue cheese and nuts) clocks in at around 180 calories, with 6g protein, 10g fat, and 18g carbs. Pears provide fiber and vitamin C, while blue cheese offers calcium and protein.
This appetizer is naturally gluten-free and can be made vegetarian or vegan with simple swaps. Nuts add healthy fats and crunch, while honey brings antioxidants. Watch out for dairy and nut allergens—easy to adapt if needed.
Personally, I love how this recipe fits into a balanced diet—fruit, protein, and healthy fats in every bite. It’s a treat that feels indulgent but isn’t heavy. Just keep an eye on portion size if you’re watching sodium or sugar.
Conclusion
If you’re hunting for an easy appetizer that looks stunning and tastes unforgettable, blue cheese stuffed pears are the answer. They deliver elegance and comfort in one bite, whether you’re hosting a party or just treating yourself on a quiet evening.
Feel free to tweak the recipe—swap nuts, drizzle with balsamic, or use vegan cheese. That’s the beauty of it: it’s endlessly customizable and always a hit. Honestly, this is one dish I make again and again, for all sorts of occasions, and it never fails to impress.
Ready to give it a try? I’d love to hear how yours turn out—drop a comment below with your adaptations, share with friends on Pinterest, or tag me on social with your beautiful creations. Happy snacking!
FAQs
Can I make blue cheese stuffed pears ahead of time?
Yes! Prep the pears and filling separately, then assemble right before serving to keep things fresh and delicious.
What is the best type of pear for this appetizer?
Bosc or Bartlett pears work best—they hold their shape and have great flavor. Just make sure they’re ripe but still firm.
Can I use a different cheese?
Absolutely. Try goat cheese, feta, or even ricotta if you’re not a blue cheese fan. The recipe is super flexible!
How do I keep the pears from browning?
Brush cut surfaces with lemon juice to prevent browning. You can also cover them loosely and refrigerate until ready to serve.
Is this recipe suitable for people with nut allergies?
Yes—just skip the nuts or use pumpkin seeds for crunch. The appetizer is still delicious without them!
Pin This Recipe!
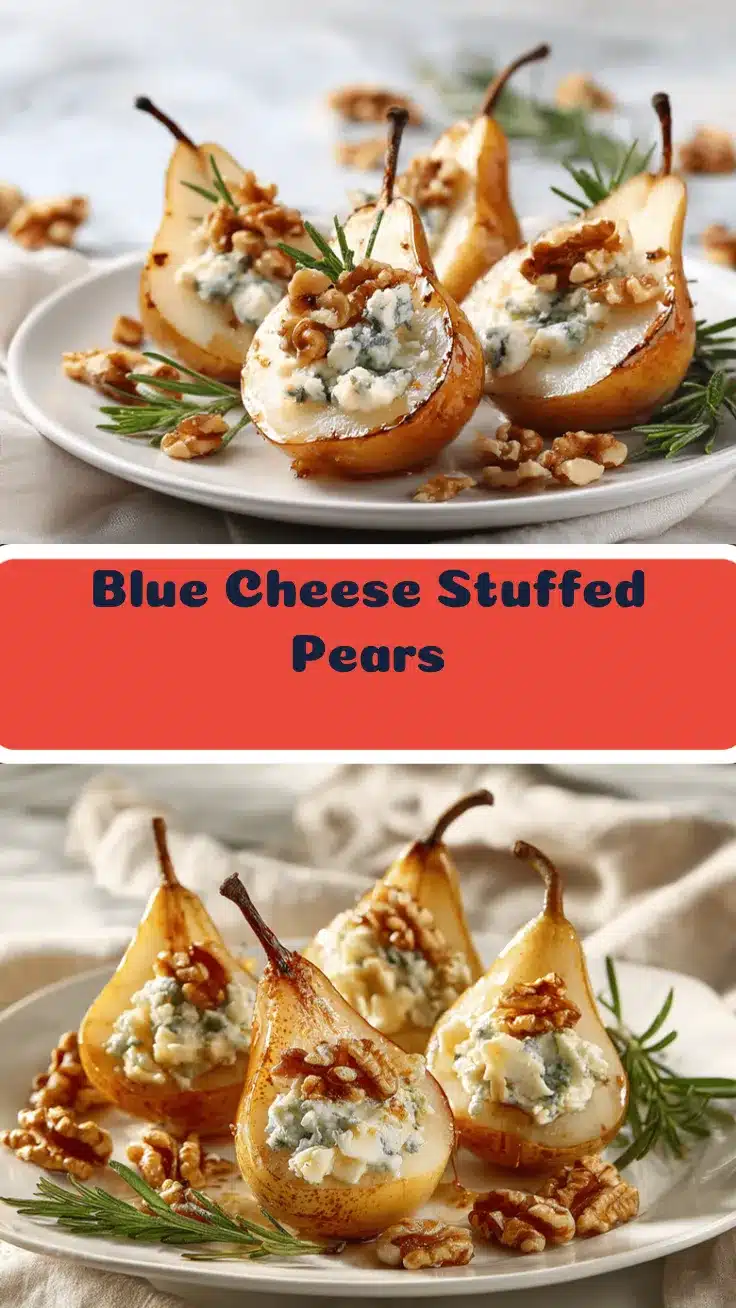
Blue Cheese Stuffed Pears: Easy Elegant Appetizer Recipe

Sharp, creamy blue cheese tucked inside juicy, ripe pears makes for an easy, elegant appetizer that’s perfect for entertaining or a special snack. The sweet, floral notes of pear balance beautifully with tangy blue cheese, crunchy nuts, and a drizzle of honey.
- Prep Time: 10 minutes
- Cook Time: 0-9 minutes
- Total Time: 15 minutes
- Yield: 4 servings (1/2 pear per serving) 1x
- Category: Appetizer
- Cuisine: American
Ingredients
- 2 large ripe pears (Bosc, Bartlett, or Anjou), about 12 oz each
- 3 oz (about 1/2 cup) creamy blue cheese (Gorgonzola, Roquefort, Stilton, or Danish Blue)
- 1 oz (2 tbsp) cream cheese (optional, for milder/creamier filling)
- 2 tbsp toasted walnuts or pecans, roughly chopped (optional, or use pumpkin/sunflower seeds for nut-free)
- 2 tsp honey (or maple syrup for vegan)
- 2 tsp fresh thyme or rosemary leaves (or chives), plus more for garnish
- Cracked black pepper, to taste
- 1 tbsp lemon juice (for brushing pears)
- Optional: pomegranate seeds, microgreens, dried cranberries, balsamic glaze for garnish
Instructions
- Wash and dry the pears. Slice each pear in half lengthwise. Using a melon baller or teaspoon, gently scoop out the seed cavity to create a small bowl for the filling. If desired, slice a thin sliver off the underside so the halves sit flat.
- Brush the cut surfaces of the pears with lemon juice to prevent browning.
- In a small bowl, crumble the blue cheese. For a creamier filling, blend with cream cheese until smooth. Fold in chopped toasted walnuts or pecans, fresh thyme, and a pinch of cracked black pepper.
- Divide the blue cheese mixture evenly among the pear halves, pressing gently into the cavity and mounding slightly.
- If serving warm, preheat oven to 350°F (180°C) and bake stuffed pears for 7-9 minutes until cheese is just softened. (Skip this step for a fresh, cold appetizer.)
- Drizzle each pear half with honey (or maple syrup). Sprinkle with extra nuts, fresh herbs, and a crack of black pepper. Add pomegranate seeds or microgreens if desired.
- Arrange pears on a platter and serve immediately if warm, or chill for up to 2 hours if you prefer them cold.
Notes
For best results, use firm, ripe pears and creamy blue cheese. Toasting the nuts enhances flavor and crunch. For a milder filling, blend blue cheese with cream cheese. Assemble just before serving for maximum freshness. To make vegan, use plant-based cheese and maple syrup. For nut-free, use pumpkin or sunflower seeds. Optional garnishes like pomegranate seeds or balsamic glaze add color and flavor.
Nutrition
- Serving Size: 1/2 stuffed pear
- Calories: 180
- Sugar: 12
- Sodium: 320
- Fat: 10
- Saturated Fat: 4
- Carbohydrates: 18
- Fiber: 3
- Protein: 6
Keywords: blue cheese stuffed pears, pear appetizer, easy appetizer, holiday appetizer, vegetarian appetizer, gluten-free appetizer, party food, elegant appetizer, fruit and cheese, honey, walnuts, entertaining