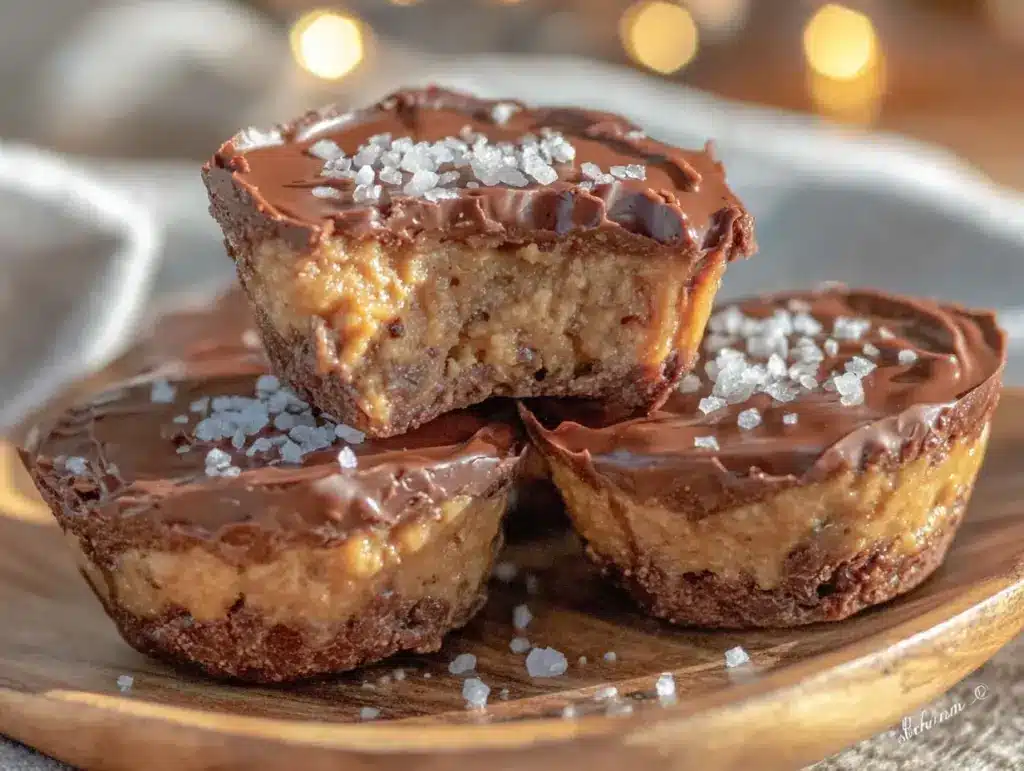
“You’ve got to try these!” my friend said, sliding a small, foil-wrapped square across the counter. I eyed it skeptically—peanut butter cups were nothing new, but this one was labeled “protein-packed.” Honestly, I was half-expecting some chalky, weird-tasting thing that would haunt my snack drawer. But one bite later, I was hooked. These easy creamy protein peanut butter cups somehow managed to balance that rich, luscious peanut butter flavor with a smooth, velvety texture that felt anything but diet food. The surprise was real.
Turns out, they came from an impromptu weekend experiment when my usual sweet tooth clashed with my gym schedule. I didn’t want to sacrifice taste for nutrition, and this recipe was the answer. I ended up making them three times that week—okay, maybe four. Each batch a little tweak here, a little more creaminess there, until it felt just right. The creamy center, the subtle sweetness, and the satisfying protein punch made this a snack I actually looked forward to.
What’s really cool is how simple the ingredients are—nothing fancy or hard to find—and the process barely takes any time. These peanut butter cups became my go-to treat, especially after workouts or when I just needed a little pick-me-up that didn’t derail my efforts. I’m sharing this recipe because, well, sometimes the best things happen by accident, or at least by happy necessity. And this one stuck around because it just works.
Why You’ll Love This Recipe
Here’s the deal: not every protein snack tastes like a treat, but this easy creamy protein peanut butter cups recipe flips that idea on its head. These cups are the perfect balance of indulgence and nutrition.
- Quick & Easy: You can whip these up in under 20 minutes, making them perfect for when life’s busy but you need a wholesome snack fast.
- Simple Ingredients: No weird powders or specialty items—just pantry staples like peanut butter, protein powder, and a few extras.
- Perfect for Anytime: Whether it’s a post-workout snack, a mid-afternoon pick-me-up, or a little dessert after dinner, these cups fit the bill.
- Crowd-Pleaser: I’ve had plenty of friends (including some who don’t usually go for “healthy” treats) ask for the recipe because they loved the creamy, rich texture.
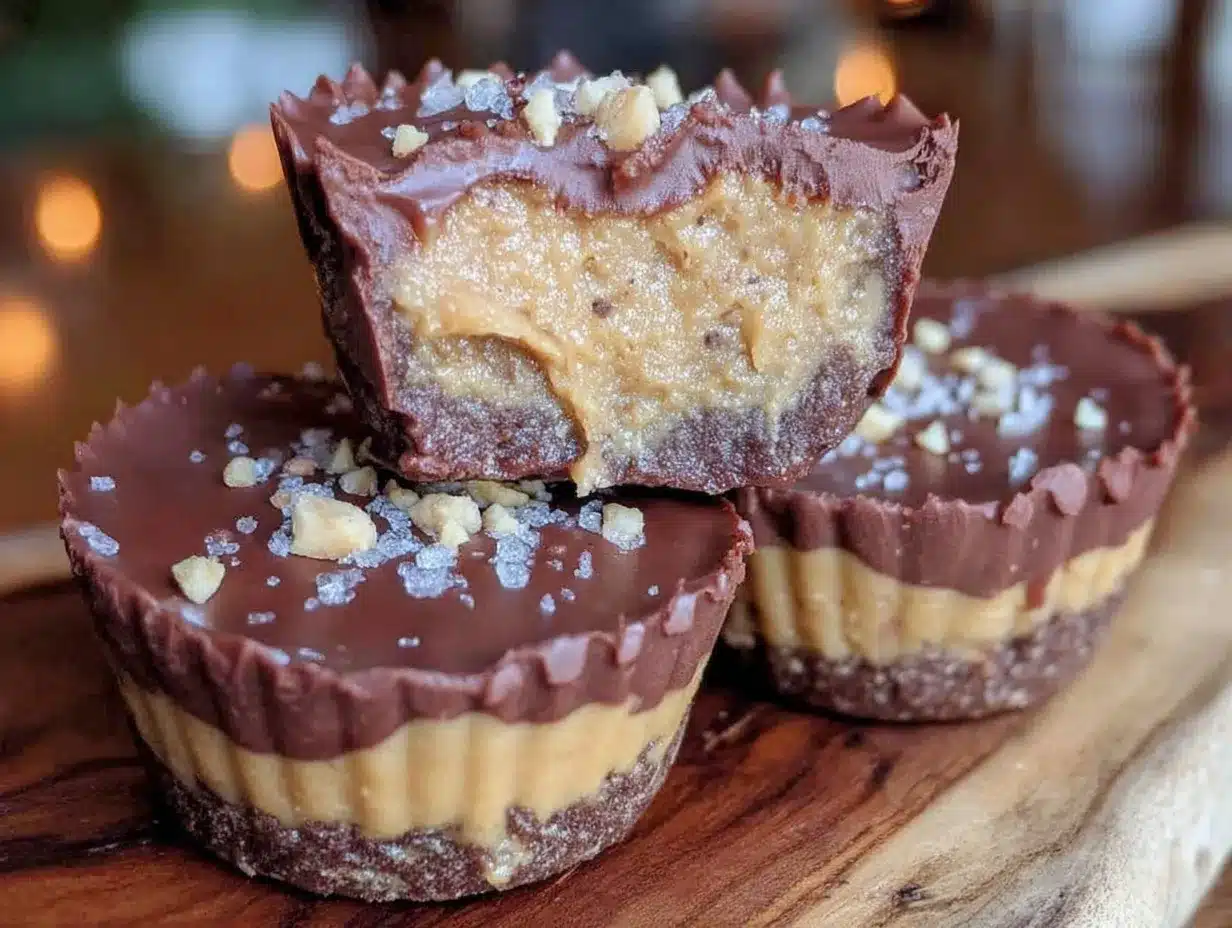
- Unbelievably Delicious: The creamy peanut butter center combined with a subtle chocolate shell gives you that classic peanut butter cup feel—without the guilt.
What sets this recipe apart? It’s the creamy texture that comes from blending cottage cheese with peanut butter and protein powder—yes, cottage cheese! It might sound odd at first, but it’s a game-changer for smoothness and adds a punch of protein without compromising flavor. Plus, the chocolate shell is light, so it doesn’t overpower the creamy center.
Honestly, it’s a recipe that satisfies that sweet craving while keeping you on track, which is why it’s become a staple in my kitchen. And if you’re curious about other easy, nourishing dishes, I often turn to recipes like the irresistible crockpot green bean casserole for quick family meals or the air fryer honey glazed carrots as a sweet side that’s just as fuss-free.
What Ingredients You Will Need
This recipe uses simple, wholesome ingredients to deliver bold flavor and satisfying texture without the fuss. All are easy to find in most grocery stores, and most are pantry staples you probably already have.
- Natural Peanut Butter: Creamy, unsweetened is best for that rich flavor and smooth texture. Avoid the oily separation varieties for easier mixing.
- Whey or Plant-Based Protein Powder: Vanilla flavor works well here to complement the peanut butter. I personally like Optimum Nutrition Gold Standard for whey or Vega One for a plant-based option.
- Cottage Cheese: Small-curd, low-fat cottage cheese adds creaminess and boosts protein without a strong dairy tang. Feel free to swap for Greek yogurt if you prefer.
- Honey or Maple Syrup: Just a touch for natural sweetness that balances the peanut butter’s saltiness.
- Cocoa Powder: Unsweetened cocoa powder is used for the chocolate shell, giving it depth without extra sugar.
- Coconut Oil: Helps the chocolate shell set with a glossy finish and subtle richness.
- Vanilla Extract: A splash to round out the flavors and add warmth.
- Sea Salt: Just a pinch to enhance all the flavors—don’t skip this!
If you want to customize: try almond butter instead of peanut butter for a different nutty twist. For a gluten-free option, make sure your protein powder is certified gluten-free. In warmer months, I sometimes add a handful of crushed freeze-dried berries to the filling for a fruity surprise.
Equipment Needed
- Mixing Bowls: One large for combining the filling, and a smaller one for melting the chocolate shell ingredients.
- Electric Mixer or Blender: Helpful to blend the cottage cheese and peanut butter until ultra-smooth, but a strong food processor works fine too.
- Mini Muffin Pan or Silicone Molds: Ideal for shaping the peanut butter cups. I prefer silicone because they pop out easily without cracking.
- Spoon or Small Cookie Scoop: For portioning the filling evenly into molds.
- Double Boiler or Microwave-Safe Bowl: For gently melting the cocoa powder and coconut oil mixture.
- Refrigerator or Freezer Space: To chill and set the cups properly. Patience here really pays off!
On a budget? You can skip the electric mixer and just stir vigorously by hand—takes a bit longer but works. Silicone molds might be pricey, but mini muffin tins lined with paper cups do the trick. Just don’t rush the chilling stage; the texture depends on it.
Preparation Method
- Blend the Filling (10 minutes): In a blender or electric mixer, combine 1 cup (225g) of small-curd cottage cheese, 1/2 cup (128g) creamy peanut butter, 1/4 cup (30g) vanilla protein powder, 2 tablespoons (30ml) honey or maple syrup, and 1 teaspoon vanilla extract. Blend until smooth and creamy. If it’s too thick, add a splash of unsweetened almond milk to loosen it slightly.
- Melt the Chocolate Shell (5 minutes): In a microwave-safe bowl, gently melt 1/4 cup (56g) coconut oil with 1/4 cup (25g) unsweetened cocoa powder, stirring every 20 seconds until combined and glossy. Add a pinch of sea salt.
- Prepare the Molds (5 minutes): Spoon about 1 teaspoon of the melted chocolate mixture into each mini muffin cup or silicone mold. Use the back of the spoon to spread it evenly, creating a thin base layer. Pop the tray into the freezer for 5 minutes to harden.
- Add the Filling (5 minutes): Remove the molds from the freezer and add about 1 tablespoon of the creamy peanut butter filling on top of the hardened chocolate base. Smooth the tops gently with a spoon or your fingers.
- Seal with Chocolate (5 minutes + chilling time): Pour another teaspoon of the melted chocolate mixture over each cup, covering the filling completely. Return the tray to the freezer for at least 20 minutes to set fully.
Pro tip: If your chocolate mixture hardens while working, warm it gently again to keep it pourable. Also, don’t skip chilling; it’s what gives you that perfect snap and creamy center contrast.
Cooking Tips & Techniques
One thing I learned the hard way is to not rush the chilling steps. Trying to skip the freezer time leads to cups that fall apart or have a grainy texture. Patience pays off big time here.
When blending the filling, make sure your cottage cheese is well-drained if it’s watery—otherwise, your filling might be too loose. You can also pulse the mixture a few times rather than continuous blending to prevent overheating, which can change the texture.
For the chocolate shell, using coconut oil instead of butter keeps it firm but smooth when chilled, and it melts quickly in your mouth later. Don’t use regular butter—it won’t set the same way.
If you want to get fancy, sprinkle a tiny bit of flaky sea salt on top before the final chilling for a salty-sweet hit that surprises people (and trust me, it’s addicting).
Multitasking tip: Prepare the filling while melting the chocolate and chilling the base layers. This way, everything flows without waiting too long.
Variations & Adaptations
- Dietary Swap: Replace peanut butter with almond or cashew butter for different nut flavors. For nut-free, sunflower seed butter works great.
- Vegan Version: Use plant-based protein powder, coconut yogurt in place of cottage cheese, and maple syrup instead of honey.
- Flavor Boost: Add a teaspoon of cinnamon or a pinch of cayenne to the filling for a spicy twist.
- Texture Variation: Mix in 2 tablespoons of crushed roasted peanuts or cacao nibs for crunch inside the creamy filling.
- Seasonal Add-in: Stir in freeze-dried berries or chopped dried cherries for a fruity surprise that brightens the peanut butter richness.
One personal favorite was adding a splash of espresso powder to the chocolate coating—gives a subtle mocha vibe that’s perfect for a mid-afternoon indulgence.
Serving & Storage Suggestions
Serve these protein peanut butter cups chilled straight from the fridge or freezer for the best creamy, firm texture. They’re perfect on their own or paired with a hot cup of coffee or tea.
If you’re putting together a snack platter, these pair beautifully with fresh fruit or even a crisp side salad like the vibrant green bean and tomato salad with feta, balancing indulgence with freshness.
Store leftovers in an airtight container in the fridge for up to 5 days, or freeze them for up to a month. When reheating, let them soften at room temperature for 10 minutes or microwave for 10 seconds—just enough to take the chill off without melting the chocolate.
Flavors actually mellow and deepen a bit after a day or two in the fridge, so if you can resist, letting them sit overnight is a nice little reward.
Nutritional Information & Benefits
Each peanut butter cup roughly contains:
| Nutrient | Amount per Serving (1 cup) |
|---|---|
| Calories | 120-140 kcal |
| Protein | 8-10 grams |
| Fat | 8 grams (mostly healthy fats) |
| Carbohydrates | 6 grams |
| Fiber | 2 grams |
This recipe is a solid source of protein, thanks to the cottage cheese and protein powder, which helps with muscle recovery and satiety. The peanut butter adds heart-healthy fats and some fiber, making these cups more than just a sweet treat—they’re a snack that can fuel your day.
Keep in mind, if you have a dairy allergy, swap cottage cheese for a non-dairy alternative and ensure your protein powder is allergen-friendly. Also, peanut allergies mean you’ll want to go for seed butters instead.
Conclusion
This easy creamy protein peanut butter cups recipe isn’t just a quick fix for a snack craving—it’s a little homemade treat that fits into your active, busy life without fuss. I love how it combines simple ingredients into something that feels special but isn’t complicated or time-consuming. You can tweak it to your taste, whether that’s adding a bit of crunch or making it vegan, and it still shines.
Honestly, making these cups felt like reclaiming a bit of joy when I thought I had to sacrifice flavor for health. That’s why I keep coming back to this recipe and why I hope it finds a spot in your routine too. If you try it, I’d love to hear how you make it your own or what twists you add—drop me a comment or share your experience!
Here’s to creamy, dreamy peanut butter cups that actually make you feel good.
FAQs about Easy Creamy Protein Peanut Butter Cups
Can I use other nut butters instead of peanut butter?
Absolutely! Almond, cashew, or even sunflower seed butter work wonderfully and offer different flavor profiles.
How long do these peanut butter cups last in the fridge?
Stored in an airtight container, they keep well for up to 5 days in the fridge and can be frozen for about a month.
Is it possible to make them dairy-free?
Yes, swap cottage cheese for a non-dairy yogurt like coconut or almond-based yogurt and choose a plant-based protein powder.
What protein powder works best for this recipe?
Vanilla-flavored whey or plant-based protein powders with a mild taste are ideal. Avoid flavored powders with strong additives that can overpower the peanut butter.
Can I make these peanut butter cups ahead for parties?
Definitely! They keep well chilled and can be made a day or two in advance, making them perfect for gatherings or meal prep.
Pin This Recipe!
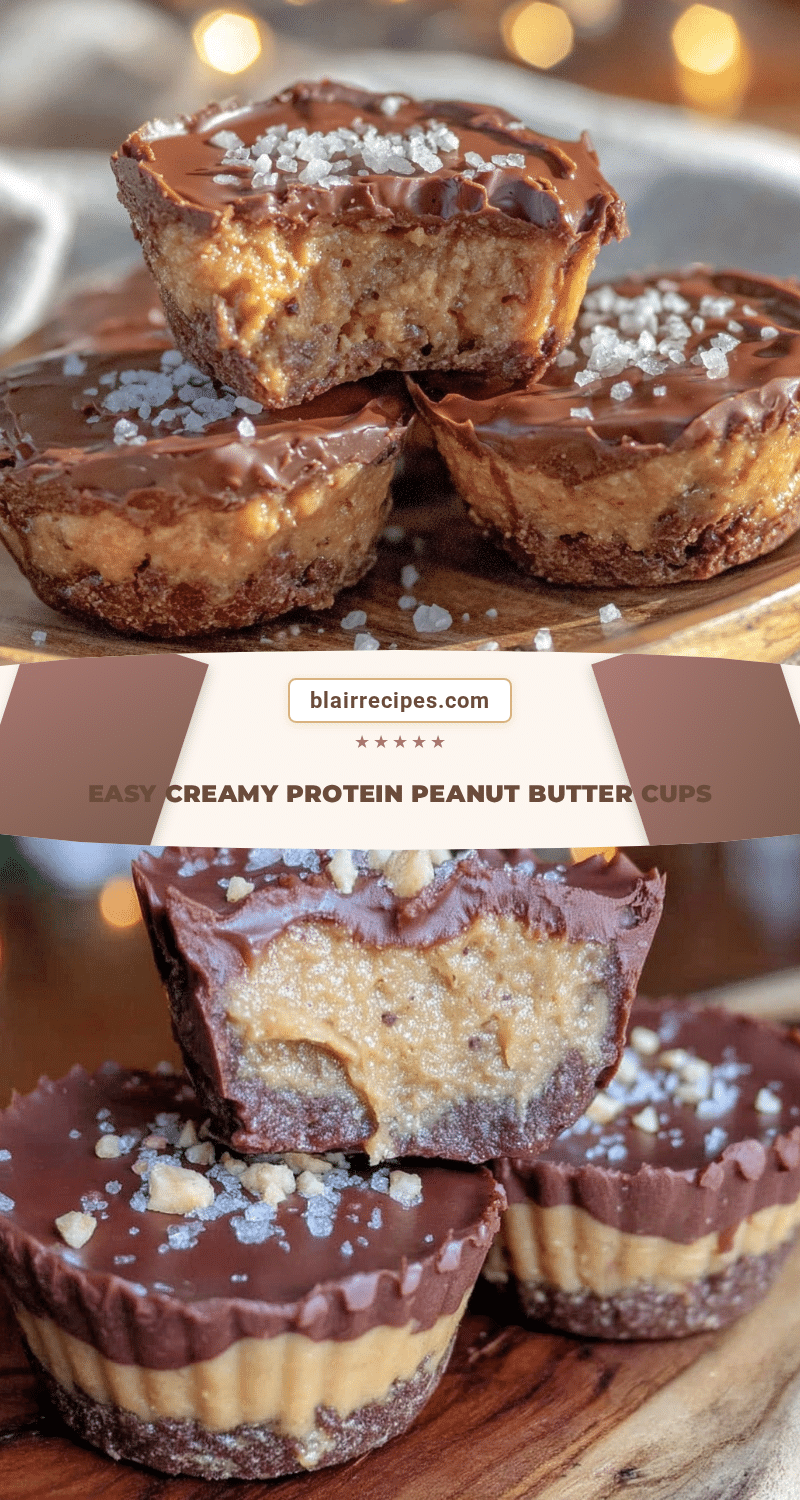
Easy Creamy Protein Peanut Butter Cups

These easy creamy protein peanut butter cups combine rich peanut butter flavor with a smooth, velvety texture and a protein punch, making them a perfect quick and nutritious snack.
- Prep Time: 10 minutes
- Cook Time: 15 minutes
- Total Time: 25 minutes plus chilling time
- Yield: 12 mini peanut butter cups 1x
- Category: Snack
- Cuisine: American
Ingredients
- 1 cup (225g) small-curd low-fat cottage cheese
- 1/2 cup (128g) creamy natural peanut butter (unsweetened)
- 1/4 cup (30g) vanilla whey or plant-based protein powder
- 2 tablespoons (30ml) honey or maple syrup
- 1 teaspoon vanilla extract
- 1/4 cup (56g) coconut oil
- 1/4 cup (25g) unsweetened cocoa powder
- Pinch of sea salt
- Optional: splash of unsweetened almond milk to loosen filling
Instructions
- Blend the filling: In a blender or electric mixer, combine cottage cheese, peanut butter, protein powder, honey or maple syrup, and vanilla extract. Blend until smooth and creamy. Add a splash of almond milk if too thick.
- Melt the chocolate shell: Gently melt coconut oil with cocoa powder in a microwave-safe bowl, stirring every 20 seconds until glossy. Add a pinch of sea salt.
- Prepare the molds: Spoon about 1 teaspoon of melted chocolate into each mini muffin cup or silicone mold. Spread evenly to create a thin base layer. Freeze for 5 minutes to harden.
- Add the filling: Remove molds from freezer and add about 1 tablespoon of the peanut butter filling on top of the hardened chocolate base. Smooth the tops gently.
- Seal with chocolate: Pour another teaspoon of melted chocolate over each cup to cover the filling. Return to freezer for at least 20 minutes to set fully.
Notes
Do not skip chilling steps to ensure proper texture and snap. Use coconut oil instead of butter for the chocolate shell. Drain cottage cheese well if watery. Warm chocolate mixture gently if it hardens while working. Optional: sprinkle flaky sea salt on top before final chilling for a salty-sweet hit.
Nutrition
- Serving Size: 1 mini peanut butter
- Calories: 130
- Fat: 8
- Carbohydrates: 6
- Fiber: 2
- Protein: 9
Keywords: protein peanut butter cups, healthy snack, creamy peanut butter cups, protein snack, homemade peanut butter cups, easy peanut butter cups


