You know that moment when you’re craving something rich and chocolatey, but also a little unexpected? That’s exactly how these fudgy red velvet brownies with white chocolate chips came to be in my kitchen. It started on a weekday evening when I was digging through my pantry, hoping to whip up a dessert without a long grocery run. Honestly, I wasn’t too convinced that mixing red velvet with extra chocolate chips would work out—but I was curious enough to try.
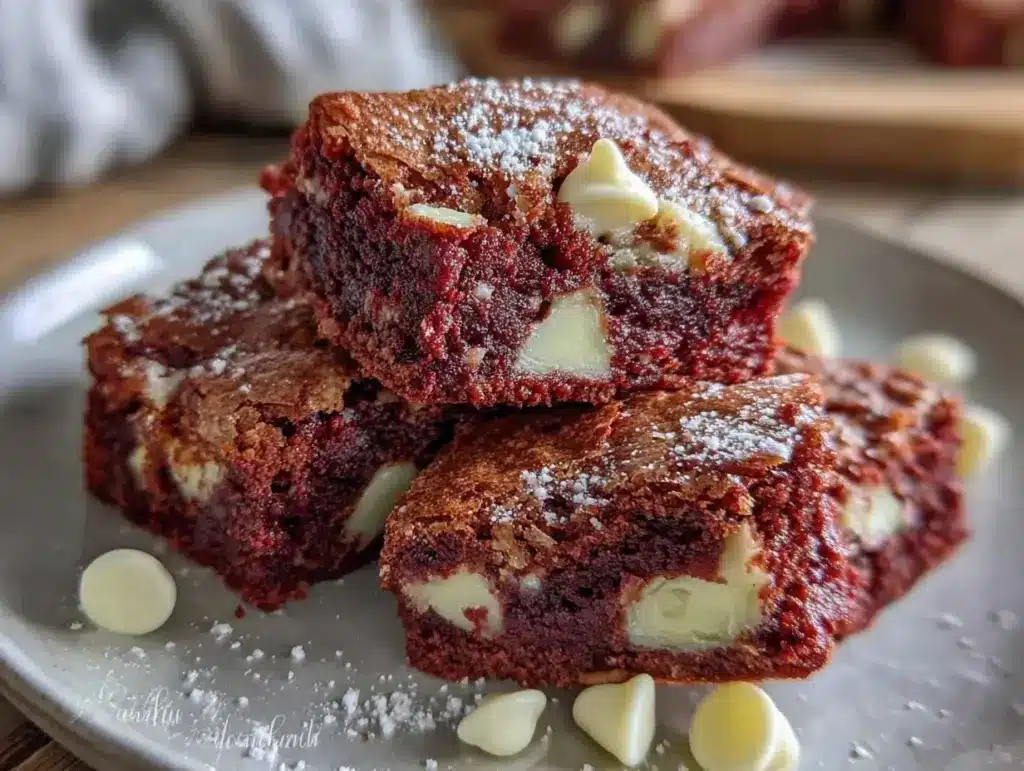
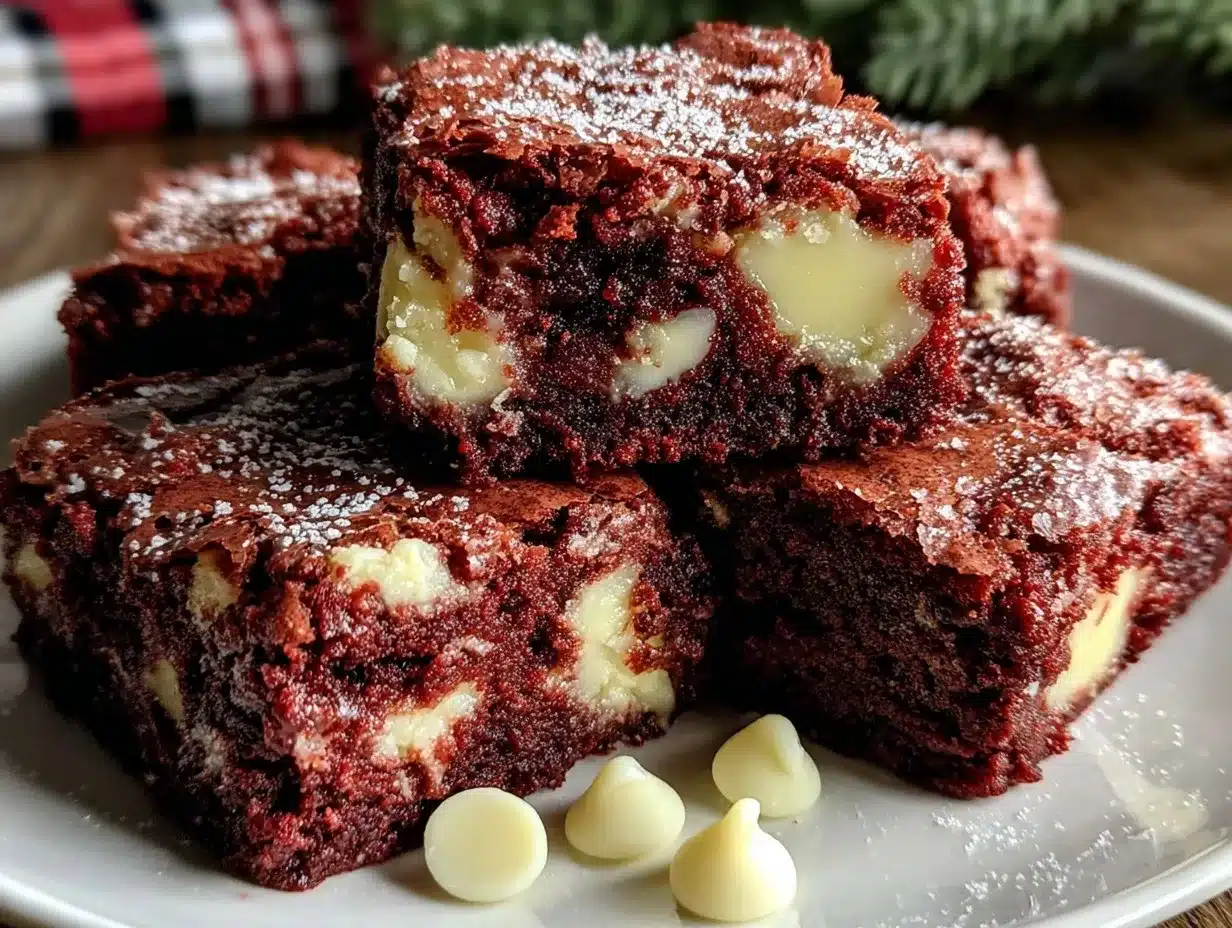
After a few tweaks and a couple of taste tests (okay, maybe more than a couple), these brownies turned out to be something pretty special. The deep red color always catches people off guard—especially when they bite into that dense, fudgy texture and then get a surprise hit of creamy white chocolate melting in their mouth. It’s not your everyday brownie, but it’s the kind that feels just right for a cozy night in or an impromptu gathering.
What really stuck with me is how the recipe balances that classic red velvet tang with the softness and sweetness of white chocolate chips—something I hadn’t seen done well before. It’s a little indulgent, a little nostalgic, and honestly, it’s become a go-to when I want to impress without fuss. Somehow, the recipe sort of crept into my rotation, and now I find myself making it several times a month (not that I’m complaining).
It’s funny how a recipe born from a “let’s just see what happens” moment can end up feeling like a small, reliable comfort. That’s why I keep coming back to these fudgy red velvet brownies with white chocolate chips, and why I think you might too.
Why You’ll Love This Recipe
- Quick & Easy: This recipe comes together in about 35 minutes, making it perfect for busy evenings or last-minute dessert needs.
- Simple Ingredients: You don’t need any fancy or hard-to-find items—most are pantry staples you probably already have.
- Perfect for Any Occasion: Whether it’s a birthday treat, a cozy night in, or a casual potluck, these brownies fit right in.
- Crowd-Pleaser: Kids and adults alike rave about the fudgy texture and the sweet bursts of white chocolate.
- Unbelievably Delicious: The combination of red velvet’s subtle cocoa flavor with creamy white chocolate chips creates a unique, satisfying bite every time.
This isn’t just any red velvet brownie recipe. What sets it apart is the perfect fudgy texture achieved by carefully balancing the wet and dry ingredients, plus the white chocolate chips that melt just enough to add gooey pockets of sweetness. Honestly, it’s the kind of dessert that makes you pause mid-chew and smile—comfort food with a twist that feels both fancy and familiar.
Plus, it’s a recipe that’s easy to tweak depending on what you have on hand or your mood. I’ve made it with dairy-free white chocolate and it still turned out great, so there’s some flexibility if you need it. It’s become my go-to when I want a dessert that feels special but doesn’t require hours in the kitchen or a dozen trips to the store.
What Ingredients You Will Need
This recipe uses simple, wholesome ingredients to deliver bold flavor and a satisfyingly fudgy texture without the fuss. Most are common in any kitchen, and a few tips will help you get the best results.
- All-purpose flour (1 cup / 120 grams) – provides structure; can swap with almond flour for a gluten-free option but expect a slightly different texture.
- Cocoa powder (2 tablespoons) – use unsweetened natural cocoa for that classic red velvet depth.
- Baking powder (1/2 teaspoon) – for just a touch of lift.
- Salt (1/4 teaspoon) – balances sweetness and enhances flavor.
- Unsalted butter (1/2 cup / 113 grams), melted – adds richness; I recommend using a good-quality brand like Kerrygold for the best taste.
- Sugar (3/4 cup / 150 grams) – granulated white sugar to sweeten without overpowering.
- Large eggs (2), at room temperature – bind everything together and add moisture.
- Vanilla extract (1 teaspoon) – deepens flavor.
- Red food coloring (1 tablespoon) – classic red velvet hue; gel or liquid both work.
- White chocolate chips (3/4 cup / 130 grams) – creamy bursts of sweetness throughout; I prefer Ghirardelli for their smooth melt.
- Buttermilk (1/4 cup / 60 ml) – adds tang and tender crumb; can substitute with milk plus 1 teaspoon lemon juice if needed.
Equipment Needed
- Mixing bowls: One medium and one large, preferably glass or stainless steel for easy cleanup.
- Measuring cups and spoons: Accurate measurements are key, especially with baking powder and cocoa powder.
- Whisk and spatula: For mixing and folding ingredients gently.
- 8×8-inch baking pan: A standard square pan works perfectly; line with parchment paper for easy removal.
- Oven: Preheated to 350°F (175°C) – make sure to let it fully heat before baking.
- Cooling rack: Helps the brownies cool evenly without becoming soggy.
If you don’t have a whisk, a fork works in a pinch, and a silicone spatula is great for scraping every bit of batter out of the bowl. I’ve also tried baking in a glass pan versus metal, and honestly, the metal pan gives a nicer crust without drying out the edges.
Preparation Method
- Preheat your oven to 350°F (175°C) and line an 8×8-inch baking pan with parchment paper, leaving some overhang for easy lifting later. This usually takes about 10 minutes.
- Mix dry ingredients: In a medium bowl, whisk together 1 cup (120 g) all-purpose flour, 2 tablespoons unsweetened cocoa powder, 1/2 teaspoon baking powder, and 1/4 teaspoon salt until evenly combined. The cocoa powder adds that subtle chocolate depth without overpowering the red velvet flavor.
- Combine wet ingredients: In a large bowl, whisk 1/2 cup (113 g) melted unsalted butter with 3/4 cup (150 g) granulated sugar until smooth and glossy. Add 2 large eggs, one at a time, whisking well after each addition. Stir in 1 teaspoon vanilla extract and 1 tablespoon red food coloring, mixing until the batter is a vibrant red color. This step usually takes about 5 minutes and sets the tone for the brownies’ signature look and taste.
- Add buttermilk: Stir in 1/4 cup (60 ml) buttermilk to the wet mixture. This helps keep the brownies tender and moist.
- Combine wet and dry: Gradually fold the dry ingredients into the wet, using a spatula. Be careful not to overmix; you want a thick, smooth batter with no flour pockets, but a little streakiness is okay. Overmixing can make the brownies tough.
- Fold in white chocolate chips: Gently fold in 3/4 cup (130 g) white chocolate chips, distributing them evenly without breaking them up too much.
- Pour batter into prepared pan: Spread it out evenly, smoothing the top with a spatula. The batter should be thick but spreadable.
- Bake: Place the pan in the oven and bake for 25-30 minutes. The brownies are done when a toothpick inserted near the center comes out with a few moist crumbs but no raw batter. Don’t overbake, or they’ll lose that signature fudgy texture.
- Cool: Let the brownies cool completely in the pan on a wire rack—this usually takes about 1 hour. Cooling helps them set properly and makes cutting easier.
- Slice and serve: Use the parchment paper overhang to lift the brownies out, then cut into 16 squares. Enjoy the creamy white chocolate pockets and that rich red velvet crumb.
Cooking Tips & Techniques
Getting these brownies just right means paying attention to a few little details I learned from trial and error. For example, melting the butter and mixing it with sugar while still warm helps the sugar dissolve better, giving a smoother batter. Also, letting your eggs come to room temperature before mixing makes it easier to incorporate air, which improves texture.
One common mistake is overbaking. If you leave them in too long, the brownies turn cakey and dry. The toothpick test is your best friend here—look for moist crumbs, not a clean stick. I’ve ruined batches trying to “play it safe” by baking longer, so trust the timing and check early.
Another tip: folding in the white chocolate chips at the end preserves their shape and prevents them from melting into the batter completely. If you add them too early, you lose those delightful pockets of gooey sweetness.
When spreading the batter, use a silicone spatula to gently smooth the surface without pressing down too hard. This keeps the texture light and fudgy rather than compacted.
Lastly, cooling is crucial. Cutting into warm brownies is tempting, but they’ll crumble and get messy. Waiting until fully cooled helps them hold their shape and makes every bite that much better.
Variations & Adaptations
- Dietary Variation: For a gluten-free version, swap all-purpose flour with a 1:1 gluten-free baking flour blend. Use dairy-free white chocolate chips to keep it vegan-friendly.
- Seasonal Twist: Add a handful of fresh raspberries or dried cranberries along with the white chocolate chips for a tart contrast that brightens the richness.
- Flavor Boost: Stir in a teaspoon of instant espresso powder to intensify the chocolate notes without making the brownies taste like coffee.
- Nut Addition: Toss in chopped pecans or walnuts if you like a bit of crunch and texture variation.
- Personal Tried Variation: I once swapped the white chocolate chips for chunks of cream cheese, swirling them in before baking to create a marbled effect. It was a hit—rich, tangy, and just a bit unexpected.
Serving & Storage Suggestions
These fudgy red velvet brownies are best served at room temperature, which allows the white chocolate chips to stay soft but not overly melty. For a little extra treat, warm them slightly in the microwave for 10-15 seconds to get those pockets of white chocolate deliciously gooey again.
Pair these brownies with a cold glass of milk or a cup of strong coffee to balance the sweetness. They also work well alongside vanilla ice cream or fresh berries for a more decadent dessert.
To store, keep the brownies in an airtight container at room temperature for up to 3 days. For longer storage, wrap them tightly and freeze for up to 2 months. Thaw overnight in the fridge before serving.
Flavors actually deepen a bit after a day, so if you can wait, letting them sit wrapped overnight enhances the moist, fudgy texture and the white chocolate’s subtle creaminess.
Nutritional Information & Benefits
Each serving of these fudgy red velvet brownies (assuming 16 servings) contains approximately:
| Calories | 190 |
|---|---|
| Fat | 11g |
| Carbohydrates | 22g |
| Protein | 2g |
| Sugar | 17g |
The key ingredients like cocoa powder bring antioxidants, and buttermilk adds a touch of protein and calcium. Using real butter and quality chocolate chips means you’re getting rich flavor and satisfying fats, which can help with satiety. Just keep in mind the sugar content—these brownies are definitely an indulgence best enjoyed in moderation.
For those with dietary concerns, the recipe easily adapts to gluten-free and dairy-free variations, making it accessible to more people. I appreciate that balance—it lets me enjoy dessert without too much guilt or fuss.
Conclusion
These fudgy red velvet brownies with white chocolate chips are exactly the kind of dessert that turns an ordinary day into something special. They’re rich, moist, and full of creamy pockets that surprise you with every bite. I love how easy they are to make without needing a dozen ingredients or complicated steps.
Feel free to tweak the recipe to fit your tastes or dietary needs—I promise it holds up well to changes. Whether you’re baking for yourself, family, or friends, these brownies offer a comforting, delicious treat that’s hard to forget.
Give them a try, and let me know how you customize yours. I’m always excited to hear new ideas or stories about how this recipe fits into your kitchen.
Happy baking and savor every fudgy bite!
FAQs
Can I use regular chocolate chips instead of white chocolate chips?
Yes, you can swap white chocolate chips with regular semisweet or milk chocolate chips for a different flavor profile. The brownies will be a bit richer and less sweet.
How do I make these brownies vegan?
Replace eggs with flax eggs (1 tablespoon flaxseed meal + 3 tablespoons water per egg), use dairy-free butter or coconut oil, and choose dairy-free white chocolate chips. Also, substitute buttermilk with almond or soy milk mixed with a splash of lemon juice.
Why are my red velvet brownies dense and not fudgy?
Overmixing the batter or overbaking can cause dense brownies. Mix just until combined and watch the baking time closely—look for moist crumbs on a toothpick, not a clean one.
Can I prepare the batter ahead of time?
Yes, you can prepare the batter and refrigerate it for up to 24 hours before baking. Just let it come to room temperature before baking to ensure even cooking.
What’s the best way to store leftover brownies?
Store brownies in an airtight container at room temperature for up to 3 days or freeze wrapped tightly for up to 2 months. Thaw overnight in the fridge before serving.
Pin This Recipe!
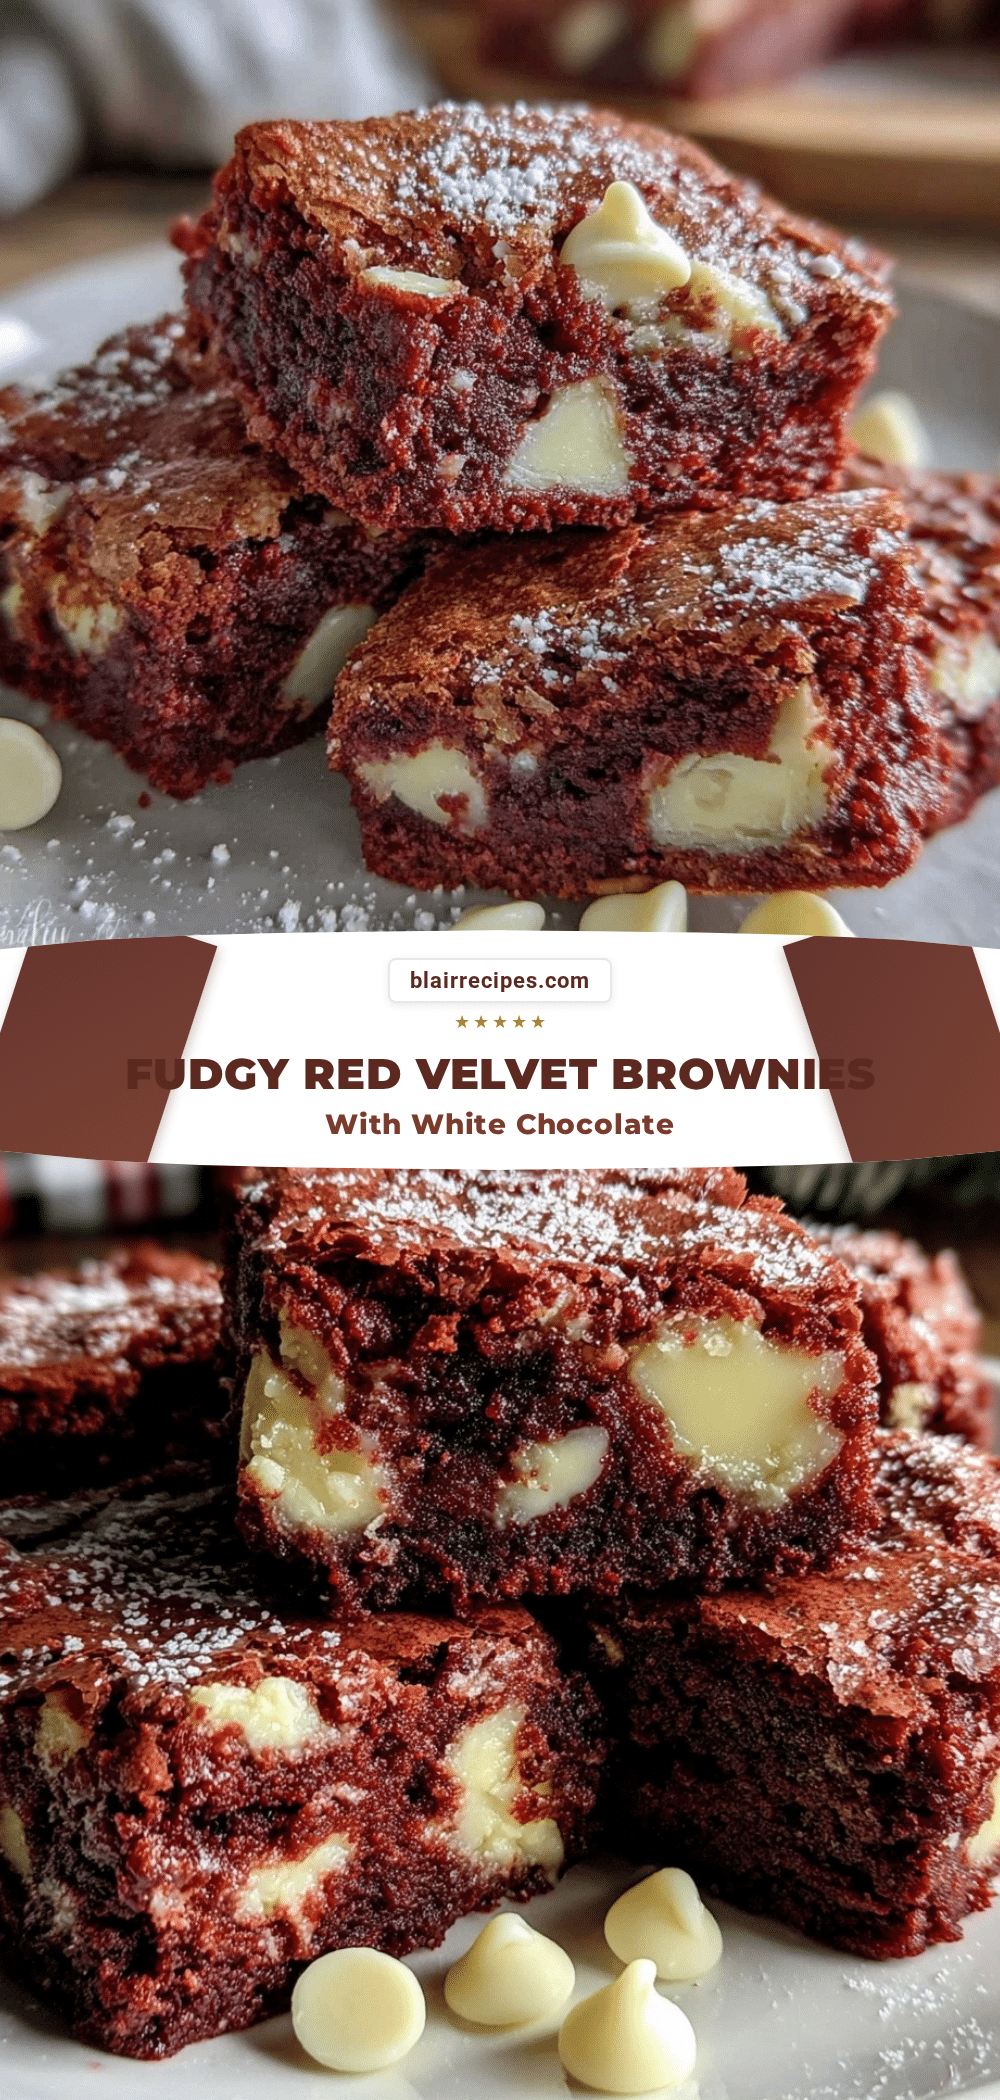
Fudgy Red Velvet Brownies Recipe Easy Homemade with White Chocolate Chips

These fudgy red velvet brownies with white chocolate chips offer a rich, moist texture with creamy bursts of sweetness, perfect for cozy nights or gatherings. The recipe is quick, easy, and uses simple pantry staples.
- Prep Time: 15 minutes
- Cook Time: 25-30 minutes
- Total Time: 40-45 minutes
- Yield: 16 servings 1x
- Category: Dessert
- Cuisine: American
Ingredients
- 1 cup (120 grams) all-purpose flour
- 2 tablespoons unsweetened cocoa powder
- 1/2 teaspoon baking powder
- 1/4 teaspoon salt
- 1/2 cup (113 grams) unsalted butter, melted
- 3/4 cup (150 grams) granulated sugar
- 2 large eggs, at room temperature
- 1 teaspoon vanilla extract
- 1 tablespoon red food coloring (gel or liquid)
- 3/4 cup (130 grams) white chocolate chips
- 1/4 cup (60 ml) buttermilk
Instructions
- Preheat your oven to 350°F (175°C) and line an 8×8-inch baking pan with parchment paper, leaving some overhang for easy lifting later.
- In a medium bowl, whisk together the flour, cocoa powder, baking powder, and salt until evenly combined.
- In a large bowl, whisk melted butter with sugar until smooth and glossy. Add eggs one at a time, whisking well after each addition.
- Stir in vanilla extract and red food coloring until the batter is vibrant red.
- Add buttermilk to the wet mixture and stir to combine.
- Gradually fold the dry ingredients into the wet mixture using a spatula, being careful not to overmix.
- Gently fold in white chocolate chips, distributing them evenly.
- Pour batter into the prepared pan and smooth the top with a spatula.
- Bake for 25-30 minutes until a toothpick inserted near the center comes out with a few moist crumbs.
- Cool the brownies completely in the pan on a wire rack for about 1 hour.
- Lift brownies out using the parchment paper overhang and cut into 16 squares before serving.
Notes
Melt butter and mix with sugar while warm for smoother batter. Use room temperature eggs for better texture. Avoid overmixing to keep brownies fudgy. Fold in white chocolate chips last to preserve pockets of sweetness. Cool completely before cutting to prevent crumbling. For gluten-free, substitute flour with gluten-free baking blend and use dairy-free white chocolate chips for vegan option.
Nutrition
- Serving Size: 1 brownie (1/16th of
- Calories: 190
- Sugar: 17
- Fat: 11
- Carbohydrates: 22
- Protein: 2
Keywords: red velvet brownies, fudgy brownies, white chocolate chips, easy brownies, homemade dessert, quick brownies, chocolate dessert


