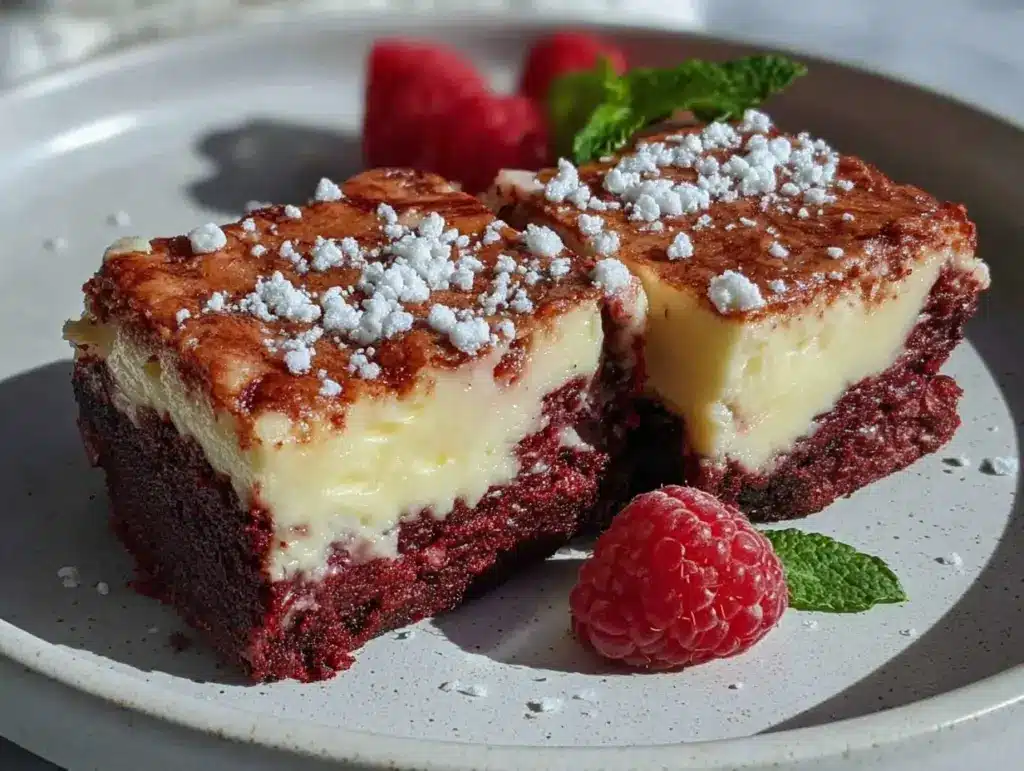
There was this one chilly February afternoon when I found myself scrambling for a last-minute dessert idea for a casual Valentine’s Day gathering. Honestly, I wasn’t aiming for anything fancy—just something that felt a little special without the fuss. I had a box of red velvet cake mix sitting in the pantry, and a block of cream cheese in the fridge, so I thought, why not combine them? What started as a simple experiment turned into these decadent red velvet heart-shaped cheesecake bars that quickly became the star of the day.
The texture caught me off guard—silky cream cheese swirled perfectly with that tender, cocoa-infused red velvet crumb. Plus, shaping them into hearts added a whimsical touch that made everyone smile (even my skeptical teenage nephew who usually snubs sweets). It’s funny how a dessert born from a last-minute hustle can sneak its way into your regular rotation, right?
These bars aren’t just pretty—they bring together velvety richness and just the right hint of tang, making them feel indulgent but not over the top. And I love that you can prep them ahead, so there’s minimal stress on the big day. Honestly, once you try these decadent red velvet heart-shaped cheesecake bars, you’ll understand why I keep making them every February (and sometimes in between, too).
Why You’ll Love This Recipe
- Quick & Easy: This recipe comes together in under 45 minutes, perfect for busy evenings or sudden dessert cravings.
- Simple Ingredients: You likely have most of these pantry staples—cream cheese, sugar, eggs, and a classic red velvet cake mix.
- Perfect for Valentine’s Day: The heart shapes and rich red color make these bars an instant festive hit for any romantic or friendly celebration.
- Crowd-Pleaser: Whether you’re feeding kids, coworkers, or in-laws, these bars tend to disappear fast thanks to their creamy texture and balanced sweetness.
- Unbelievably Delicious: The combination of dense cheesecake with tender red velvet crumb is just, well, next-level comforting.
What sets these apart? It’s the swirl technique that blends the cheesecake layer with the red velvet batter without turning it into a uniform mix. This creates a marbled effect that’s as beautiful as it is tasty. Plus, using a heart-shaped cutter after baking adds an extra dose of charm—makes you feel like you put in way more effort than you actually did. It’s not just another cheesecake bar recipe; it’s a simple, heartfelt treat that’s become my go-to when I want to impress without the stress.
Honestly, these bars are the kind of dessert that makes you pause, savor, and maybe even close your eyes for a moment after the first bite—comfort food with a festive twist, done right.
What Ingredients You Will Need
This recipe uses simple, wholesome ingredients that combine to deliver bold flavor and a smooth, satisfying texture without too much fuss. Most ingredients are pantry staples, and the red velvet cake mix adds that signature color and subtle cocoa flavor effortlessly.
- Red Velvet Cake Mix (about 15.25 oz / 432 g) – I recommend Betty Crocker for consistent results and vibrant red color.
- Cream Cheese (16 oz / 450 g), softened – Use full-fat for the creamiest texture.
- Granulated Sugar (3/4 cup / 150 g) – Sweetens the cheesecake layer perfectly without overpowering.
- Large Eggs (3), room temperature – Helps bind everything and adds richness.
- Vegetable Oil (1/2 cup / 120 ml) – Keeps the red velvet batter moist and tender.
- Pure Vanilla Extract (1 tsp / 5 ml) – Adds depth to both layers.
- Buttermilk (1/2 cup / 120 ml) – Classic in red velvet recipes, adds a slight tang and tender crumb. You can substitute with milk + 1 tsp vinegar if needed.
- Salt (1/4 tsp / 1.5 g) – Balances the sweetness.
Optional:
- Red Gel Food Coloring (1 tsp) – Use if your cake mix isn’t vibrant enough, but most boxed mixes have great color.
- Heart-shaped Cookie Cutter – For shaping the bars after baking; around 2-3 inches works well.
If you want a dairy-free twist, try swapping cream cheese for a vegan version and the buttermilk for coconut yogurt. Just note the texture will differ slightly but still delicious.
Equipment Needed
- 9×13-inch Baking Pan – I use a non-stick metal pan for even baking; glass works but may require slightly longer baking time.
- Mixing Bowls – One for the cream cheese mixture and another for the red velvet batter.
- Electric Mixer or Stand Mixer – Makes blending cream cheese smooth and lump-free much easier.
- Rubber Spatula – Ideal for folding the batters gently without overmixing.
- Heart-shaped Cookie Cutter – Not essential but adds that festive touch; I found mine at a local kitchen store.
- Measuring Cups and Spoons – Accurate measurements are key for texture.
For budget-friendly options, a hand mixer works just fine, and any sturdy glass or metal pan will do. Just make sure to line it with parchment paper or spray generously with non-stick spray for easy removal.
Preparation Method
- Preheat and Prep: Preheat your oven to 350°F (175°C). Line the 9×13-inch baking pan with parchment paper, leaving some overhang for easy lifting later. This step saves you a lot of hassle when removing the bars.
- Make the Cream Cheese Mixture: In a medium bowl, beat 16 oz (450 g) softened cream cheese with 3/4 cup (150 g) granulated sugar until smooth and creamy—about 2-3 minutes on medium speed. Scrape down the sides occasionally. Then, add 3 large eggs, one at a time, and 1 tsp (5 ml) vanilla extract, beating just until combined. Watch for lumps here; you want it silky.
- Prepare the Red Velvet Batter: In another bowl, combine the red velvet cake mix (15.25 oz / 432 g), 1/2 cup (120 ml) vegetable oil, 1/2 cup (120 ml) buttermilk, 1/4 tsp (1.5 g) salt, and 3 large eggs. Mix until smooth but avoid overmixing—stop when no dry streaks remain. If you want a richer color, stir in 1 tsp red gel food coloring now.
- Layer and Swirl: Pour half of the red velvet batter into the prepared pan, spreading evenly. Carefully spoon the cream cheese mixture over the red velvet layer. Then, dollop the remaining red velvet batter on top in spoonfuls. Using a butter knife or skewer, gently swirl the layers together to create a marbled effect. Don’t overdo it; you want distinct swirls.
- Bake: Bake in the preheated oven for 35-40 minutes. You’re aiming for the cheesecake layer to be mostly set but still slightly jiggly in the center. The edges should be firm and lightly pulling away from the pan. A toothpick inserted into the red velvet part should come out with a few moist crumbs, not wet batter.
- Cool Completely: Let the bars cool to room temperature in the pan for about 1 hour. Then refrigerate for at least 2 hours or overnight. This chilling step is key for clean slicing and that satisfying dense texture.
- Cut into Hearts: Once fully chilled, lift the slab out using the parchment overhang. Use a 2-3 inch heart-shaped cookie cutter to cut out the bars. Wipe the cutter clean between cuts for neat edges. Arrange on a serving platter.
Pro tip: If your bars crack a little on top, don’t fret—it happens sometimes with cheesecake. The swirls and shapes help mask imperfections, plus they taste just as amazing.
Cooking Tips & Techniques
One trick I learned the hard way is to make sure your cream cheese is fully softened before mixing. Cold cream cheese leads to lumps and uneven texture, which nobody wants in a silky cheesecake bar. Also, don’t overbeat the cream cheese mixture once you add the eggs—just mix until combined to avoid incorporating too much air, which can cause cracks.
Swirling the batters is an art. Use a gentle hand and a narrow knife or skewer, making slow figure-eight motions. Over-swizzling blends the layers too much, losing that beautiful marbled look. I usually swirl about 10-12 times across the pan.
Timing the bake is key. Since the cheesecake is denser and takes longer to set than the red velvet batter, keep an eye after 30 minutes. Insert a toothpick in the red velvet portion to check doneness; cheesecake should still have a slight wobble but not be liquid. Underbaking leads to runny bars, while overbaking dries them out.
When cutting the bars after chilling, a warm, clean knife helps create smoother edges. I run mine under hot water, dry it off, then slice. Repeat this between cuts for best presentation.
Lastly, if you’re short on time, you can bake the slab a day ahead and keep it refrigerated. The flavors actually deepen overnight, making it worth the wait.
Variations & Adaptations
- Gluten-Free Version: Use a gluten-free red velvet cake mix or swap the mix with a blend of almond flour and cocoa powder, adjusting liquids accordingly.
- Vegan Adaptation: Replace cream cheese with vegan cream cheese, eggs with flax eggs (1 tbsp ground flax + 3 tbsp water per egg), and use plant-based milk for buttermilk substitute.
- Chocolate Lovers’ Twist: Add mini chocolate chips to the red velvet batter or sprinkle on top before baking for extra indulgence.
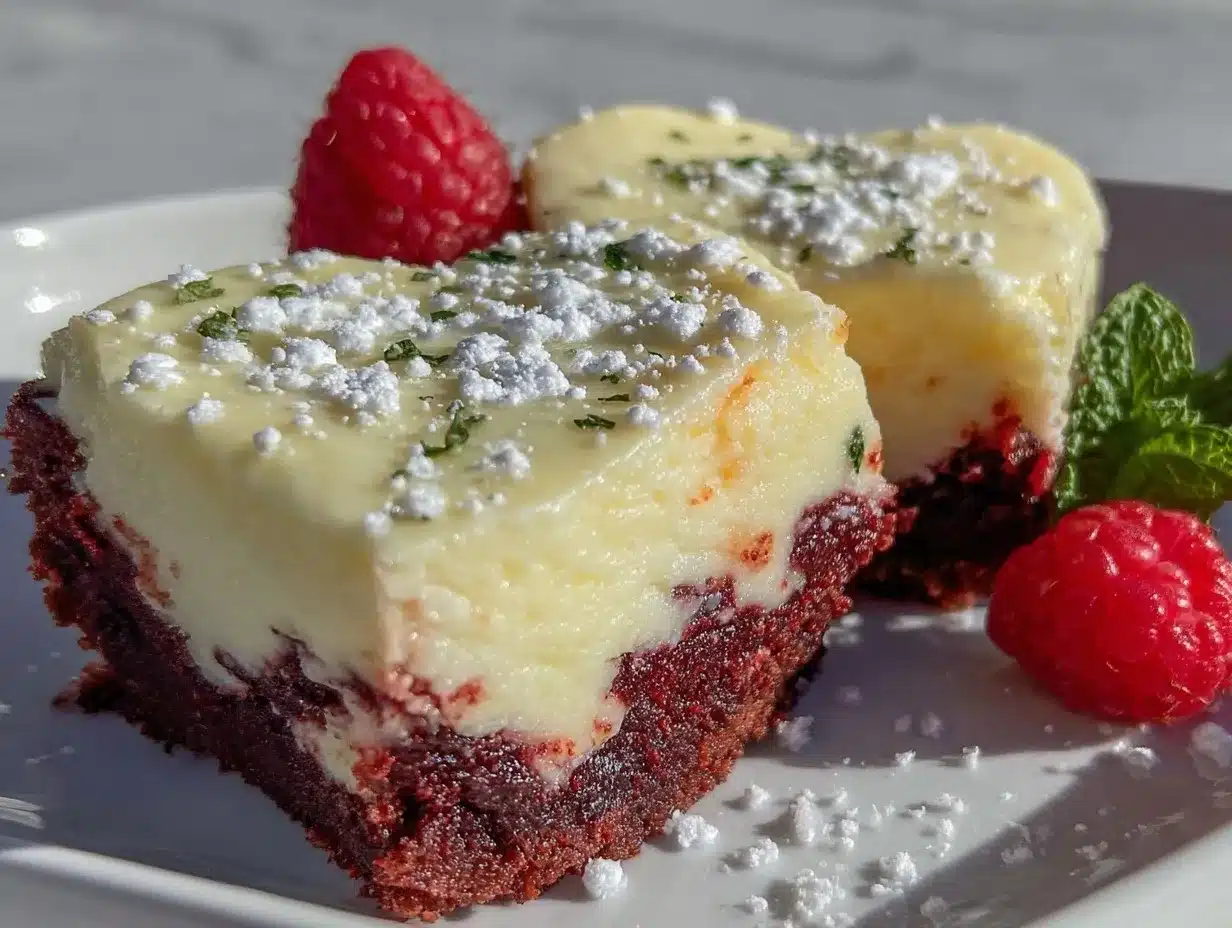
- Seasonal Flair: For spring or summer, fold fresh raspberries or strawberries into the cream cheese layer before swirling for a fruity pop.
- Spiced Variation: Add 1/2 tsp cinnamon and a pinch of nutmeg to the red velvet batter for a cozy, warm flavor perfect for winter months.
I once tried swapping the red velvet batter for a chocolate brownie mix when I ran out of cake mix—turns out, brownie cheesecake bars are just as dreamy but with a fudgier bite. Totally worth a try!
Serving & Storage Suggestions
Serve these decadent red velvet heart-shaped cheesecake bars chilled or at room temperature. They pair beautifully with a dollop of whipped cream or a light dusting of powdered sugar for an elegant finish. For beverages, a cup of rich coffee or a glass of cold milk really complements the creamy richness.
Store leftover bars tightly wrapped in an airtight container in the refrigerator for up to 5 days. They hold up well and actually taste better as the flavors meld. For longer storage, freeze the bars individually wrapped for up to 2 months. Thaw overnight in the fridge before serving.
When reheating (if you prefer them slightly warm), pop the bars in a microwave for 10-15 seconds—just enough to soften but not melt the cheesecake. Be careful not to overheat, or you’ll lose that luscious texture.
Nutritional Information & Benefits
Each bar (depending on size) roughly contains 250-300 calories, with a balanced mix of fats, carbohydrates, and protein. The cream cheese provides calcium and some protein, while the eggs contribute essential vitamins. The buttermilk adds a subtle tang and probiotics beneficial for digestion.
This recipe can be modified to suit dietary needs: using gluten-free cake mix or vegan cream cheese can make it accessible to more people. Keep in mind that the bars are indulgent treats, so portion control is key if you’re watching calories.
From a wellness perspective, making these bars at home means you control the ingredients and avoid preservatives or artificial additives often found in store-bought desserts.
Conclusion
These decadent red velvet heart-shaped cheesecake bars have become my little secret weapon for impressing friends and family with minimal effort. They’re simple enough to whip up on a whim but special enough to make any occasion feel memorable. The combination of creamy cheesecake and tender red velvet crumb hits all the right notes for a dessert that’s both comforting and festive.
Feel free to tweak the flavors, shapes, or mix-ins to fit your style or dietary needs. What matters most is that you enjoy each bite and maybe share a smile or two along the way. If you try the recipe, I’d love to hear how you made it your own!
Here’s to many sweet moments ahead, one heart-shaped bar at a time.
FAQs
Can I make these bars ahead of time?
Absolutely. These bars actually taste better after chilling overnight, making them perfect for prepping a day in advance.
What if I don’t have a heart-shaped cutter?
No worries! You can simply cut them into squares or use any cookie cutter shape you like.
Can I freeze the cheesecake bars?
Yes, wrap them tightly and freeze for up to 2 months. Thaw in the refrigerator before serving.
Is it necessary to use buttermilk?
Buttermilk adds moisture and tang, but you can substitute with regular milk plus 1 tsp vinegar or lemon juice.
How do I avoid cracks on the cheesecake layer?
Don’t overmix the cream cheese and eggs, and avoid overbaking. Also, cooling the bars gradually helps prevent cracks.
Pin This Recipe!
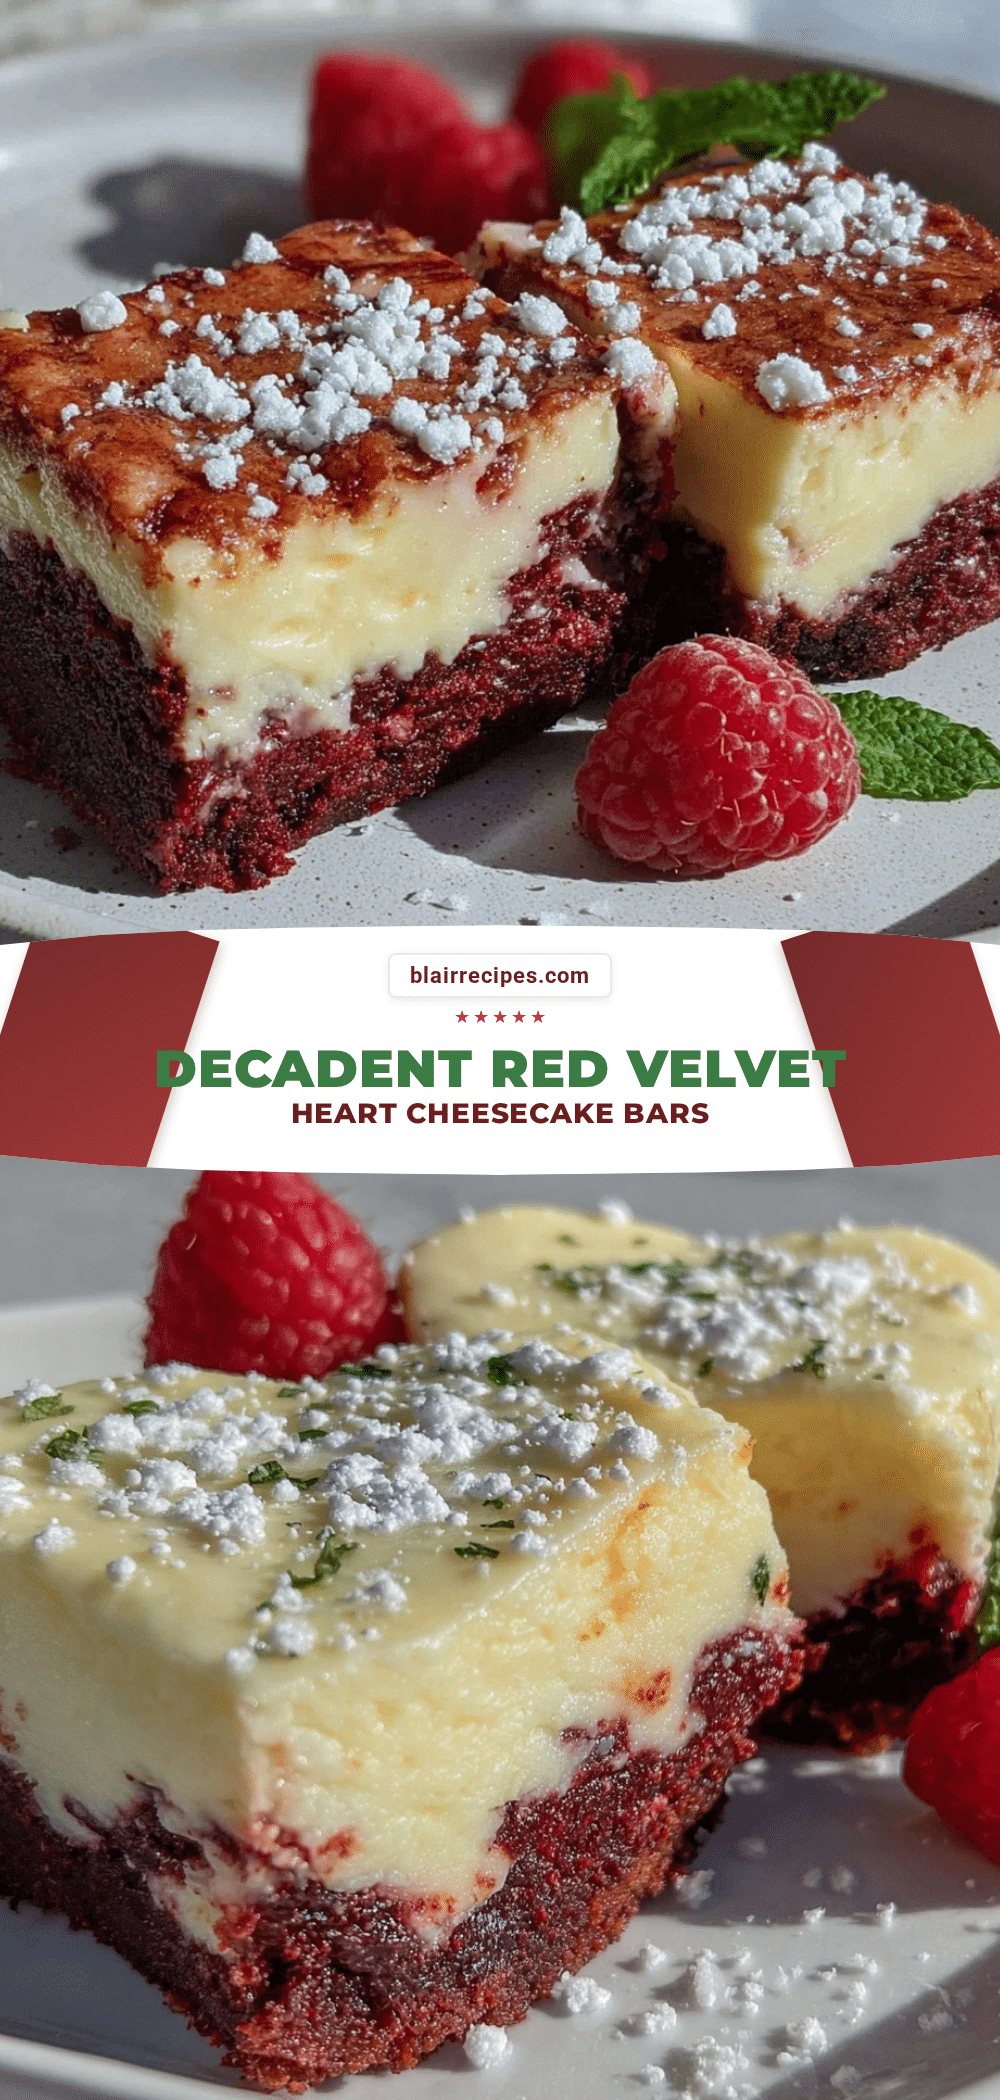
Decadent Red Velvet Heart-Shaped Cheesecake Bars

These decadent red velvet heart-shaped cheesecake bars combine silky cream cheese with tender red velvet crumb, perfect for Valentine’s Day or any special occasion. Easy to prepare and visually charming with a marbled swirl and heart shapes.
- Prep Time: 15 minutes
- Cook Time: 40 minutes
- Total Time: 3 hours 15 minutes
- Yield: 24 bars 1x
- Category: Dessert
- Cuisine: American
Ingredients
- 15.25 oz (432 g) Red Velvet Cake Mix (Betty Crocker recommended)
- 16 oz (450 g) Cream Cheese, softened (full-fat)
- 3/4 cup (150 g) Granulated Sugar
- 3 Large Eggs, room temperature
- 1/2 cup (120 ml) Vegetable Oil
- 1 tsp (5 ml) Pure Vanilla Extract
- 1/2 cup (120 ml) Buttermilk (or milk + 1 tsp vinegar as substitute)
- 1/4 tsp (1.5 g) Salt
- Optional: 1 tsp Red Gel Food Coloring
- Optional: Heart-shaped Cookie Cutter (2-3 inches)
Instructions
- Preheat oven to 350°F (175°C). Line a 9×13-inch baking pan with parchment paper, leaving overhang for easy lifting.
- In a medium bowl, beat softened cream cheese with granulated sugar until smooth and creamy (2-3 minutes). Add eggs one at a time, then vanilla extract, mixing until combined.
- In another bowl, combine red velvet cake mix, vegetable oil, buttermilk, salt, and eggs. Mix until smooth without overmixing. Stir in red gel food coloring if using.
- Pour half of the red velvet batter into the prepared pan and spread evenly. Spoon the cream cheese mixture over it. Dollop remaining red velvet batter on top.
- Use a butter knife or skewer to gently swirl the layers to create a marbled effect, being careful not to overmix.
- Bake for 35-40 minutes until cheesecake layer is mostly set but slightly jiggly in the center and edges are firm.
- Cool bars to room temperature in the pan for about 1 hour, then refrigerate for at least 2 hours or overnight.
- Lift the slab out using parchment overhang and cut into 2-3 inch heart shapes with a cookie cutter. Wipe cutter clean between cuts for neat edges.
- Arrange bars on a serving platter and serve chilled or at room temperature.
Notes
Ensure cream cheese is fully softened before mixing to avoid lumps. Do not overmix cream cheese and eggs to prevent cracks. Use gentle swirling motions to create a marbled effect. Bake until cheesecake layer is slightly jiggly but edges are firm. Chill bars thoroughly before cutting for clean slices. Warm knife between cuts for smooth edges. Bars can be baked a day ahead and refrigerated to deepen flavors.
Nutrition
- Serving Size: 1 bar (approximate)
- Calories: 275
- Sugar: 18
- Sodium: 220
- Fat: 18
- Saturated Fat: 9
- Carbohydrates: 25
- Fiber: 1
- Protein: 5
Keywords: red velvet cheesecake bars, heart-shaped dessert, Valentine's Day dessert, easy cheesecake bars, red velvet dessert, homemade cheesecake bars


