Introduction
It was the kind of chaotic afternoon when I realized I’d forgotten to bring a dessert to my niece’s graduation party. You know the feeling—halfway through prepping everything else and suddenly, the sweet treat is nowhere to be found. Honestly, I was scrambling and skeptical about pulling off anything impressive at the last minute. But then, I remembered a simple chocolate cupcake recipe I’d tweaked recently. It was quick, forgiving, and, best of all, kid-approved.
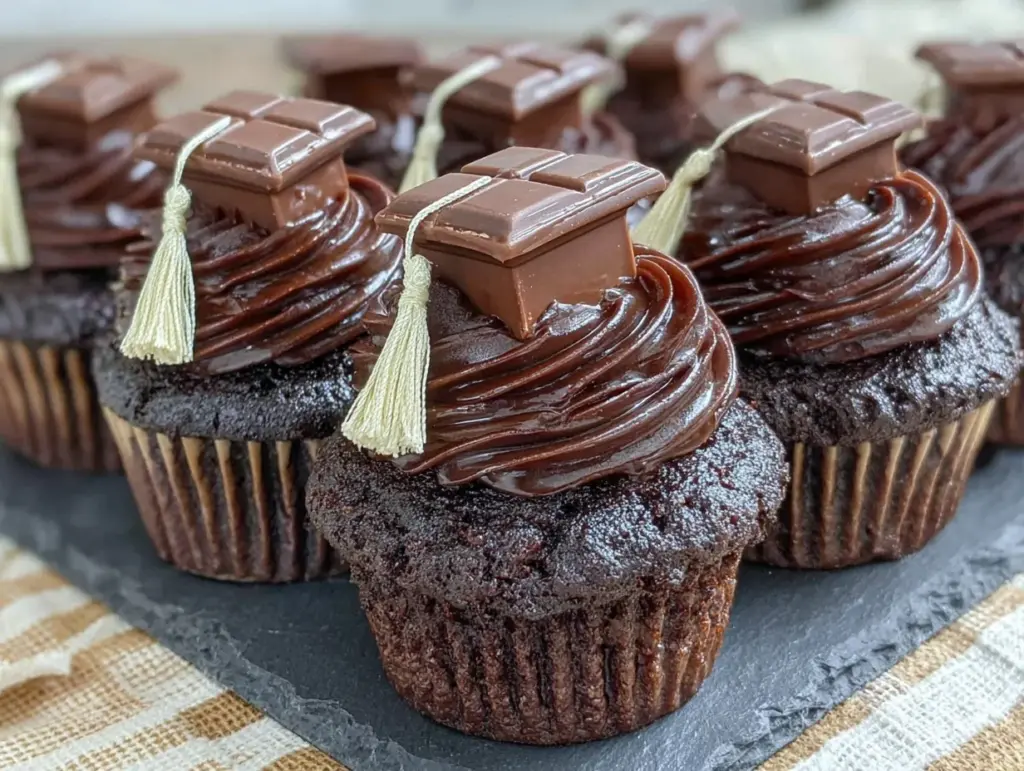
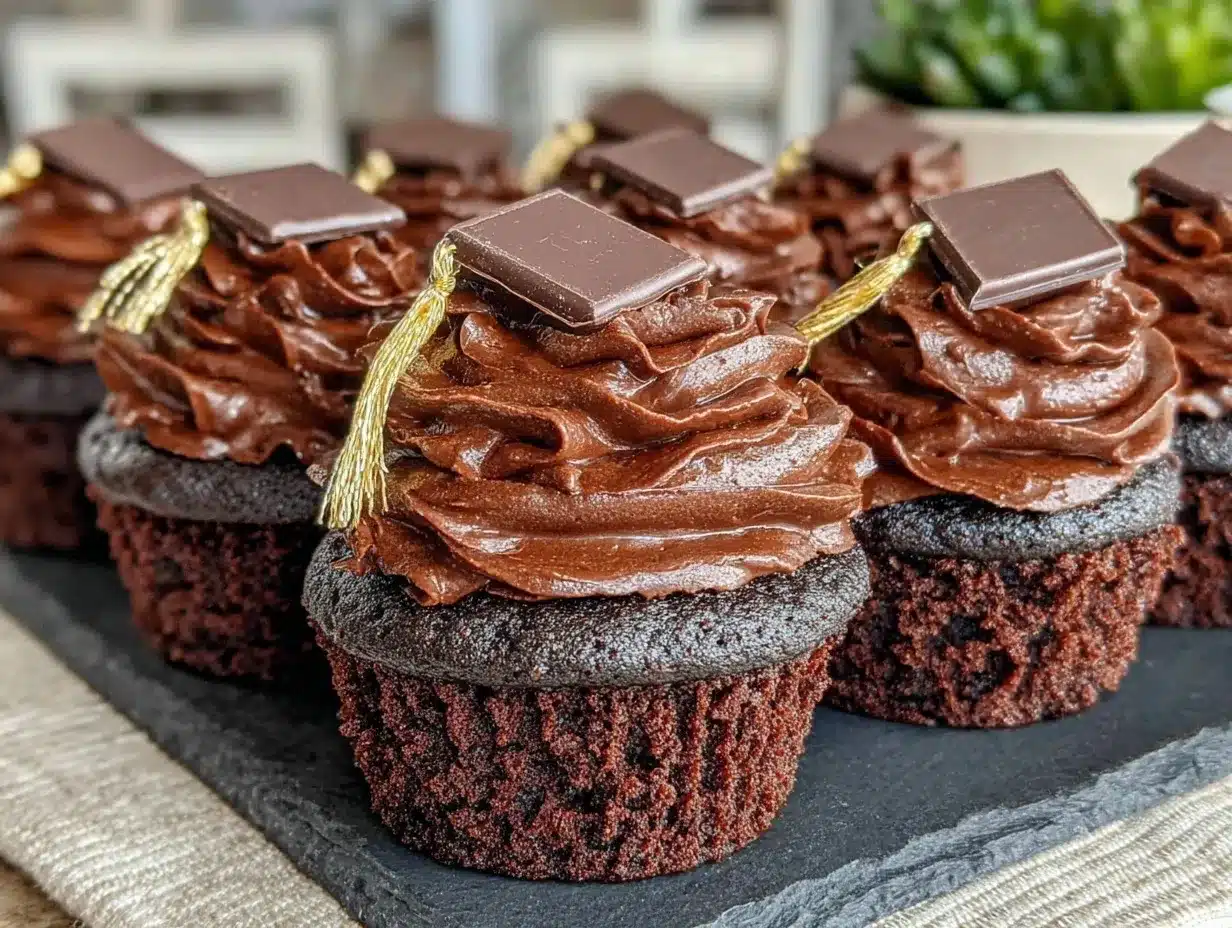
With just a handful of ingredients and a bit of playful creativity, I whipped up these easy graduation cap chocolate cupcakes that stole the show. The little fondant square “caps” on top added a fun, celebratory vibe without any stress. Seeing my niece’s face light up when she spotted them—that quiet moment made me realize these cupcakes weren’t just good; they were the perfect little celebration in every bite.
It’s funny how sometimes the simplest recipes, born out of last-minute panic, turn into your go-to favorites. These cupcakes have become my secret weapon for celebrations ever since, and I’m pretty sure they’ll become yours too.
Why You’ll Love This Recipe
- Quick & Easy: Comes together in under 40 minutes, perfect for those unexpected celebrations or last-minute dessert needs.
- Simple Ingredients: Uses pantry staples you likely already have—no fancy trips to specialty stores required.
- Perfect for Celebrations: Whether it’s graduation, birthdays, or any milestone, these cupcakes add a festive touch that feels personal and fun.
- Crowd-Pleaser: Always gets rave reviews from kids and adults alike, with a moist, rich chocolate flavor that hits the spot every time.
- Unbelievably Delicious: The combination of fluffy chocolate cake and creamy frosting is just the right kind of indulgent comfort food.
- This recipe stands out because of the easy-to-make graduation cap toppers, which add a creative flair without requiring baking skills or elaborate decorations.
- It’s the kind of treat that feels both festive and homey—like a little nod to the graduate’s big achievement wrapped up in chocolatey goodness.
What Ingredients You Will Need
This recipe uses simple, wholesome ingredients to deliver bold chocolate flavor and a tender crumb without fuss. You’ll find everything is either a pantry staple or easy to substitute if needed.
- For the Cupcakes:
- All-purpose flour – 1 ½ cups (190 grams)
- Granulated sugar – 1 cup (200 grams)
- Unsweetened cocoa powder – ¼ cup (25 grams), sifted for smoothness
- Baking powder – 1 teaspoon
- Baking soda – ½ teaspoon
- Salt – ¼ teaspoon
- Large eggs – 2, room temperature (helps with better rise)
- Whole milk – ¾ cup (180 ml), or dairy-free milk like almond milk for a lighter option
- Vegetable oil – ⅓ cup (80 ml), I prefer neutral oils like canola or sunflower
- Vanilla extract – 1 teaspoon (adds warmth)
- Boiling water – ½ cup (120 ml), enhances the chocolate intensity
- For the Frosting:
- Unsalted butter – ½ cup (113 grams), softened (room temperature is key!)
- Powdered sugar – 2 cups (240 grams), sifted to avoid lumps
- Unsweetened cocoa powder – ¼ cup (25 grams)
- Heavy cream or milk – 3 tablespoons (45 ml), adjust for desired consistency
- Vanilla extract – 1 teaspoon
- Pinch of salt (balances sweetness)
- For the Graduation Caps:
- Black fondant – about 8 ounces (225 grams), pre-colored or use white fondant with black food coloring
- Toothpicks – 24, for the tassel stems
- Small pieces of yellow or gold fondant or edible gold dust (optional) for tassel detail
Tip: For the fondant, I like using [Wilton] brand because it’s pliable and tastes decent (yes, fondant can be tricky!). If you prefer, small square pieces of black paper or chocolate squares can also work for the caps.
Equipment Needed
- Standard 12-cup muffin tin (you’ll need two batches or a second tin to bake 24 cupcakes)
- Cupcake liners – plain white or black for a classic look
- Mixing bowls – one large for dry ingredients, one medium for wet ingredients
- Electric mixer or hand whisk (an electric mixer really speeds up the frosting process)
- Measuring cups and spoons – accurate measuring is a lifesaver here
- Cooling rack – to cool cupcakes completely before frosting
- Rolling pin – for rolling out the fondant caps
- Sharp knife or pizza cutter – to cut the fondant squares precisely
- Small offset spatula or butter knife – for frosting the cupcakes evenly
If you don’t have a rolling pin, a smooth glass bottle works fine for rolling fondant. And if you’re short on tools, a fork can substitute for the toothpicks when creating tassels.
Preparation Method
- Preheat the oven to 350°F (175°C). Line your muffin tins with cupcake liners. This usually takes 5 minutes.
- Mix dry ingredients: In a large bowl, sift together 1 ½ cups flour, 1 cup sugar, ¼ cup cocoa powder, 1 teaspoon baking powder, ½ teaspoon baking soda, and ¼ teaspoon salt. Whisk them to combine evenly.
- Combine wet ingredients: In a medium bowl, beat 2 eggs, ¾ cup milk, ⅓ cup vegetable oil, and 1 teaspoon vanilla extract until smooth.
- Incorporate wet into dry: Gradually add the wet mixture to the dry ingredients, stirring gently with a spatula or whisk until just combined. Don’t overmix; a few lumps are okay.
- Add boiling water: Slowly pour in ½ cup boiling water while stirring. The batter will be thin—that’s normal! This step makes the cupcakes moist and enhances the chocolate flavor.
- Fill cupcake liners: Use a scoop or spoon to fill each liner about two-thirds full. This usually yields 12 cupcakes per batch.
- Bake: Place the cupcakes in the preheated oven for 18-20 minutes. Check doneness by inserting a toothpick—it should come out clean or with a few crumbs attached.
- Cool: Let cupcakes rest in the pan for 5 minutes, then transfer to a cooling rack to cool completely before frosting. This prevents the frosting from melting.
- Prepare frosting: Beat ½ cup softened butter until fluffy (about 2 minutes). Gradually add 2 cups powdered sugar and ¼ cup cocoa powder, mixing on low speed. Add 3 tablespoons cream, 1 teaspoon vanilla, and a pinch of salt. Beat until smooth and spreadable. Adjust cream quantity for your preferred consistency.
- Frost cupcakes: Spread or pipe frosting on cooled cupcakes. A smooth layer works well here, you don’t need anything fancy.
- Make graduation caps: Roll out black fondant to about ⅛-inch thickness. Cut 2-inch squares for the top of the caps. For the base, roll small balls and flatten them to create the mortarboard base. Insert a toothpick into each base, then place the square on top. Add a tiny tassel from yellow fondant or edible gold dust if you like.
- Place caps on cupcakes: Gently press each fondant cap into the frosting to secure. They should sit flat and look like miniature graduation caps.
- Serve and enjoy! These cupcakes are best enjoyed the day they’re made but can be stored as described below.
Cooking Tips & Techniques
One trick I’ve learned is not to skip the boiling water step—it’s the secret to moist, tender cupcakes that don’t feel dry or dense. Also, be gentle when mixing; overmixing develops gluten and toughens the crumb. I’ve made the mistake of rushing the batter before, and let’s just say, it’s not worth it.
When frosting, make sure your cupcakes are completely cool. I once frosted warm cupcakes and ended up with a frosting mess running down the sides—lesson learned! Using an offset spatula helps get an even layer quickly, especially when you’re frosting a dozen or more.
Fondant can be intimidating, but rolling it thin and cutting precise squares makes the graduation caps look professional. If fondant isn’t your thing, chocolate squares or even black cardstock cutouts on toothpicks can do the trick as well.
Timing is everything here—baking the cupcakes while preparing the frosting is efficient, and cooling time is your friend. Multitasking can save you at least 15 minutes.
Variations & Adaptations
- Dietary: Swap all-purpose flour for gluten-free flour blends for a gluten-free version. Use dairy-free milk and vegan butter substitutes to make it vegan-friendly.
- Flavor twists: Add a teaspoon of instant espresso powder to the batter to deepen the chocolate flavor. Or, mix mini chocolate chips into the batter for texture.
- Seasonal: In spring or summer, top the cupcakes with fresh berries alongside the caps for a fresh contrast.
- Decoration: Instead of fondant caps, try chocolate ganache squares or edible wafer paper caps for a different look.
- Personally, I once swapped black fondant for blue and gold to match my niece’s school colors, which made the cupcakes even more special and personalized.
Serving & Storage Suggestions
Serve these cupcakes at room temperature for the best flavor and texture. They look fantastic on a decorated tray or cake stand, especially paired with other graduation-themed treats like fruit skewers or mini sandwiches.
Store leftovers in an airtight container at room temperature for up to 2 days. If it’s warmer, refrigeration is fine—just bring cupcakes back to room temperature before serving. For longer storage, freeze unfrosted cupcakes wrapped tightly for up to 3 months; thaw before frosting.
Reheat frosted cupcakes with a quick 10-second zap in the microwave (watch carefully to avoid melting the fondant caps) or enjoy them chilled for a firmer texture. Flavors tend to mellow and deepen when refrigerated overnight, so sometimes I make them a day ahead.
Nutritional Information & Benefits
Each cupcake serves a moderately sized treat—roughly 250 calories per cupcake depending on frosting thickness. The recipe provides a good balance of indulgence and homemade quality.
Key ingredients like cocoa powder bring antioxidants, and using real butter and whole milk offers a satisfying richness without overly processed fats. For those mindful of allergens, gluten-free and dairy-free substitutions are straightforward.
Honestly, these cupcakes aren’t health food, but they’re a joyful, homemade way to celebrate milestones without added preservatives or artificial flavors.
Conclusion
Easy graduation cap chocolate cupcakes are a simple, fun way to add a sweet touch to any celebration. They’re straightforward to make, use familiar ingredients, and bring that little bit of wow with the cap decorations. I love how they combine nostalgia and festivity in one bite—perfect for marking special moments with loved ones.
Feel free to tweak the decorations or flavors to suit your style—making them your own is part of the fun. If you try these cupcakes, I’d love to hear how you customize them or any little twists you add to the recipe!
Here’s to sweet celebrations and plenty of chocolatey smiles ahead.
Frequently Asked Questions
Can I make these cupcakes ahead of time?
Yes, you can bake the cupcakes a day ahead and store them in an airtight container. Frost them and add the graduation caps the day you plan to serve for best results.
What if I don’t have fondant for the graduation caps?
No worries! You can use small chocolate squares, edible wafer paper, or even black cardstock on toothpicks as a simple alternative.
Can I freeze the cupcakes?
Unfrosted cupcakes freeze best. Wrap them tightly and freeze for up to 3 months. Thaw completely before frosting and decorating.
How do I make the frosting less sweet?
Try reducing the powdered sugar by ¼ cup or adding a pinch more salt. Using unsweetened cocoa powder and real butter also helps balance sweetness.
Can I make these cupcakes vegan?
Absolutely! Use dairy-free milk (like almond or oat), vegan butter, and an egg substitute such as flax eggs. The texture might vary slightly but still delicious.
Pin This Recipe!
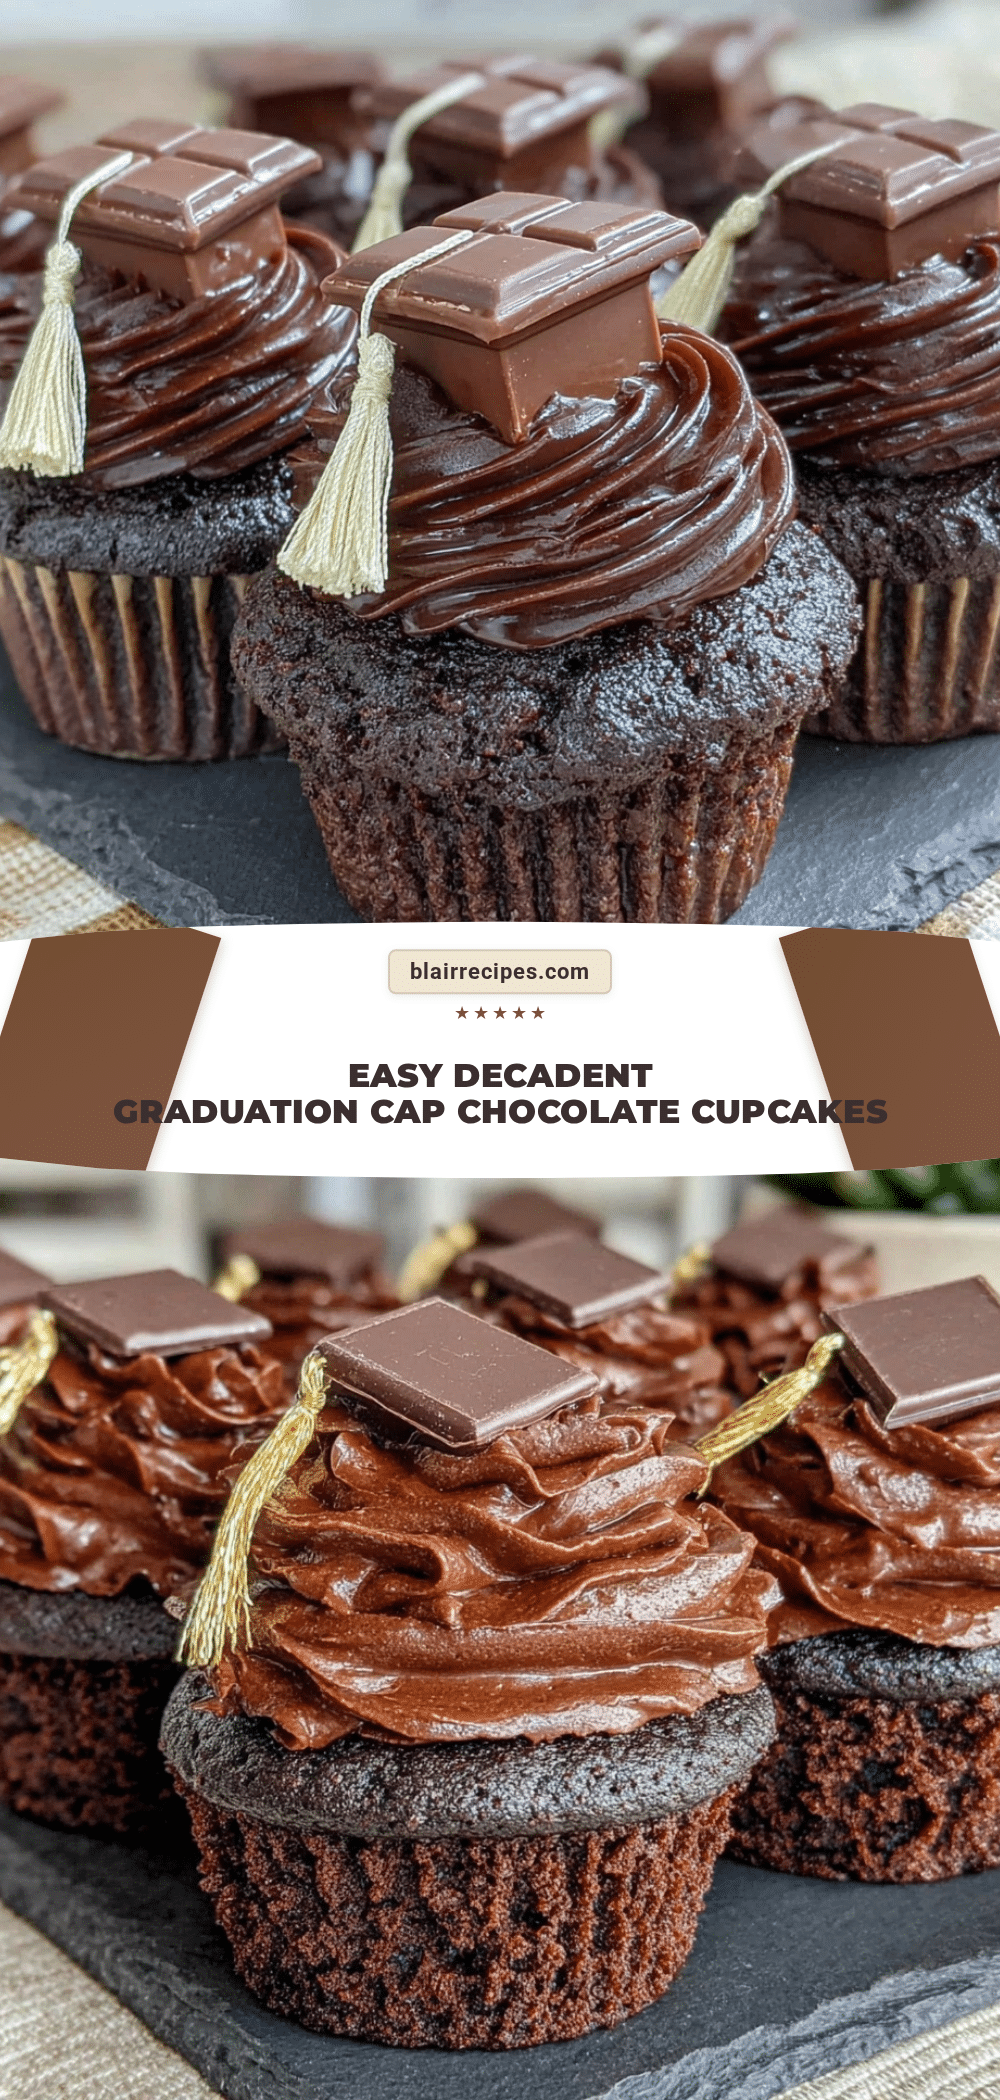
Easy Graduation Cap Chocolate Cupcakes Recipe Perfect for Celebrations

Quick and easy chocolate cupcakes topped with playful graduation cap fondant decorations, perfect for celebrations and last-minute dessert needs.
- Prep Time: 15 minutes
- Cook Time: 20 minutes
- Total Time: 35 minutes
- Yield: 24 cupcakes
- Category: Dessert
- Cuisine: American
Ingredients
- All-purpose flour – 1 ½ cups (190 grams)
- Granulated sugar – 1 cup (200 grams)
- Unsweetened cocoa powder – ¼ cup (25 grams), sifted
- Baking powder – 1 teaspoon
- Baking soda – ½ teaspoon
- Salt – ¼ teaspoon
- Large eggs – 2, room temperature
- Whole milk – ¾ cup (180 ml) or dairy-free milk like almond milk
- Vegetable oil – ⅓ cup (80 ml), neutral oils like canola or sunflower
- Vanilla extract – 1 teaspoon
- Boiling water – ½ cup (120 ml)
- Unsalted butter – ½ cup (113 grams), softened
- Powdered sugar – 2 cups (240 grams), sifted
- Unsweetened cocoa powder – ¼ cup (25 grams)
- Heavy cream or milk – 3 tablespoons (45 ml)
- Vanilla extract – 1 teaspoon
- Pinch of salt
- Black fondant – about 8 ounces (225 grams)
- Toothpicks – 24
- Small pieces of yellow or gold fondant or edible gold dust (optional)
Instructions
- Preheat the oven to 350°F (175°C). Line muffin tins with cupcake liners.
- In a large bowl, sift together flour, sugar, cocoa powder, baking powder, baking soda, and salt. Whisk to combine.
- In a medium bowl, beat eggs, milk, vegetable oil, and vanilla extract until smooth.
- Gradually add wet ingredients to dry ingredients, stirring gently until just combined; do not overmix.
- Slowly pour in boiling water while stirring; batter will be thin.
- Fill cupcake liners about two-thirds full (yields 12 cupcakes per batch).
- Bake for 18-20 minutes; check doneness with a toothpick.
- Let cupcakes rest in pan for 5 minutes, then transfer to cooling rack to cool completely.
- Beat softened butter until fluffy. Gradually add powdered sugar and cocoa powder, mixing on low speed.
- Add cream, vanilla extract, and salt; beat until smooth and spreadable, adjusting cream for consistency.
- Frost cooled cupcakes evenly with frosting.
- Roll out black fondant to 1/8-inch thickness. Cut 2-inch squares for caps.
- Roll small fondant balls and flatten for mortarboard base. Insert toothpick into base, place square on top, add tassel detail if desired.
- Press fondant caps gently into frosting on cupcakes.
- Serve immediately or store as directed.
Notes
Do not skip the boiling water step for moist cupcakes. Avoid overmixing batter to prevent tough crumb. Frost cupcakes only when completely cool to avoid melting frosting. Fondant caps can be substituted with chocolate squares or black cardstock on toothpicks.
Nutrition
- Serving Size: 1 cupcake
- Calories: 250
- Sugar: 25
- Sodium: 150
- Fat: 12
- Saturated Fat: 5
- Carbohydrates: 35
- Fiber: 2
- Protein: 3
Keywords: chocolate cupcakes, graduation cupcakes, easy cupcakes, celebration dessert, fondant decoration, quick chocolate dessert


