Last Friday afternoon was one of those “uh-oh” moments when I realized I hadn’t planned lunches for the whole week. My kids were buzzing around, hungry and impatient, and the grocery store was a no-go thanks to a surprise downpour. So, I did what any desperate home cook would—I improvised a batch of homemade Lunchables for meal prep. What started as a scramble turned into a fresh, easy, and surprisingly nutritious lunch option that my family now requests every week.
After testing and tweaking this homemade Lunchables recipe easy nutritious meal prep ideas for over a month, I finally cracked the code on a version that’s not just kid-approved but actually good for grown-ups too. It’s fresh, customizable, and beats the prepackaged ones by miles—no mystery ingredients, no preservatives, and way more flavor. If you’ve ever wondered how to make convenient meals for busy days without resorting to processed snacks, this homemade Lunchables for meal prep recipe is exactly what you need. It’s quick, simple, and perfect for packing ahead with fresh ingredients you trust.
Keep reading because I’m sharing all my secrets on how to make these, what to include, and how to keep things exciting even when you’re meal prepping for a whole week.
Why You’ll Love This Recipe
This homemade Lunchables recipe easy nutritious meal prep ideas have completely changed my approach to packing lunches. No more last-minute scrambling or disappointing store-bought trays stuffed with unpronounceable additives. Here’s why it’s become a staple in our kitchen:
- Customizable for Everyone — Whether your kid is a picky eater or your partner prefers a heartier lunch, you can tailor these trays to suit everyone’s tastes and dietary needs. Swap meats, cheeses, or veggies with ease.
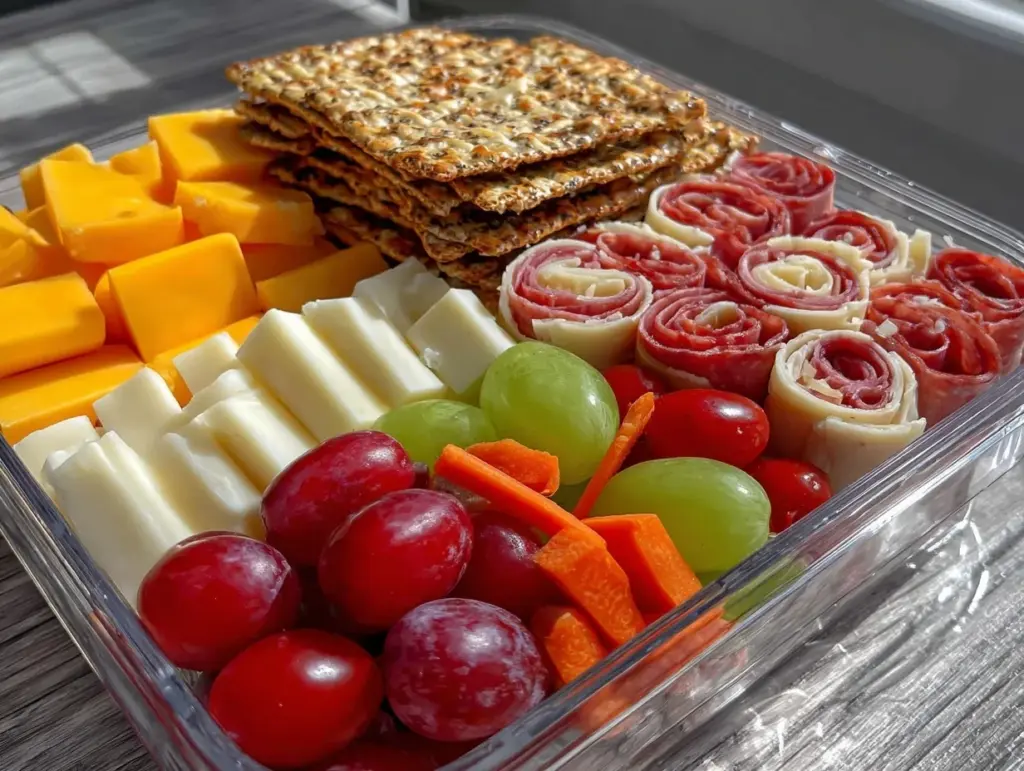
- Fresh and Nutritious — Unlike store-bought Lunchables, these use fresh veggies, quality proteins, and whole-grain crackers. I add a little fruit or nuts too, so the kids actually get a balanced meal rather than empty calories.
- Meal Prep Friendly — Once you know the assembly, putting together a week’s worth of lunches takes about 30 minutes. I make these on Sunday afternoons while listening to a podcast, and I’m set for busy school and workdays.
- Great for Busy Weekdays — The trays stay fresh and taste better than most grab-and-go options. I’ve even packed them for my own lunch at work, and they never disappoint.
- Budget Conscious — Buying ingredients in bulk and prepping at home saves money versus buying pre-packaged lunches. Plus, I avoid all the sneaky costs of single-serving snack packs.
This is my go-to for weeknight family meals and meal prep Sundays. No complicated techniques, just straightforward cooking and assembly that anyone can do. If you want an easy, fresh, and nutritious lunch that travels well and keeps everyone happy, this recipe is for you.
Ingredients You’ll Need
Here’s the best part: you probably have most of these already, and you can tweak the list based on preferences or what’s in your fridge. I’m picky about three ingredients here, and I’ll tell you exactly why.
- Whole-grain crackers (about 6 ounces / 170g) — I opt for whole-grain varieties for fiber and flavor. Stay away from overly salty or artificial options. My favorite brand is Triscuit because they hold up well without crumbling.
- Deli meat (8 ounces / 225g) — Choose nitrate-free turkey or ham for a healthier option. I buy from the deli counter and slice fresh myself when possible. Pre-packaged meat tends to be too salty and less fresh.
- Cheese slices or cubes (6 ounces / 170g) — Sharp cheddar or mozzarella work great here. I like to buy blocks and cut my own cubes to avoid the rubbery pre-sliced stuff.
- Fresh veggies (1 cup / 150g total) — Think cucumber slices, cherry tomatoes, baby carrots, or snap peas. These add crunch and nutrients. I always keep pre-washed veggies ready for quick assembly.
- Fruit (1 cup / 150g) — Grapes, apple slices, or berries are perfect sweet additions. I prep fruit just before packing to avoid browning.
- Nut butter or hummus (about ¼ cup / 60ml) — For dipping, I alternate between almond butter and classic hummus, depending on mood and dietary needs. Both add protein and healthy fats.
- Optional extras — Olives, pickles, or a small handful of nuts for extra flavor and texture. These make the trays feel special and prevent boredom.
Equipment Needed
You don’t need anything fancy for this. Here’s what I actually use to make assembling homemade Lunchables for meal prep a breeze:
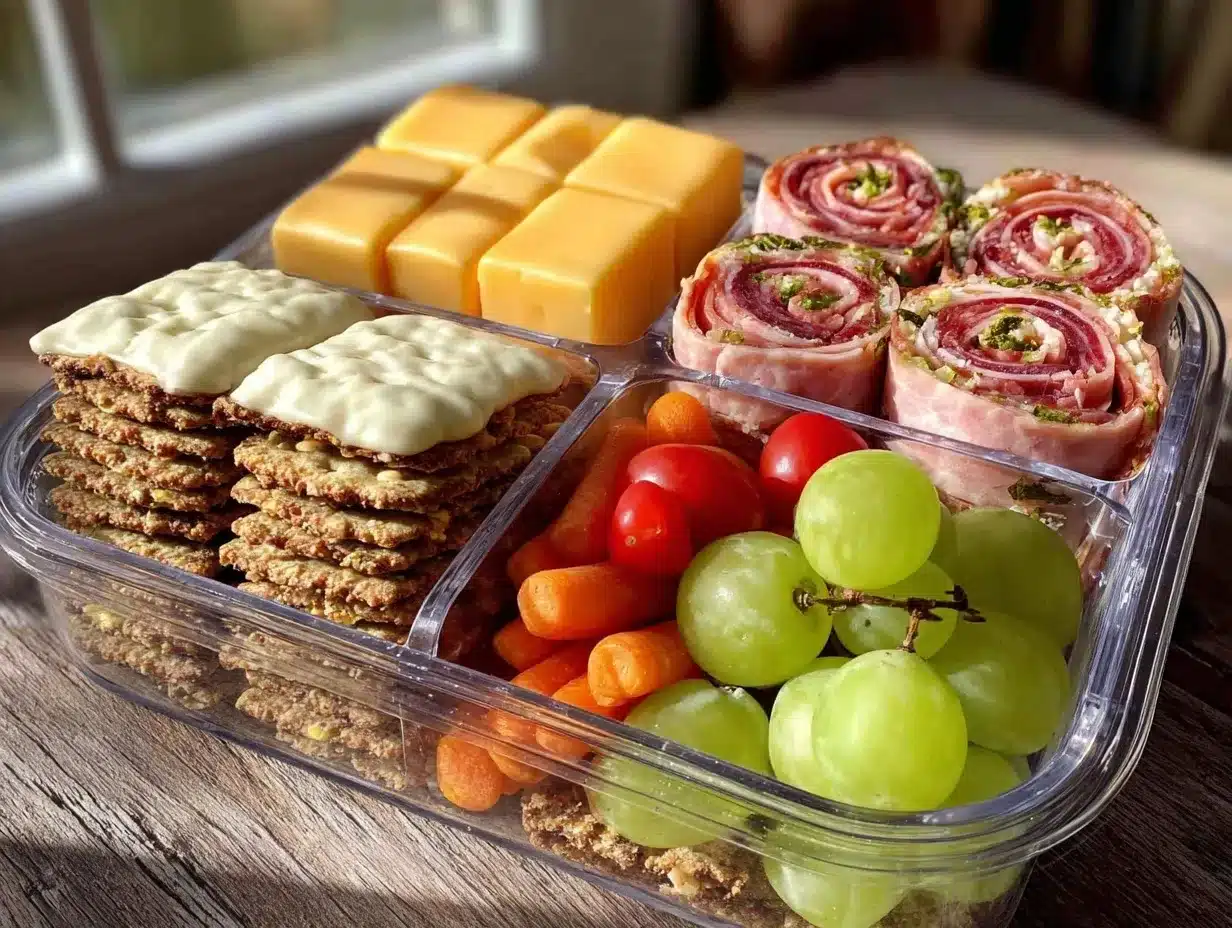
- Meal prep containers with compartments — These keep everything separated and fresh. I use glass containers with snap lids that survive the dishwasher and freezer.
- Sharp knife and cutting board — Essential for slicing deli meats, cheese, and veggies cleanly. I keep a separate cutting board for produce to avoid cross-contamination.
- Small silicone cups (optional) — Great for dips and spreading out small items like olives or nuts. They prevent sogginess and keep the tray tidy.
- Vegetable peeler (optional) — For quick, thin cucumber ribbons or carrot curls that add a fun touch without extra work.
How to Make Homemade Lunchables for Meal Prep: Step by Step
Alright, let’s get into it. I’ll walk you through exactly how I make this homemade Lunchables recipe easy nutritious meal prep ideas, including the small tricks that actually make a difference.
- Step 1: Prep All Ingredients First (10 minutes)
Slice your deli meat into bite-sized pieces or roll them for a fun look. Cube or slice the cheese, and wash and chop your veggies and fruit. This makes assembly quick and painless. I like to prep the fruit last to keep it fresh and prevent browning. - Step 2: Arrange Crackers and Protein (5 minutes)
Place a serving of whole-grain crackers in one compartment of your container. Add a portion of deli meat beside them, making sure nothing overlaps too much so the crackers stay crisp. The contrast of crunchy crackers and tender meat is what makes this fun to eat. - Step 3: Add Cheese and Veggies (5 minutes)
Fill the next compartment with your cheese cubes or slices. Then add your fresh veggies, keeping colors vibrant and varied. Kids especially love the crunch of fresh cucumbers or snap peas, and it makes the tray look inviting. - Step 4: Portion Fruit and Dip (5 minutes)
Add fresh fruit to its own section—grapes or apple slices work best. Include a small container of hummus or nut butter for dipping. This adds protein and fat that helps keep everyone full through the afternoon slump. - Step 5: Optional Extras and Final Touches (3 minutes)
Add olives, pickles, or a handful of nuts for extra flavor and texture. Seal your containers tightly and refrigerate. These trays keep well for up to 4 days, making them perfect for meal prep.
Total time: about 30 minutes for a week’s worth of lunches. Most of that is prepping ingredients—you can multitask while your kids do homework or you catch up on a show.
Expert Tips & Tricks
Here’s everything I’ve figured out from making this homemade Lunchables recipe dozens of times. These tips will save you from the mistakes I already made.
- Keep Crackers Separate Until Serving — I learned the hard way that crackers get soggy if they touch moist ingredients. Use containers with compartments or small silicone cups to keep everything crisp until lunch.
- Use Fresh, Nitrate-Free Deli Meat — Pre-packaged meats often contain preservatives and excess salt. I buy fresh from the deli counter or roast my own turkey breast for a cleaner taste and better nutrition.
- Cut Cheese Just Before Assembling — Cheese can dry out or sweat in the fridge if pre-cut too early. Slicing it right before packing keeps it creamy and fresh.
- Prep Veggies Ahead but Add Fruit Last — Veggies like carrots or cucumbers hold up well to storage, but fruit like apples or berries are best sliced or washed right before packing to avoid browning and mushiness.
- Pack Dips in Separate Containers — Whether it’s hummus or nut butter, keeping dips separate prevents the rest of the tray from getting soggy. Plus, it makes dipping fun and less messy.
- Mistake: Lunchables Turned Soggy — Fix: Always use compartment containers and pack wet ingredients separately. If you don’t have compartments, use silicone cups or small containers inside a larger box.
Variations & Substitutions
Once you’ve got the base version down, here’s how I mix it up. I’ve actually tried all of these.
- Vegetarian Version — Skip the deli meat and add hard-boiled eggs or chickpea salad. Swap crackers for pita chips and include extra hummus. This version is great for meal prep Sundays when I want something lighter but still filling.
- Gluten-Free Option — Use gluten-free crackers and double-check all dips and deli meats for hidden gluten. This makes it perfect for packing lunches for anyone with gluten sensitivities.
- Kid-Friendly Favorites — Swap sharp cheddar for mild cheese like Colby or mozzarella sticks. Add mini pretzels or goldfish crackers for a fun crunch. My kids request this version most often for school days.
- Adult Upgrade — Add a small container of wine jelly or fig spread to pair with sharp cheeses. Include roasted nuts or marinated olives (I love these with my crockpot green bean casserole for a hearty lunch).
Serving & Storage
I usually serve these homemade Lunchables straight from the fridge. The compartments keep everything fresh and ready to eat, making them ideal for lunchboxes or a quick work lunch.
My favorite sides to pair with these trays are fresh fruit or a simple salad like my green bean and tomato salad for something light and refreshing.
Storage:
- Fridge: Store in airtight containers for up to 4 days. Add fruit last minute for best freshness.
- Reheating: Not necessary—these are meant to be eaten cold or at room temperature.
- Freezing: Not recommended. Fresh veggies and crackers don’t freeze well, and dips can separate.
Nutrition Information
I’m not a nutritionist, but here’s the breakdown if you’re keeping track. This is based on 6 servings.
| Calories | Protein | Carbs | Fiber | Sugar | Fat | Saturated Fat | Sodium |
|---|---|---|---|---|---|---|---|
| 350 | 22g | 28g | 5g | 6g | 18g | 7g | 550mg |
Look—this is a balanced lunch that includes protein, carbs, and healthy fats. It’s not a diet recipe, and I’m not going to pretend it is. But it’s way better than grabbing fast food or pre-packaged snacks, and you know exactly what’s going in. When I want something lighter, I add more veggies and swap out crackers for cucumber slices. Most days though? This is my go-to lunch prep that keeps everyone happy and fueled.
Final Thoughts
Remember that Friday afternoon when I threw these together in a pinch? It turned out to be one of my best meal prep wins. These homemade Lunchables for meal prep are forgiving, fresh, and just plain fun to eat. Make it yours—add more garlic in the dip if that’s your thing, throw in whatever veggies you have, or swap the protein to keep it interesting. The base recipe is flexible enough to handle whatever your week throws at you.
If you make this, drop a comment and tell me how it went. And if something goes wrong, tell me that too—I genuinely want to help troubleshoot. That’s what the comments are for.
Happy cooking—I hope your kitchen smells amazing and your lunchboxes are full of goodness!
Frequently Asked Questions
Q: Can I make this homemade Lunchables recipe easy nutritious meal prep ideas without dairy?
A: Absolutely. Swap cheese for dairy-free alternatives like vegan cheese slices or extra nuts and seeds. For dips, hummus is naturally dairy-free. I’ve made this version for a lactose-intolerant friend, and it worked beautifully without losing flavor or texture.
Q: Why did my homemade Lunchables turn soggy?
A: The most common reason is moisture from wet ingredients touching crackers or cheese. Use containers with compartments or silicone cups to separate wet and dry items. Also, pack dips separately to keep everything crisp. I made this mistake on my first try and ended up with a sad, soggy lunchbox!
Q: Can I make these homemade Lunchables ahead for a week of school lunches?
A: Yes! They keep well in the fridge for up to 4 days. For best freshness, prep veggies and proteins ahead but add fruit and dips the night before or morning of. I do all my assembly on Sunday and add fruit daily to keep snacks crisp and bright.
Q: Are these homemade Lunchables gluten-free friendly?
A: Yes, as long as you choose gluten-free crackers and double-check any deli meat or dips for hidden gluten. I’ve made this swap for gluten-sensitive family members without issue. Brands like Glutino or Simple Mills have great cracker options.
Q: How do I double or halve this recipe?
A: It scales very easily. Just multiply or divide ingredient amounts and adjust container numbers accordingly. I double it for a family of five and halve it when prepping for just one or two. Keep the same prep and assembly steps—it’s just more or less of everything.
Q: Can I include other proteins besides deli meat?
A: Definitely! Hard-boiled eggs, grilled chicken strips, or even small portions of tofu work well. I’ve even packed smoked salmon for a special treat. Just keep portions consistent so everything fits nicely in your containers.
Q: What if I don’t have compartment containers—can I still make these?
A: Yes, but you’ll need to get creative with separating ingredients. Small silicone cups or reusable silicone muffin liners inside a larger container help keep crackers and dips apart. Otherwise, crackers will get soggy pretty fast. I started this way before investing in divided containers, and it worked fine with a little extra care.
Pin This Recipe!
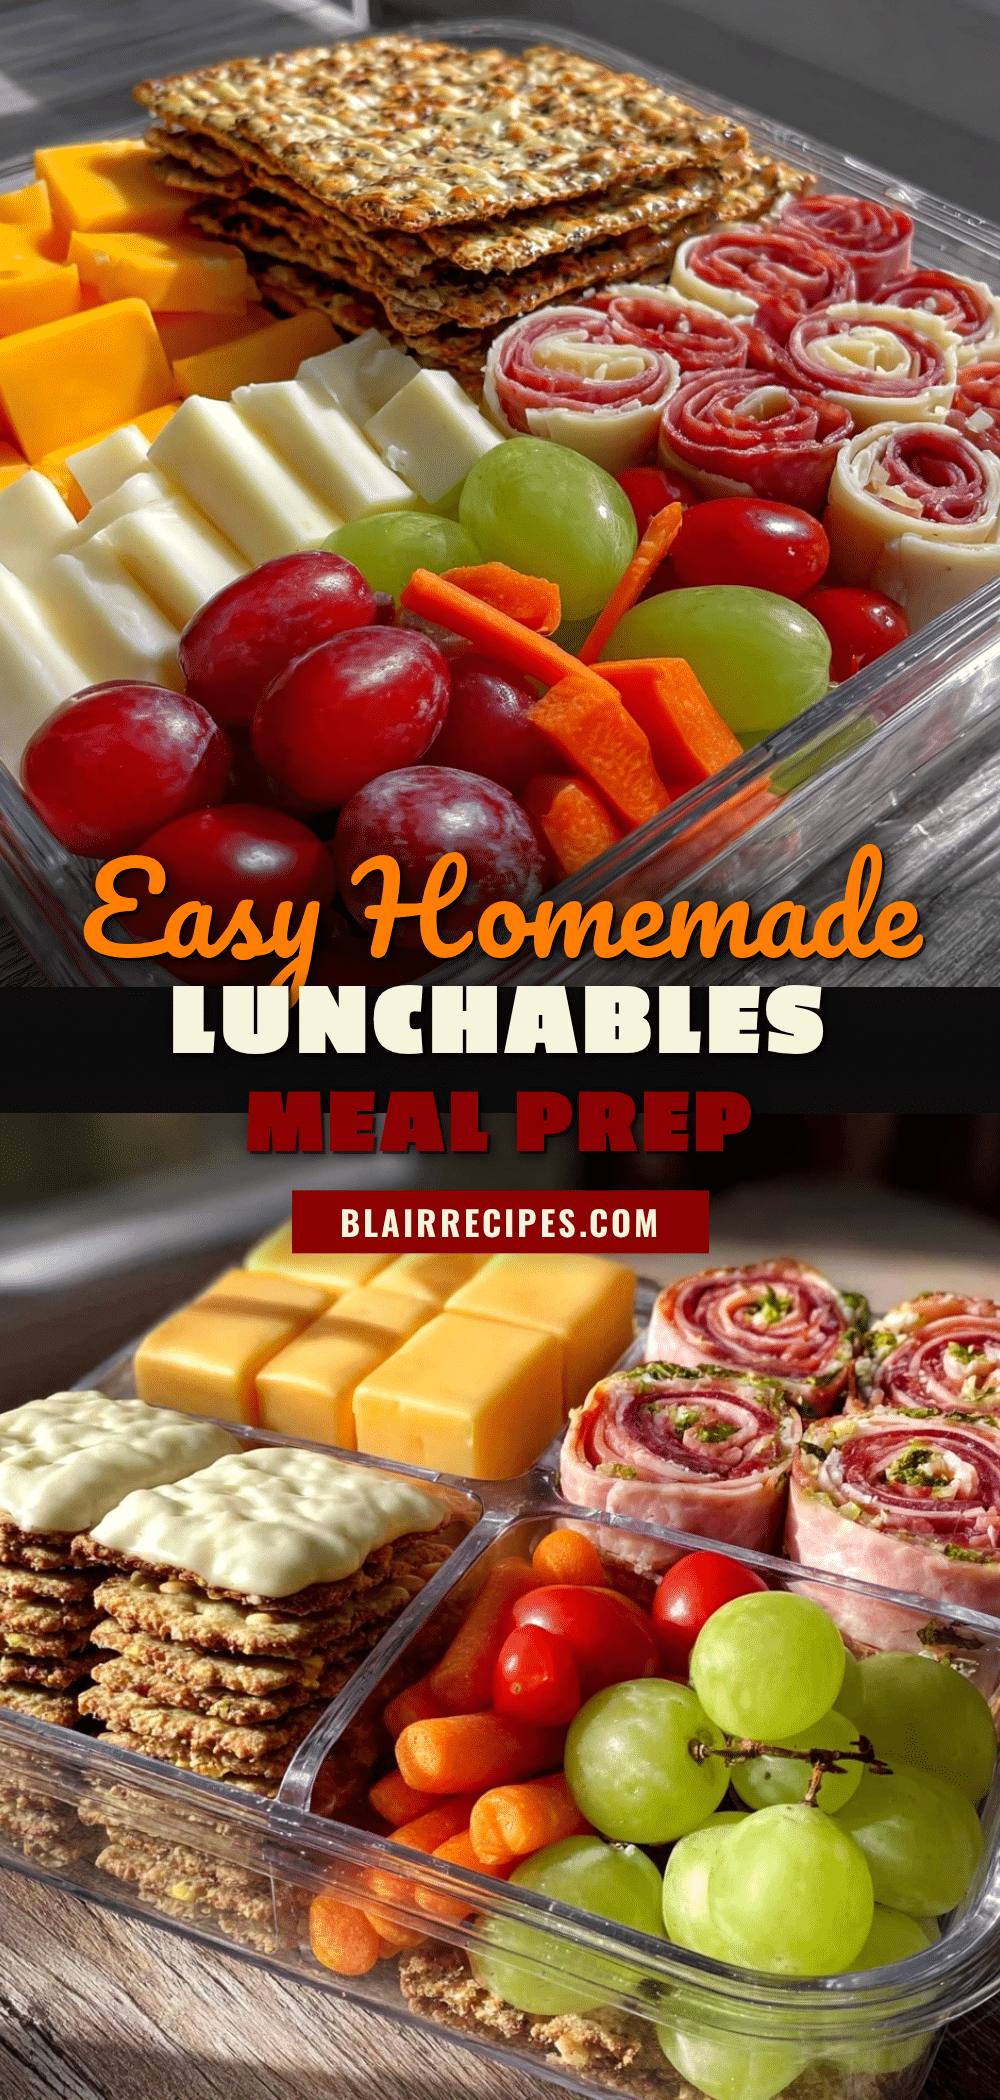
Homemade Lunchables Recipe Easy Nutritious Meal Prep Ideas

A fresh, customizable, and nutritious homemade Lunchables recipe perfect for meal prep and busy weekdays. This recipe uses whole-grain crackers, nitrate-free deli meat, fresh veggies, and healthy dips for a balanced and kid-approved lunch.
- Prep Time: 20 minutes
- Cook Time: 0 minutes
- Total Time: 30 minutes
- Yield: 6 servings
- Category: Main Course
- Cuisine: American
Ingredients
- Whole-grain crackers (about 6 ounces / 170g)
- Deli meat (8 ounces / 225g) – nitrate-free turkey or ham
- Cheese slices or cubes (6 ounces / 170g) – sharp cheddar or mozzarella
- Fresh veggies (1 cup / 150g total) – cucumber slices, cherry tomatoes, baby carrots, or snap peas
- Fruit (1 cup / 150g) – grapes, apple slices, or berries
- Nut butter or hummus (about ¼ cup / 60ml)
- Optional extras – olives, pickles, or a small handful of nuts
Instructions
- Prep all ingredients first: Slice deli meat into bite-sized pieces or roll them, cube or slice cheese, wash and chop veggies and fruit. Prep fruit last to keep it fresh and prevent browning.
- Arrange crackers and protein: Place whole-grain crackers in one compartment of your container. Add deli meat beside them without overlapping too much to keep crackers crisp.
- Add cheese and veggies: Fill the next compartment with cheese cubes or slices, then add fresh veggies, keeping colors vibrant and varied.
- Portion fruit and dip: Add fresh fruit to its own section and include a small container of hummus or nut butter for dipping.
- Optional extras and final touches: Add olives, pickles, or nuts for extra flavor and texture. Seal containers tightly and refrigerate.
Notes
[‘Keep crackers separate until serving to avoid sogginess.’, ‘Use fresh, nitrate-free deli meat for better nutrition and taste.’, ‘Cut cheese just before assembling to keep it fresh.’, ‘Prep veggies ahead but add fruit last to prevent browning.’, ‘Pack dips in separate containers to keep the tray crisp.’, ‘Store trays in airtight containers in the fridge for up to 4 days.’, ‘Not recommended to freeze due to texture changes in veggies and dips.’]
Nutrition
- Serving Size: One compartmentalize
- Calories: 350
- Sugar: 6
- Sodium: 550
- Fat: 18
- Saturated Fat: 7
- Carbohydrates: 28
- Fiber: 5
- Protein: 22
Keywords: homemade lunchables, meal prep, nutritious lunch, kid-friendly lunch, easy lunch ideas, whole grain crackers, nitrate-free deli meat, fresh veggies, healthy dips


