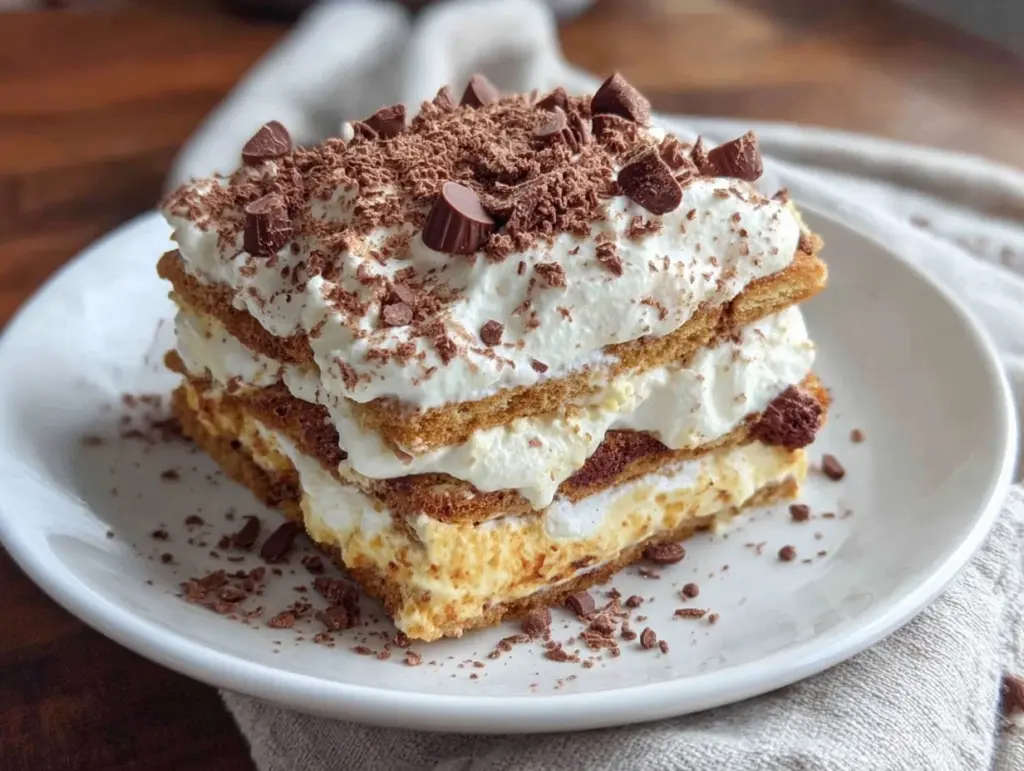
The first time I made this no-bake icebox cake, I was honestly skeptical. How could something so simple—just layers of cookies and whipped cream—turn into such a dreamy dessert? But let me tell you, the magic happens in the chilling. The cookies soak up the cream and transform into this melt-in-your-mouth softness that’ll have you closing your eyes with every bite. It’s like nostalgia wrapped up in a bowl, perfect for those warm days when you want something cool and sweet without firing up the oven.
I’ve whipped up this no-bake icebox cake recipe countless times, tweaking it here and there, and it’s become a staple in my dessert rotation. Whether it’s a last-minute treat for friends or a simple indulgence after dinner, this cake never disappoints. Plus, it’s incredibly forgiving—no worries if you don’t have fancy ingredients or a ton of time. If you’re after a homemade dessert that’s fuss-free yet seriously satisfying, this recipe’s got your back.
What’s really neat is how versatile this no-bake icebox cake is. You can easily dress it up or down, depending on your mood or what’s lurking in your pantry. So, if you’ve been hunting for that perfect sweet that’s both easy and impressive, stick around. I’m sharing my best tips for making this treat utterly irresistible.
Why You’ll Love This Recipe
After baking (or rather, chilling) this no-bake icebox cake more times than I can count, I’m convinced it’s a winner for so many reasons. Here’s why it might become your go-to dessert too:
- Quick & Easy: Ready in under 30 minutes, this recipe is a lifesaver for busy evenings or unexpected guests.
- Simple Ingredients: You probably already have most of what you need—no last-minute store runs required.
- Perfect for Any Occasion: Be it brunch, potlucks, or just a casual family dessert, it fits right in.
- Crowd-Pleaser: Kids, adults, picky eaters—everyone seems to love it.
- Unbelievably Delicious: That creamy, cookie-soft texture paired with just the right sweetness is pure comfort food.
What sets this no-bake icebox cake apart? It’s all about the layering technique and the patience to let it chill properly. I blend a touch of vanilla into the whipped cream for a subtle aroma that makes each bite feel special. Plus, I prefer using sturdy yet tender cookies that soak up the cream without falling apart too fast—think classic graham crackers or ladyfingers. Honestly, this isn’t just any icebox cake; it’s my favorite version that nails the balance between creaminess and cookie texture every time.
This dessert is the kind that makes you pause after the first spoonful—comfort food without the fuss, and a little slice of sweet heaven you can throw together anytime.
What Ingredients You Will Need
This recipe keeps things straightforward with ingredients that come together to create big flavor and a luscious texture. Most are pantry staples, so you might already have them on hand.
- For the Base and Layers:
- Graham crackers or ladyfingers (about 12 oz / 340 grams) – I prefer a brand that’s crisp but not too dry, so they soften just right.
- For the Cream Filling:
- Heavy whipping cream (2 cups / 480 ml), cold – This is key for that fluffy, rich texture.
- Powdered sugar (1/2 cup / 60 grams) – Use sifted for smoothness.
- Vanilla extract (1 teaspoon) – Adds a warm, inviting flavor.
- Optional Toppings:
- Fresh berries (strawberries, blueberries) or sliced bananas – great for a fresh pop.
- Chocolate shavings or cocoa powder – for a touch of decadence.
- Chopped nuts (walnuts, pecans) – if you like a little crunch.
- Mixing bowl (preferably chilled) – Cold bowls help the cream whip faster and fluffier.
- Electric mixer or stand mixer – Whipping cream by hand is doable but takes muscle and patience.
- Spatula – For folding and spreading the cream gently.
- 8×8 inch (20×20 cm) square baking dish or similar size glass container – Transparent dishes make the layers look pretty, but any shallow container works.
- Measuring cups and spoons – Accuracy helps with texture and sweetness balance.
- Plastic wrap or airtight lid – Essential for covering the cake during chilling to prevent fridge odors from sneaking in.
- Chill Your Equipment: Place your mixing bowl and beaters in the fridge for about 15 minutes before starting. Cold tools help the heavy cream whip up faster and fluffier.
- Prepare the Whipped Cream: Pour 2 cups (480 ml) of cold heavy whipping cream into the chilled bowl. Using an electric mixer, beat on medium-high speed until it starts to thicken—about 2 minutes. Add 1/2 cup (60 grams) sifted powdered sugar and 1 teaspoon vanilla extract. Continue whipping until medium-stiff peaks form, about 2-3 more minutes. Don’t overbeat or you’ll get butter (been there, done that!).
- Layering the Cake: Lightly grease your 8×8 inch (20×20 cm) baking dish or line it with parchment paper for easy removal. Place a single layer of graham crackers or ladyfingers at the bottom—no need to break them up; just fit them snugly. Spread about 1/3 of the whipped cream evenly over the cookies using a spatula. Repeat layering cookies and cream two more times, ending with a thick cream layer on top.
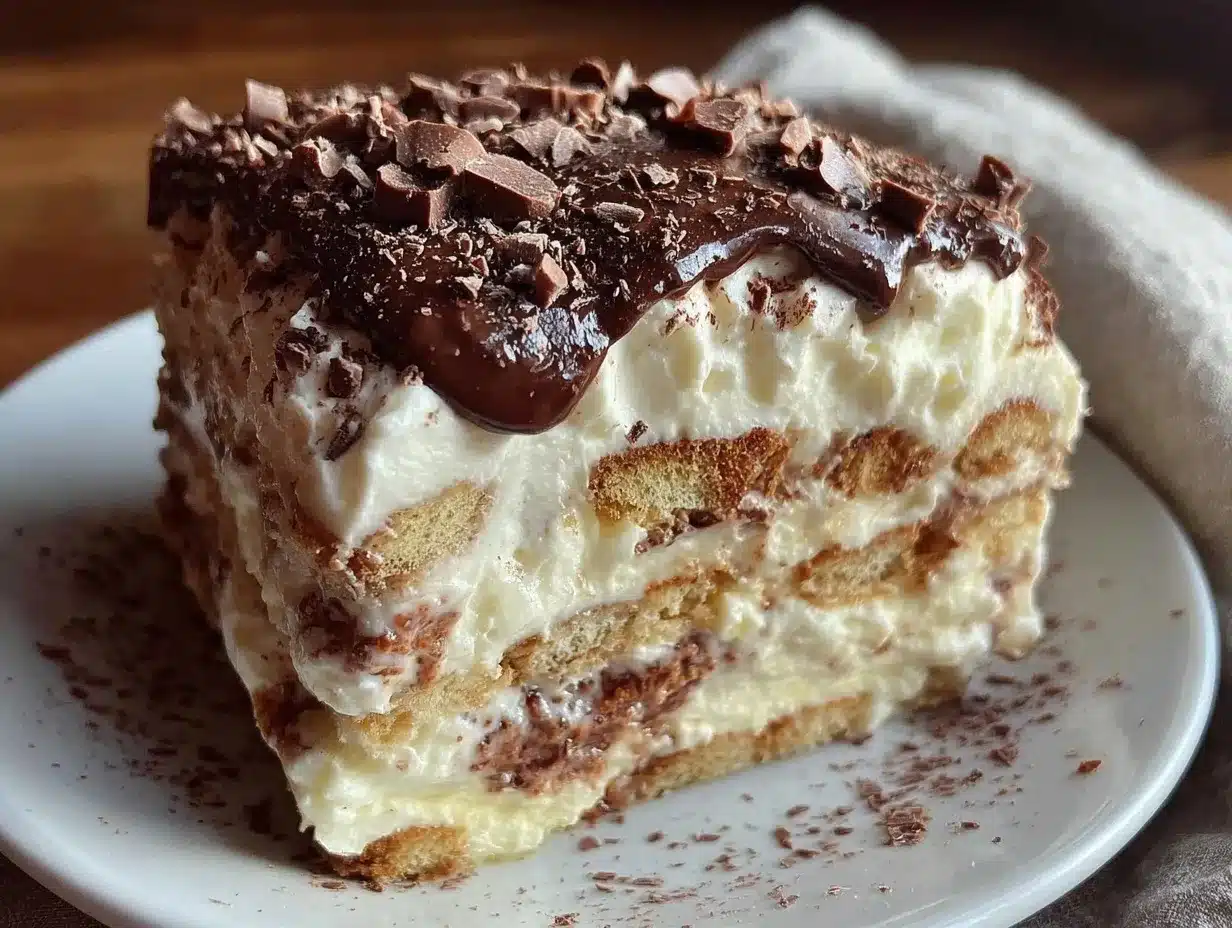
- Add Toppings: If you’re going for berries, nuts, or chocolate shavings, sprinkle them over the top layer of whipped cream now. It adds a nice visual and flavor contrast.
- Chill and Set: Cover the dish tightly with plastic wrap or an airtight lid. Refrigerate for at least 4 hours, but overnight is best (I almost always wait overnight). This chilling time lets the cookies soften as they absorb moisture from the cream, turning the whole cake into a luscious, sliceable dessert.
- Dietary Swaps: Use coconut cream and gluten-free cookies for a dairy-free, gluten-free version that’s just as dreamy.
- Flavor Twists: Add a layer of fruit preserves or a drizzle of espresso for a flavor pop. Alternatively, sprinkle crushed peppermint candies for a festive touch.
- Seasonal Changes: In summer, load it up with fresh berries and a hint of lemon zest. For fall, try layering with pumpkin puree mixed into the cream and a dash of cinnamon.
- Alternative Cookies: Swap graham crackers for thin ginger snaps or biscotti for a spiced or crunchy bite.
- Personal Favorite: I once added a layer of melted chocolate ganache between the cream layers for a richer dessert. It’s a bit indulgent but wow, so good!
If you want to get creative, try swapping the heavy cream for coconut cream for a dairy-free twist, or add a spoonful of mascarpone cheese for extra richness. When selecting your cookies, make sure they’re not overly sweet, so the cream’s flavor shines through. Also, if fresh berries aren’t in season, frozen ones work just fine—just thaw and drain excess moisture before layering.
Equipment Needed
If you’re on a budget, hand whisks and basic bowls work fine, though whipping cream can be tiring. I’ve found that a stand mixer makes all the difference for speed and consistency. Also, glass or ceramic dishes chill evenly, which helps the cake set perfectly—metal pans tend to cool faster but can dry out edges.
Detailed Preparation Method
Pro Tip: If your cookies are thicker or crunchier, you might want to lightly dip them in milk or coffee before layering to speed up softening. But don’t soak them—they’ll fall apart! And if the whipped cream gets a little soft after chilling, a quick gentle re-whip before serving fixes it.
Cooking Tips & Techniques
Whipping cream sounds easy but can be tricky. Always start with cold cream and a chilled bowl. Don’t rush the process; patience here pays off with a silky texture. Also, folding the cream gently when mixing in additions prevents deflating those precious air bubbles.
A common mistake is layering cookies when they’re too dry or stale. Fresh cookies absorb moisture better and soften evenly. Another tip: avoid over-sugaring the cream; too sweet can overpower the delicate balance.
I’ve made this cake using different cookies before—each brings a unique texture. For instance, chocolate wafers add a mocha vibe, but they take longer to soften. So, adjust chilling time accordingly.
Lastly, multitasking helps: whip cream while lining up your cookies, then assemble quickly and refrigerate. This keeps everything cold and fresh. And don’t skip the chilling step—this cake just isn’t the same rushed.
Variations & Adaptations
Serving & Storage Suggestions
Serve this no-bake icebox cake chilled straight from the fridge. The creamy layers are coolest and most refreshing that way. You can garnish with extra berries or a dusting of cocoa powder for a pretty finish. It pairs beautifully with a cup of coffee or a light dessert wine if you’re feeling fancy.
Store leftovers covered tightly in the fridge for up to 3 days. The flavors actually deepen after a day or two. For longer storage, you can freeze portions wrapped well in plastic wrap and foil; thaw overnight in the fridge before serving. Be warned—freezing may change the texture slightly, but it still tastes great.
Reheating isn’t necessary here—it’s a no-bake dessert meant to be enjoyed cold. Just let chilled slices sit at room temperature for 10 minutes before serving if they’re a bit too firm.
Nutritional Information & Benefits
Estimated per serving (based on 8 servings): approximately 320 calories, 20g fat, 30g carbohydrates, 3g protein. This dessert is rich in calcium thanks to the heavy cream and offers a satisfying treat without refined flours or artificial ingredients.
Using real cream means you’re getting a dose of fat-soluble vitamins like A and D, and when fresh berries are added, you get antioxidants and fiber too. While it’s indulgent, this no-bake icebox cake can fit into a balanced diet when enjoyed in moderation. Plus, it’s gluten-friendly if you choose the right cookies.
Conclusion
If you’re after a dessert that’s both effortless and unforgettable, this no-bake icebox cake recipe fits the bill perfectly. It’s got that dreamy, creamy texture and just the right sweetness to satisfy your sweet tooth without any oven drama. I love how it feels like a little celebration in every spoonful.
Feel free to make it your own by swapping in your favorite cookies or toppings—this recipe is forgiving and flexible. I can’t wait to hear how you customize yours! Go ahead, give it a try, and drop a comment with your tweaks or questions. Sharing your creations always makes my day.
Happy chilling and indulging—you deserve it!
FAQs
How long does the no-bake icebox cake need to chill?
At least 4 hours is recommended, but overnight chilling yields the best texture and flavor.
Can I use a different type of cookie besides graham crackers?
Absolutely! Ladyfingers, chocolate wafers, or even ginger snaps work well; just adjust chilling time if needed.
Is it possible to make this cake dairy-free?
Yes! Use coconut cream instead of heavy cream and dairy-free cookies for a tasty alternative.
How do I prevent the whipped cream from turning grainy?
Stop whipping as soon as stiff peaks form. Overwhipping causes the cream to separate and become grainy.
Can I prepare this cake ahead of time for a party?
Definitely. Make it a day ahead and keep it covered in the fridge to save time on the day of your event.
Pin This Recipe!
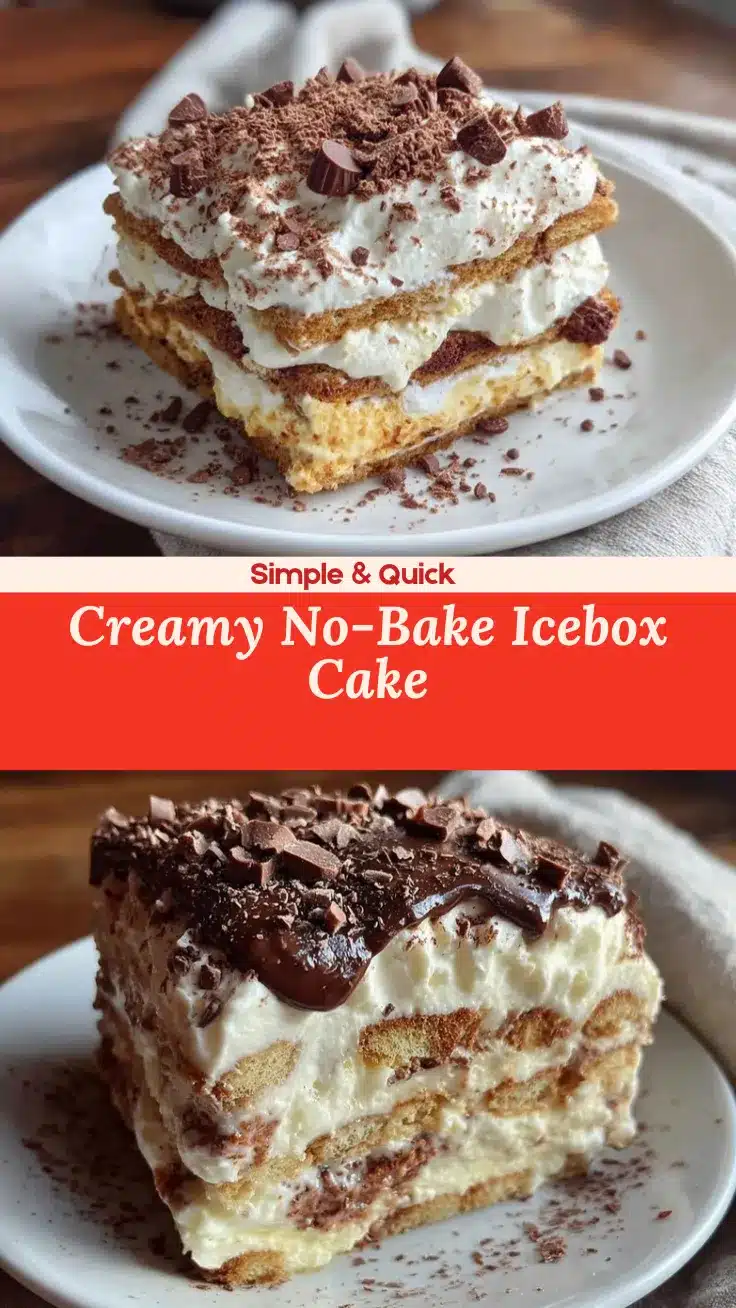
No-Bake Icebox Cake

A simple and dreamy no-bake dessert made with layers of cookies and whipped cream that soften into a melt-in-your-mouth treat after chilling.
- Prep Time: 15 minutes
- Cook Time: 0 minutes
- Total Time: 4 hours 15 minutes
- Yield: 8 servings 1x
- Category: Dessert
- Cuisine: American
Ingredients
- 12 oz (340 grams) graham crackers or ladyfingers
- 2 cups (480 ml) cold heavy whipping cream
- 1/2 cup (60 grams) sifted powdered sugar
- 1 teaspoon vanilla extract
- Optional toppings: fresh berries (strawberries, blueberries) or sliced bananas
- Optional toppings: chocolate shavings or cocoa powder
- Optional toppings: chopped nuts (walnuts, pecans)
Instructions
- Chill your mixing bowl and beaters in the fridge for about 15 minutes before starting.
- Pour 2 cups (480 ml) of cold heavy whipping cream into the chilled bowl. Using an electric mixer, beat on medium-high speed until it starts to thicken, about 2 minutes.
- Add 1/2 cup (60 grams) sifted powdered sugar and 1 teaspoon vanilla extract. Continue whipping until medium-stiff peaks form, about 2-3 more minutes. Avoid overbeating.
- Lightly grease your 8×8 inch (20×20 cm) baking dish or line it with parchment paper.
- Place a single layer of graham crackers or ladyfingers at the bottom, fitting them snugly without breaking.
- Spread about one-third of the whipped cream evenly over the cookies using a spatula.
- Repeat layering cookies and cream two more times, ending with a thick cream layer on top.
- Sprinkle optional toppings such as berries, nuts, or chocolate shavings over the top layer of whipped cream.
- Cover the dish tightly with plastic wrap or an airtight lid and refrigerate for at least 4 hours, preferably overnight, to allow the cookies to soften and the cake to set.
Notes
Use cold cream and chilled equipment for best whipping results. Avoid overbeating the cream to prevent it from turning into butter. If cookies are thick or crunchy, lightly dip them in milk or coffee before layering to speed softening but do not soak. Re-whip cream gently if it softens after chilling. Fresh cookies absorb moisture better than stale ones. For dairy-free, use coconut cream and gluten-free cookies.
Nutrition
- Serving Size: 1 slice (1/8 of cake
- Calories: 320
- Fat: 20
- Carbohydrates: 30
- Protein: 3
Keywords: no-bake, icebox cake, easy dessert, whipped cream, graham crackers, layered cake, summer dessert, quick dessert


