
It was one of those chilly February evenings when I found myself scrambling to whip up a dessert for a last-minute get-together. Honestly, I was half-expecting to settle for store-bought sweets, but then a memory nudged me—my friend once texted me a snapshot of these adorable red velvet heart-shaped cheesecake bars she made for Valentine’s Day. At first, I was skeptical; mixing red velvet and cheesecake sounded a bit over the top. But with only a couple of hours to spare, I decided to give it a shot. The result? Absolutely worth the mess in my kitchen.
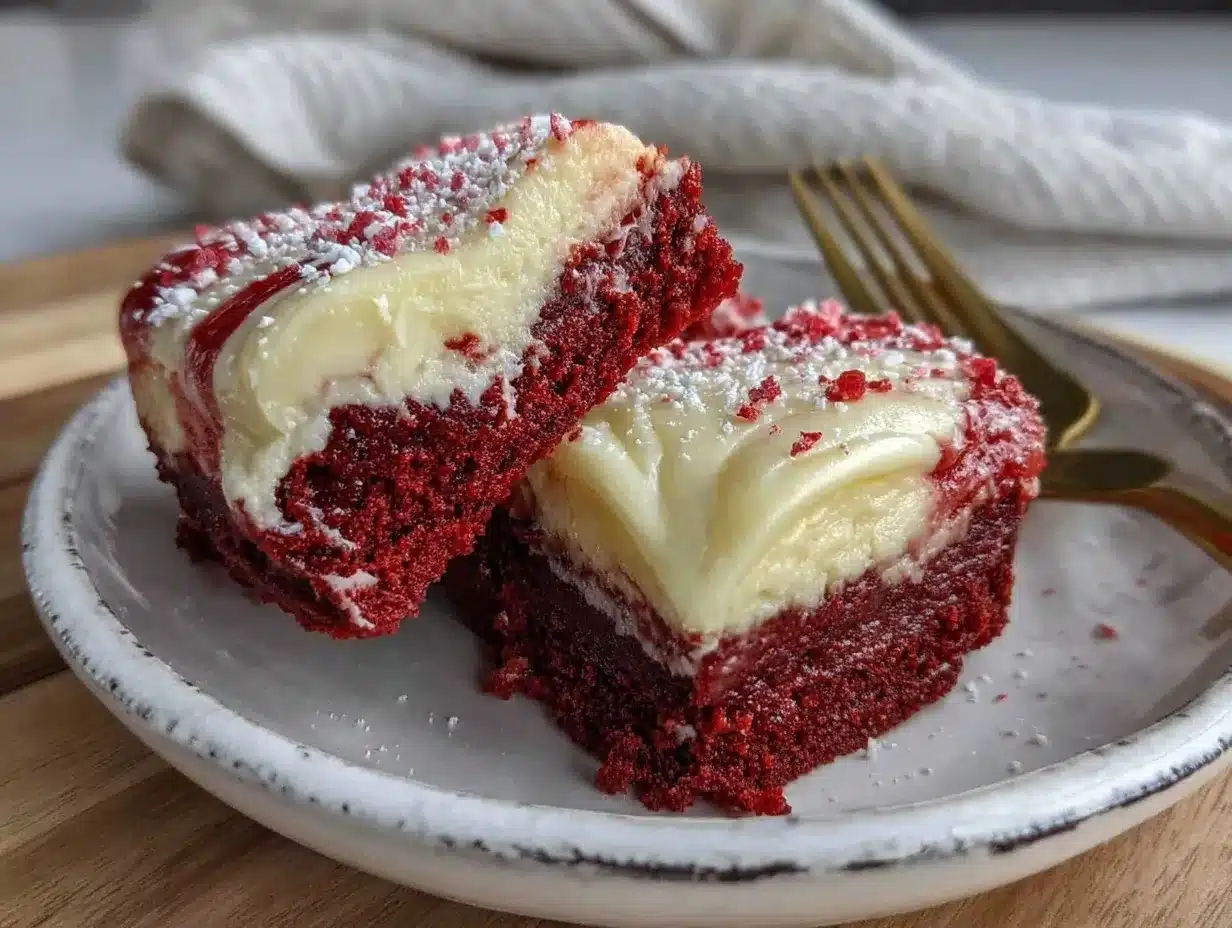
The rich, velvety red base paired with the creamy cheesecake topping wasn’t just a treat for the eyes—it was like a cozy hug on a plate. And those heart shapes? They made everyone smile, turning an ordinary night into a sweet celebration. Over the next week, I found myself baking these bars again and again, perfecting the balance of flavors and texture. This recipe became my go-to for any occasion when I want to impress without the fuss.
What stuck with me most was how effortlessly these bars brought warmth and joy, even on the busiest days. They’re not just a dessert—they’re a little moment of love you can share, any day of the year.
Why You’ll Love This Recipe
- Quick & Easy: Comes together in under 45 minutes, perfect for busy weeknights or unexpected guests.
- Simple Ingredients: No need for fancy or hard-to-find items; you likely have most of these staples in your pantry or fridge.
- Perfect for Any Occasion: Whether it’s Valentine’s, birthdays, or just because, these heart-shaped bars add charm and sweetness.
- Crowd-Pleaser: Kids, adults, cheesecake lovers, and even skeptics like me can’t get enough of these bars.
- Unbelievably Delicious: The creamy cheesecake layer contrasts beautifully with the soft, moist red velvet base for a win in every bite.
This isn’t just another cheesecake bar recipe; the secret lies in the balance—the batter is just the right kind of tender, and the cheesecake layer is luxuriously smooth without being too heavy. Plus, shaping them into hearts adds a whimsical touch that’s surprisingly easy to achieve. These bars made me realize how a simple twist on a classic can keep people coming back for more, and honestly, I love that feeling.
What Ingredients You Will Need
This recipe uses simple, wholesome ingredients to deliver bold flavor and satisfying texture without the fuss. Most are pantry staples, with a few fresh items to add richness and depth. Here’s what you’ll need:
- For the Red Velvet Base:
- All-purpose flour – 1 ½ cups (180g), sifted for a light texture
- Granulated sugar – ¾ cup (150g)
- Unsweetened cocoa powder – 1 tablespoon (adds subtle chocolate flavor)
- Baking powder – 1 teaspoon
- Baking soda – ½ teaspoon
- Salt – ¼ teaspoon
- Buttermilk – ¾ cup (180ml), room temperature for tanginess and moisture
- Vegetable oil – ½ cup (120ml) for moistness (I usually go with a neutral oil like canola)
- Egg – 1 large, at room temperature
- Vanilla extract – 1 teaspoon
- Red food coloring – 2 tablespoons (gel food color works best for vibrant color without thinning the batter)
- White vinegar – 1 teaspoon (reacts with baking soda for lift)
- For the Cheesecake Layer:
- Cream cheese – 8 ounces (225g), softened (I prefer full-fat for creaminess)
- Granulated sugar – ½ cup (100g)
- Egg – 1 large, room temperature
- Vanilla extract – 1 teaspoon
- Sour cream – ¼ cup (60ml) (optional, but adds a lovely tang and smooth texture)
If you’re looking for a dairy-free option, swap cream cheese and sour cream with plant-based alternatives like almond or coconut cream cheese. I’ve also tried using Greek yogurt instead of sour cream when I was out, and it worked well to keep the tang.
Equipment Needed
- 8×8 inch (20×20 cm) square baking pan – perfect size for these bars and heart shapes.
- Mixing bowls – one for the red velvet batter, one for the cheesecake layer.
- Electric mixer or stand mixer – makes cream cheese mixing smooth and easy, but a sturdy whisk can work if you’re patient.
- Rubber spatula – for scraping bowls and folding ingredients gently.
- Measuring cups and spoons – for precise ingredient amounts.
- Heart-shaped cookie cutters – various sizes (optional but adds charm; if you don’t have these, a sharp knife to cut squares works fine).
- Oven thermometer (optional) – I keep one handy to make sure the oven stays at the right temp for even baking.
Personally, I like using a non-stick baking pan lined with parchment paper for easy removal and cleanup. If you’re on a budget, silicone spatulas and basic hand mixers can do the job just fine. Keeping your cream cheese softened but not melted is key, so I recommend letting it sit out for about 30 minutes before mixing.
Preparation Method
- Preheat your oven to 350°F (175°C). Line your 8×8 inch pan with parchment paper, leaving some overhang for easy lifting later. This takes about 10 minutes.
- Make the red velvet base: In a medium bowl, sift together 1 ½ cups (180g) all-purpose flour, ¾ cup (150g) sugar, 1 tablespoon cocoa powder, 1 teaspoon baking powder, ½ teaspoon baking soda, and ¼ teaspoon salt. Whisk them to blend evenly.
- Combine wet ingredients: In a separate bowl, whisk ¾ cup (180ml) buttermilk, ½ cup (120ml) vegetable oil, 1 large egg, 1 teaspoon vanilla extract, 2 tablespoons red food coloring, and 1 teaspoon white vinegar until smooth. This takes about 2-3 minutes.
- Mix wet into dry: Pour wet ingredients into the dry mix and stir gently with a spatula until just combined. Don’t overmix—stop when you see no streaks of flour (usually about 20-30 seconds). The batter should be thick and glossy.
- Prepare the cheesecake layer: In a large bowl, beat 8 ounces (225g) softened cream cheese with ½ cup (100g) sugar until smooth and creamy (about 2-3 minutes with a mixer). Add 1 egg, 1 teaspoon vanilla extract, and ¼ cup (60ml) sour cream, blending until everything is silky and lump-free.
- Assemble the bars: Spread the red velvet batter evenly into the prepared pan—don’t worry if it’s thick, just smooth it out gently. Then, carefully spoon the cheesecake mixture over the top and spread into an even layer.
- Bake: Place in the oven and bake for 35-40 minutes, or until the edges are set and the center slightly jiggles but isn’t liquid. Avoid overbaking, or the cheesecake will crack and dry out.
- Cool and chill: Let the bars cool at room temperature for about 30 minutes, then refrigerate for at least 3 hours or overnight. This helps the flavors meld and the cheesecake firm up for clean cuts.
- Cut into heart shapes: Use your cookie cutters to press out heart shapes. If you don’t have cutters, slice into squares or rectangles. Wipe the cutter clean between cuts for neat edges.
- Serve: Arrange on a pretty platter and enjoy! These bars keep well in the fridge for up to 4 days.
If you notice cracks on the cheesecake surface, don’t fret—it happens sometimes. A quick tip: avoid high oven temperatures and don’t open the oven door while baking to keep the temperature stable. The slight jiggle in the center is your cue to take them out.
Cooking Tips & Techniques
One of the trickiest parts of making cheesecake bars is getting the texture just right. From my experience, always soften the cream cheese fully—cold chunks will ruin the smoothness. I like to leave it out for at least half an hour before mixing, and I sometimes beat it on medium speed to avoid lumps.
Also, don’t rush folding wet and dry ingredients. Overmixing the red velvet batter can lead to tough bars instead of tender ones. A few streaks of flour are okay; they’ll disappear during baking.
Timing is key. I’ve learned that baking these bars a little too long dries them out, so I set a timer and check them early. The cheesecake layer should still wobble slightly when done.
Multi-task by prepping the cheesecake layer while the oven preheats and the red velvet batter rests briefly. It saves precious minutes and keeps you from scrambling.
For consistent results, I recommend using an oven thermometer to avoid hotspots or inaccurate temperatures, especially if your oven is older or temperamental.
Variations & Adaptations
- Gluten-Free Option: Swap the all-purpose flour with a gluten-free baking blend. I’ve tried Bob’s Red Mill 1-to-1 gluten-free flour with excellent results—texture remains tender.
- Seasonal Twist: Add fresh raspberries or chopped strawberries between the red velvet and cheesecake layers for a fruity surprise. In summer, fresh berries add a bright pop that cuts through the richness.
- Chocolate Lovers’ Version: Stir mini chocolate chips into the red velvet batter or sprinkle on top of the cheesecake layer before baking for extra indulgence.
- Dairy-Free Adaptation: Use vegan cream cheese and coconut yogurt instead of sour cream. The texture will be slightly different but still delicious.
- Personal Favorite: I once added a teaspoon of espresso powder to the red velvet base—it deepened the chocolate flavor without overpowering the cheesecake layer.
Serving & Storage Suggestions
These cheesecake bars are best served chilled, straight from the fridge. The coolness makes each bite creamy and refreshing. You can plate them simply or dust lightly with powdered sugar for an elegant touch.
Pair these bars with fresh berries or a dollop of whipped cream for extra flair. A hot cup of coffee or a glass of cold milk complements the flavors beautifully, balancing richness and sweetness.
Store leftovers in an airtight container in the refrigerator for up to 4 days. If you want to keep them longer, wrap tightly and freeze for up to 2 months. When ready to enjoy, thaw overnight in the fridge and bring to room temperature for 20 minutes before serving.
Flavors actually deepen and meld after a day or two, so if you can resist, letting them rest wrapped in the fridge is worth it. The cheesecake becomes silkier, and the red velvet base tastes more vibrant.
Nutritional Information & Benefits
Each bar contains approximately 250-300 calories, depending on size. They offer a good dose of protein from the cream cheese and eggs, along with calcium and vitamin A. The buttermilk adds a touch of probiotics, which is a nice bonus.
This recipe isn’t low-calorie, but it’s a treat that balances indulgence with simple, recognizable ingredients. For gluten-free or dairy-free eaters, the suggested substitutions keep it accessible without sacrificing taste.
From a wellness perspective, I appreciate that these bars don’t rely on artificial flavors or preservatives. Making them at home means you know exactly what’s inside, which feels good when sharing with loved ones.
Conclusion
These perfect red velvet heart-shaped cheesecake bars have become a sweet staple in my kitchen, whether for special occasions or just because. Their irresistibly smooth cheesecake layer paired with tender red velvet cake is a combination that never disappoints.
Feel free to tweak the recipe to suit your tastes—try different mix-ins, switch up the shapes, or experiment with toppings. It’s a forgiving recipe that rewards creativity.
For me, they’re more than just dessert; they’re a little celebration of flavor and affection baked into every bite. If you try this recipe, I’d love to hear how you made it your own.
Here’s to many delicious moments ahead!
FAQs
Can I make these bars ahead of time?
Absolutely! They taste even better after chilling overnight, and you can store them in the fridge for up to 4 days or freeze them for longer storage.
What if I don’t have buttermilk?
No worries—mix ¾ cup (180ml) milk with 1 tablespoon vinegar or lemon juice and let it sit for 5 minutes. This homemade buttermilk substitute works great.
Can I use a different shape instead of hearts?
Yes! Squares, rectangles, or any cookie cutter shape works fine. Hearts add charm but aren’t necessary for delicious results.
How do I prevent cracks in the cheesecake layer?
Avoid overbaking and sudden temperature changes. Also, mixing the cream cheese until smooth and gentle folding helps keep the texture creamy and crack-free.
Is there a way to make these bars less sweet?
You can reduce the sugar slightly in both the red velvet and cheesecake layers, but keep in mind it might affect texture and flavor balance. Start by cutting 10-15% of the sugar and adjust next time based on taste.
Pin This Recipe!
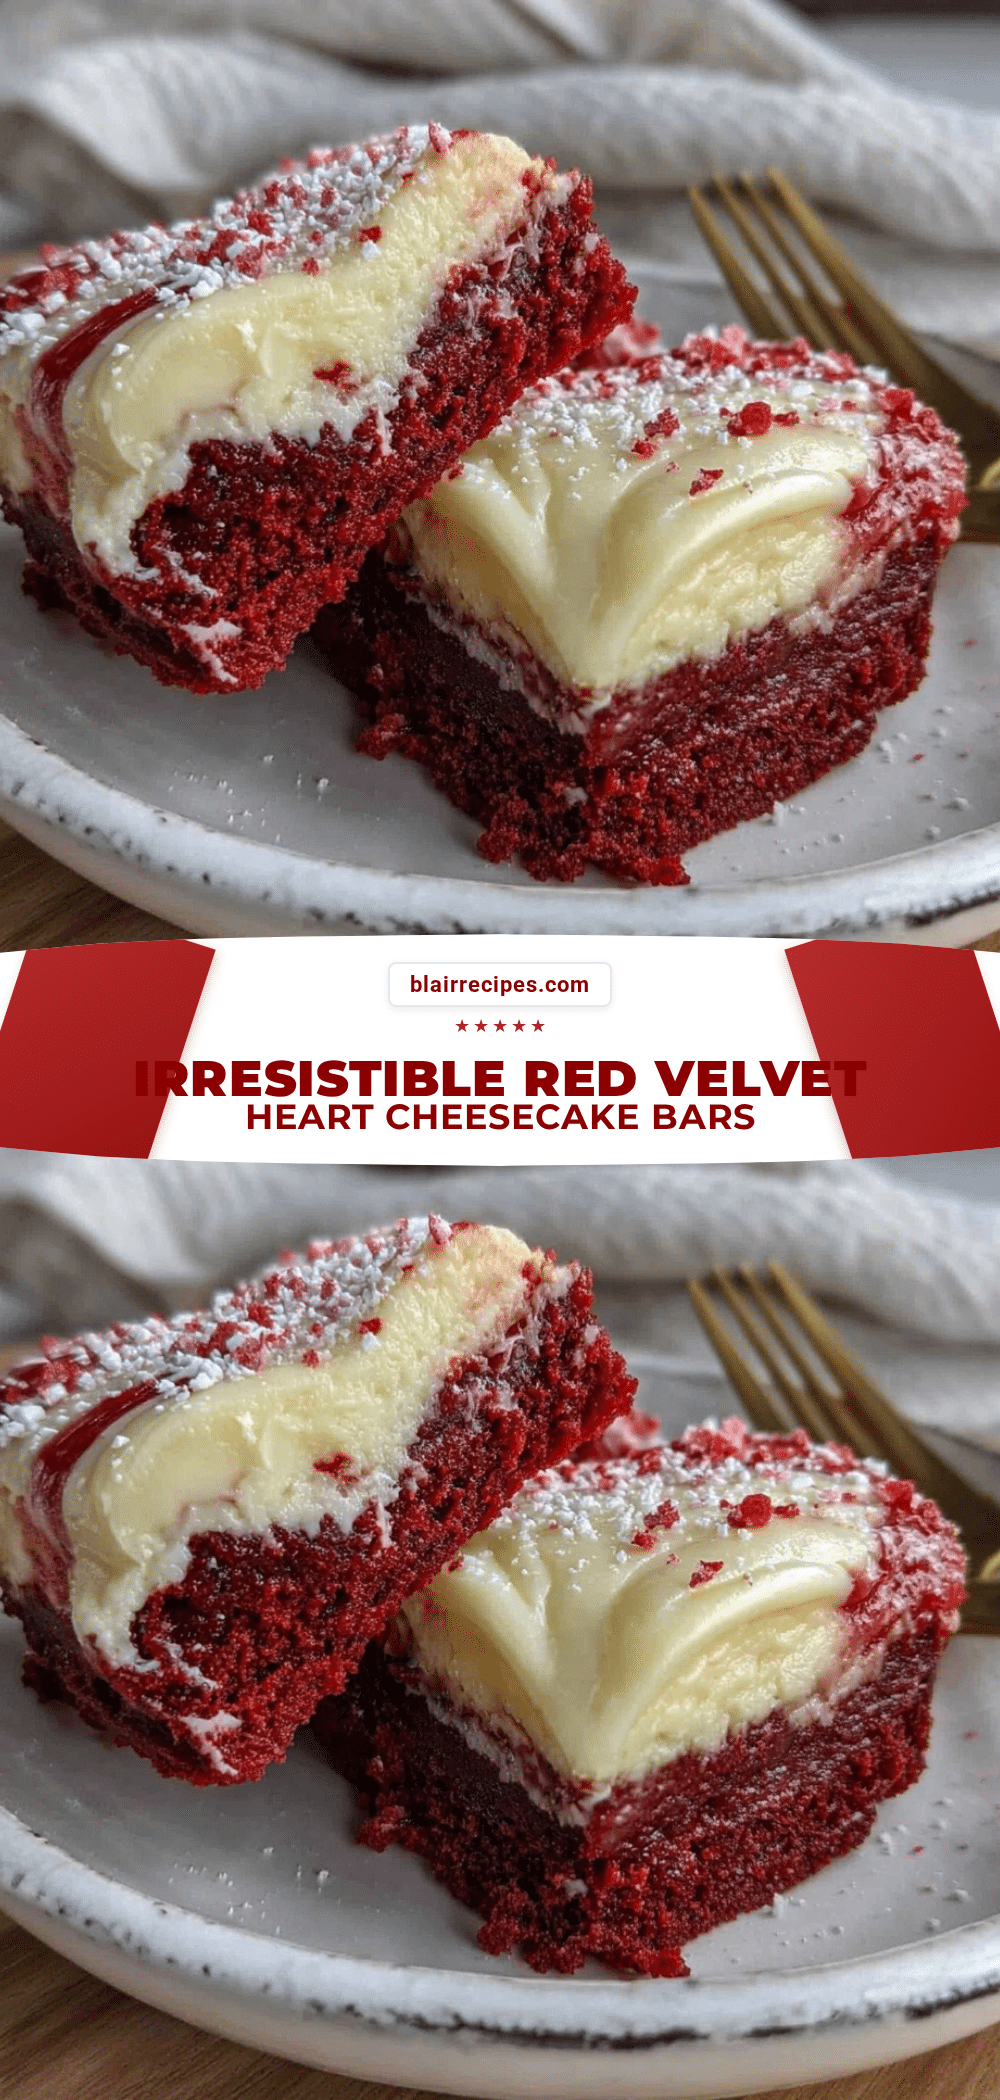
Perfect Red Velvet Heart-Shaped Cheesecake Bars

These red velvet heart-shaped cheesecake bars combine a rich, velvety red base with a creamy cheesecake topping, perfect for any occasion and easy to make in under 45 minutes.
- Prep Time: 15 minutes
- Cook Time: 40 minutes
- Total Time: 4 hours 55 minutes
- Yield: 16 servings 1x
- Category: Dessert
- Cuisine: American
Ingredients
- 1 ½ cups (180g) all-purpose flour, sifted
- ¾ cup (150g) granulated sugar
- 1 tablespoon unsweetened cocoa powder
- 1 teaspoon baking powder
- ½ teaspoon baking soda
- ¼ teaspoon salt
- ¾ cup (180ml) buttermilk, room temperature
- ½ cup (120ml) vegetable oil (neutral oil like canola)
- 1 large egg, room temperature
- 1 teaspoon vanilla extract
- 2 tablespoons red food coloring (gel preferred)
- 1 teaspoon white vinegar
- 8 ounces (225g) cream cheese, softened
- ½ cup (100g) granulated sugar
- 1 large egg, room temperature
- 1 teaspoon vanilla extract
- ¼ cup (60ml) sour cream (optional)
Instructions
- Preheat your oven to 350°F (175°C). Line an 8×8 inch (20×20 cm) square baking pan with parchment paper, leaving some overhang for easy lifting.
- In a medium bowl, sift together the flour, sugar, cocoa powder, baking powder, baking soda, and salt. Whisk to blend evenly.
- In a separate bowl, whisk together the buttermilk, vegetable oil, egg, vanilla extract, red food coloring, and white vinegar until smooth.
- Pour the wet ingredients into the dry ingredients and stir gently with a spatula until just combined. Do not overmix; stop when no streaks of flour remain.
- In a large bowl, beat the softened cream cheese with sugar until smooth and creamy. Add the egg, vanilla extract, and sour cream, blending until silky and lump-free.
- Spread the red velvet batter evenly into the prepared pan. Carefully spoon the cheesecake mixture over the top and spread into an even layer.
- Bake for 35-40 minutes, or until the edges are set and the center slightly jiggles but is not liquid. Avoid overbaking to prevent cracks.
- Let the bars cool at room temperature for about 30 minutes, then refrigerate for at least 3 hours or overnight to firm up.
- Use heart-shaped cookie cutters to cut out shapes, or slice into squares or rectangles if cutters are unavailable. Wipe cutters clean between cuts for neat edges.
- Arrange on a platter and serve chilled. Store leftovers in the refrigerator for up to 4 days.
Notes
Soften cream cheese for at least 30 minutes before mixing to avoid lumps. Avoid overmixing the red velvet batter to keep bars tender. Use an oven thermometer to maintain consistent temperature. The slight jiggle in the cheesecake center indicates doneness. Bars keep well refrigerated for up to 4 days and can be frozen for up to 2 months.
Nutrition
- Serving Size: 1 bar (approximate)
- Calories: 275
- Sugar: 18
- Sodium: 220
- Fat: 18
- Saturated Fat: 7
- Carbohydrates: 25
- Fiber: 1
- Protein: 5
Keywords: red velvet, cheesecake bars, heart-shaped dessert, easy dessert, Valentine's Day dessert, quick cheesecake bars


