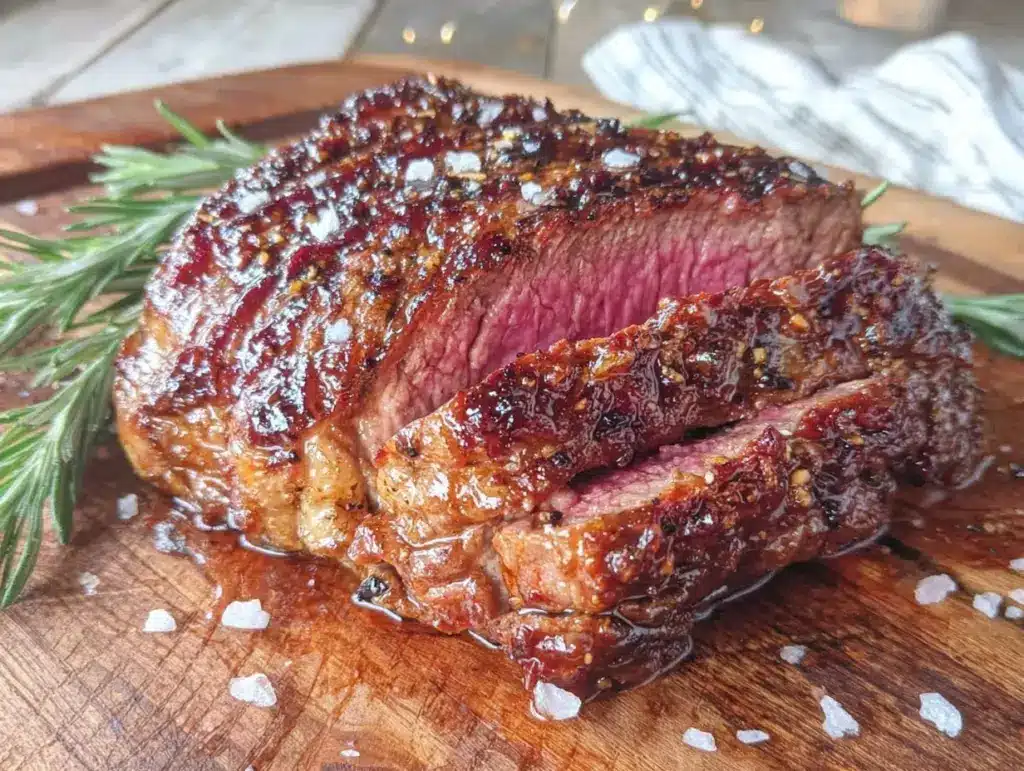
The smell of a perfectly cooked steak sizzling in a hot pan with that irresistible crust practically hypnotizes me every time. Honestly, it’s the kind of aroma that makes your mouth water before you even take a bite. I first stumbled upon the ultimate reverse sear steak method while trying to find a way to get a juicy, evenly cooked steak without the dreaded overcooked edges. After experimenting countless times, this method quickly became my go-to for steak night.
Reverse searing flips the traditional steak-cooking process on its head—slow cooking the steak first, then finishing it off with a hot sear to lock in all those rich flavors. I love this method because it gives you a steak that’s tender and cooked just right from edge to edge, with a crust that’s pure perfection. Whether you’re a seasoned home chef or a beginner looking to impress, this method is a game changer.
If you’ve ever struggled with dry steaks or uneven cooking, this ultimate reverse sear steak method is worth trying. I’ve tested it with different cuts and thicknesses, tweaking the timing and temperatures until it’s foolproof. Plus, it’s perfect for weeknight dinners or special occasions when you want that steakhouse quality at home. Let’s jump into how you can master juicy perfection with this simple technique!
Why You’ll Love This Recipe
- Consistently Juicy: Slow cooking the steak first keeps all the juices locked in, so you get that melt-in-your-mouth tenderness every time.
- Perfect Crust: The final sear creates a flavorful, crispy crust that’s impossible to resist.
- Easy to Control: No more guessing if your steak is over or undercooked—this method gives you precise control over doneness.
- Great for Thick Cuts: Whether it’s ribeye, strip, or filet mignon, reverse searing works wonders on thick steaks.
- Impresses Guests: Your friends and family will think you’ve been training as a professional chef with this technique!
This isn’t just another steak recipe. What makes this ultimate reverse sear steak method stand out is its simplicity combined with impressive results. After trying many variations, I found that cooking the steak gently in the oven or on a grill first, then finishing with a high-heat sear, nails the texture and flavor balance perfectly. It’s like a little kitchen hack that produces restaurant-quality steak without the stress.
And let’s be honest — there’s just something so satisfying about cutting into a perfectly cooked steak that’s juicy throughout and has that caramelized crust. This method lets you enjoy that moment every single time.
What Ingredients You Will Need
This recipe uses simple, straightforward ingredients that highlight the steak’s natural flavor while helping you get that perfect sear and juicy interior. You likely have everything on hand already, which is always a win!
- Steak: Thick-cut ribeye, New York strip, or filet mignon (1½ to 2 inches thick is ideal for reverse searing)
- Salt: Coarse kosher salt or sea salt (seasoning ahead helps tenderize and flavor the meat)
- Pepper: Freshly cracked black pepper for that classic steakhouse touch
- Oil: High smoke point oil like avocado oil, grapeseed oil, or refined canola oil (for searing)
- Butter: Unsalted butter (adds richness when finishing the steak in the pan)
- Garlic: 2-3 cloves, smashed (optional, for aromatics during searing)
- Fresh Herbs: Sprigs of thyme or rosemary (optional, for flavor infusion)
For best results, I recommend choosing steaks with good marbling (those white flecks of fat inside the meat) from a trusted butcher or brand like Snake River Farms if you want a premium cut. The marbling melts during cooking, which helps keep the steak juicy.
If you want to keep it simple, kosher salt and fresh pepper are all you need to bring out the steak’s natural flavors. I usually skip fancy marinades to let the beef shine.
Equipment Needed
- Oven or Grill: For the low and slow cooking stage. I prefer the oven for consistent heat, but a grill works too.
- Instant-read Thermometer: Essential for checking the steak’s internal temperature to nail your preferred doneness.
- Cast Iron Skillet or Heavy-duty Pan: Provides even heat and creates that coveted crust during searing.
- Tongs: For flipping the steak without piercing the meat.
- Baking Rack and Sheet Pan: Allows air circulation for even cooking in the oven.
If you don’t have a cast iron skillet, a stainless steel pan with a thick base will do, but the crust may not be as perfect. Avoid non-stick pans here since they won’t withstand the high searing heat.
My instant-read thermometer has saved me so many times from guesswork. It’s a small investment that pays off big with consistent steak results.
Detailed Preparation Method
- Prep the Steak: Pat your steak dry with paper towels—this is key for a good sear. Season generously on all sides with kosher salt and freshly cracked black pepper. Let it rest at room temperature for about 30-45 minutes. This helps the steak cook evenly.
- Preheat Oven or Grill: Set your oven to 225°F (107°C). If using a grill, prepare it for indirect heat at the same temperature.
- Set Up Rack: Place the steak on a wire rack set over a rimmed baking sheet. This allows air to circulate around the steak for even cooking.
- Cook Slowly: Put the steak in the oven or on the grill. Cook until the internal temperature reaches about 10-15°F (5-8°C) below your target final temperature. For medium-rare, pull it at around 115°F (46°C). This usually takes 30-45 minutes, depending on steak thickness.
- Rest Briefly: Remove the steak and let it rest while you heat your skillet. Resting helps juices redistribute.
- Heat Skillet: On high heat, add 1-2 tablespoons of high smoke point oil to your cast iron skillet. Heat until shimmering but not smoking.
- Sear the Steak: Place the steak in the hot pan. Sear for about 1-2 minutes per side until a deep brown crust forms. For extra flavor, add butter, smashed garlic cloves, and fresh herbs. As the butter melts, spoon it over the steak for a glossy finish.
- Check Final Temperature: Use your instant-read thermometer to verify the steak’s temperature. Aim for 130-135°F (54-57°C) for medium-rare. If needed, give it another quick sear or rest longer.
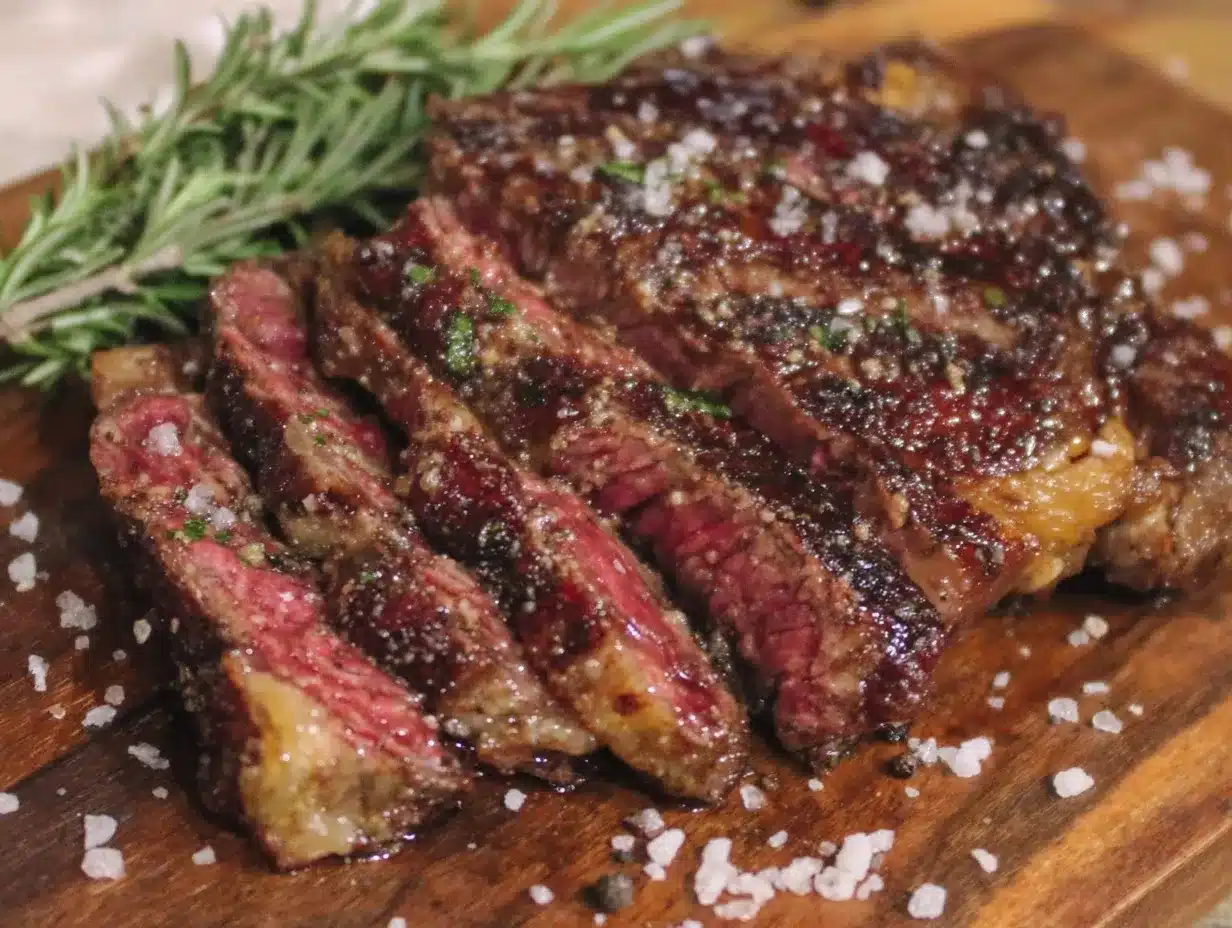
- Rest and Serve: Let the steak rest for 5-10 minutes before slicing. This step is crucial for juicy perfection.
Pro tip: Don’t crowd the pan during searing; work in batches if cooking multiple steaks. Also, avoid flipping the steak too often—one flip per side is enough to build that crust.
Cooking Tips & Techniques
One of the biggest mistakes I see is rushing the cooking process or searing before the steak is adequately cooked through. The reverse sear method helps avoid that by gently bringing the steak up to temperature first.
Always use an instant-read thermometer—guessing by time or color alone leads to unpredictable results. I’ve learned the hard way that even a minute too long on the sear can push a perfectly medium-rare steak into well-done territory.
Another trick is drying the steak thoroughly before seasoning and cooking. Moisture equals steam, and steam kills crust formation. Patting it dry is simple but makes a huge difference.
When searing, keep your pan screaming hot but not smoking excessively. This gives you that beautiful Maillard reaction—the chemical magic behind that golden-brown crust.
Multitasking tip: While the steak cooks slowly in the oven, prep your sides or sauces so you can jump straight to searing once it’s done. Timing is everything here to serve the steak hot and juicy.
Variations & Adaptations
- Garlic Butter Finish: Melt butter with minced garlic and fresh herbs, spooning over the steak during the sear for an aromatic boost.
- Spice Rub: Add smoked paprika, cumin, and black pepper to your seasoning mix for a smoky twist.
- Grill Reverse Sear: Start cooking the steak over indirect heat on the grill, then finish it directly over high heat for that charred crust.
- Allergen-friendly: This recipe is naturally gluten-free and dairy-free if you skip the butter or substitute with a plant-based alternative.
- Different Cuts: Try the method on thick pork chops or bone-in chicken breasts for juicy results.
Personally, I love the garlic butter finish—it makes the steak taste like you’re dining at a fancy steakhouse without the price tag. It’s the little touches that make this ultimate reverse sear steak method feel special every time.
Serving & Storage Suggestions
Serve your steak hot and sliced against the grain to maximize tenderness. It pairs beautifully with classic sides like roasted potatoes, sautéed mushrooms, or a fresh arugula salad. For beverages, a bold red wine or a classic lager complements the rich flavors perfectly.
If you have leftovers (and I hope you do!), store them in an airtight container in the refrigerator for up to 3 days. To reheat without drying out, gently warm the steak in a low oven (about 250°F/120°C) until warmed through, then quickly sear again in a hot pan for a fresh crust.
Flavors actually deepen after resting overnight, so cold steak sliced thin for sandwiches or salads is a delicious bonus.
Nutritional Information & Benefits
This ultimate reverse sear steak method highlights the natural goodness of beef, providing a great source of complete protein, iron, and B vitamins. A 6-ounce (170g) serving typically contains around 400-450 calories, depending on the cut and fat content.
Choosing grass-fed or high-quality beef can offer higher omega-3 fatty acids and antioxidants, which are great for heart health. Since this method requires minimal added fat, you get a juicy, flavorful steak without unnecessary calories.
For those watching carbs, steak is naturally carb-free and fits into low-carb or ketogenic diets perfectly. Just be mindful of any sides or sauces you add.
Conclusion
If you’re looking for a fail-proof way to cook steak that’s juicy, tender, and bursting with flavor, the ultimate reverse sear steak method is your answer. It’s straightforward, rewarding, and delivers steakhouse-quality results in your own kitchen.
Don’t hesitate to tweak seasoning or try different cuts to make it your own. I love this recipe because it removes the guesswork and lets the steak shine with simple, honest cooking.
Give it a shot this weekend, and share your results! I’d love to hear how your ultimate reverse sear steak turns out or any tasty twists you’ve added. Happy cooking!
FAQs
What is the reverse sear method for steak?
Reverse searing involves slowly cooking the steak at a low temperature first, then finishing it with a high-heat sear to create a crust and lock in juices.
What temperature should I cook steak to using reverse sear?
Cook the steak until it’s about 10-15°F (5-8°C) below your desired final doneness, then sear. For medium-rare, pull it at around 115°F (46°C) before searing to reach 130-135°F (54-57°C).
Can I use the reverse sear method on thinner steaks?
It’s best for steaks at least 1½ inches thick. Thinner cuts cook too quickly and may not benefit as much from this technique.
Do I need a special pan for reverse searing?
A cast iron skillet or heavy-duty pan works best for searing due to even heat distribution and high heat tolerance.
How do I know when my steak is done without cutting it?
Use an instant-read thermometer to check internal temperature—this is the most accurate way to ensure your steak is cooked perfectly.
Pin This Recipe!
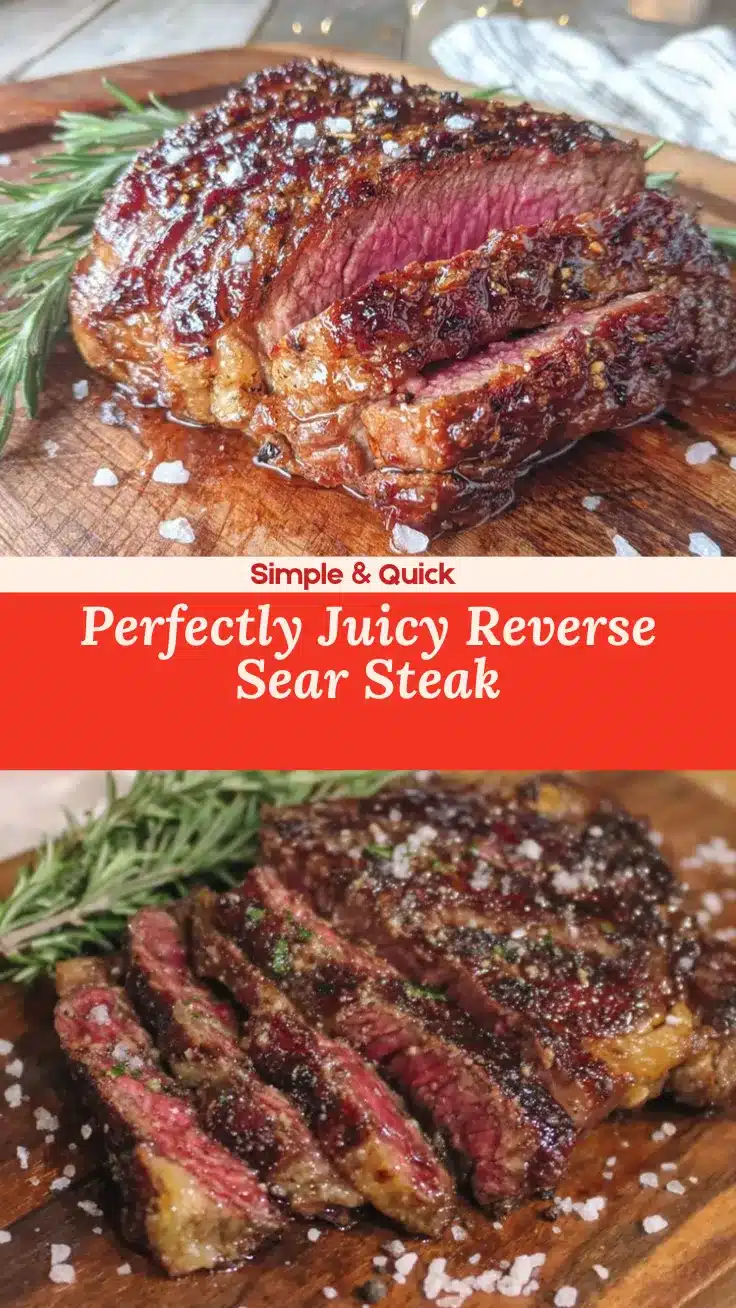
Ultimate Reverse Sear Steak Method

A foolproof method for cooking juicy, perfectly cooked steaks with a flavorful crust by slow cooking first and finishing with a high-heat sear.
- Prep Time: 10 minutes
- Cook Time: 30-45 minutes
- Total Time: 45-55 minutes
- Yield: 1 steak (serves 1-2) 1x
- Category: Main Course
- Cuisine: American
Ingredients
- Thick-cut ribeye, New York strip, or filet mignon (1½ to 2 inches thick)
- Coarse kosher salt or sea salt
- Freshly cracked black pepper
- High smoke point oil (avocado oil, grapeseed oil, or refined canola oil)
- Unsalted butter
- 2–3 cloves garlic, smashed (optional)
- Sprigs of thyme or rosemary (optional)
Instructions
- Pat your steak dry with paper towels.
- Season generously on all sides with kosher salt and freshly cracked black pepper.
- Let the steak rest at room temperature for 30-45 minutes.
- Preheat oven or grill to 225°F (107°C).
- Place the steak on a wire rack set over a rimmed baking sheet.
- Cook the steak in the oven or on the grill until the internal temperature is about 10-15°F below your target final temperature (e.g., 115°F for medium-rare). This usually takes 30-45 minutes depending on thickness.
- Remove the steak and let it rest briefly while heating your skillet.
- Heat 1-2 tablespoons of high smoke point oil in a cast iron skillet over high heat until shimmering but not smoking.
- Sear the steak for 1-2 minutes per side until a deep brown crust forms.
- For extra flavor, add butter, smashed garlic cloves, and fresh herbs to the pan and spoon melted butter over the steak.
- Check the steak’s final temperature with an instant-read thermometer aiming for 130-135°F for medium-rare.
- If needed, sear a bit longer or rest longer.
- Let the steak rest for 5-10 minutes before slicing against the grain and serving.
Notes
Pat steak dry before seasoning to ensure a good crust. Use an instant-read thermometer for precise doneness. Avoid overcrowding the pan during searing. Rest steak after cooking to redistribute juices. For dairy-free, omit butter or use plant-based alternative.
Nutrition
- Serving Size: 6 ounces (170 grams)
- Calories: 425
- Sodium: 600
- Fat: 30
- Saturated Fat: 12
- Protein: 40
Keywords: reverse sear, steak recipe, juicy steak, perfect steak, cast iron skillet, steakhouse steak, medium-rare steak


