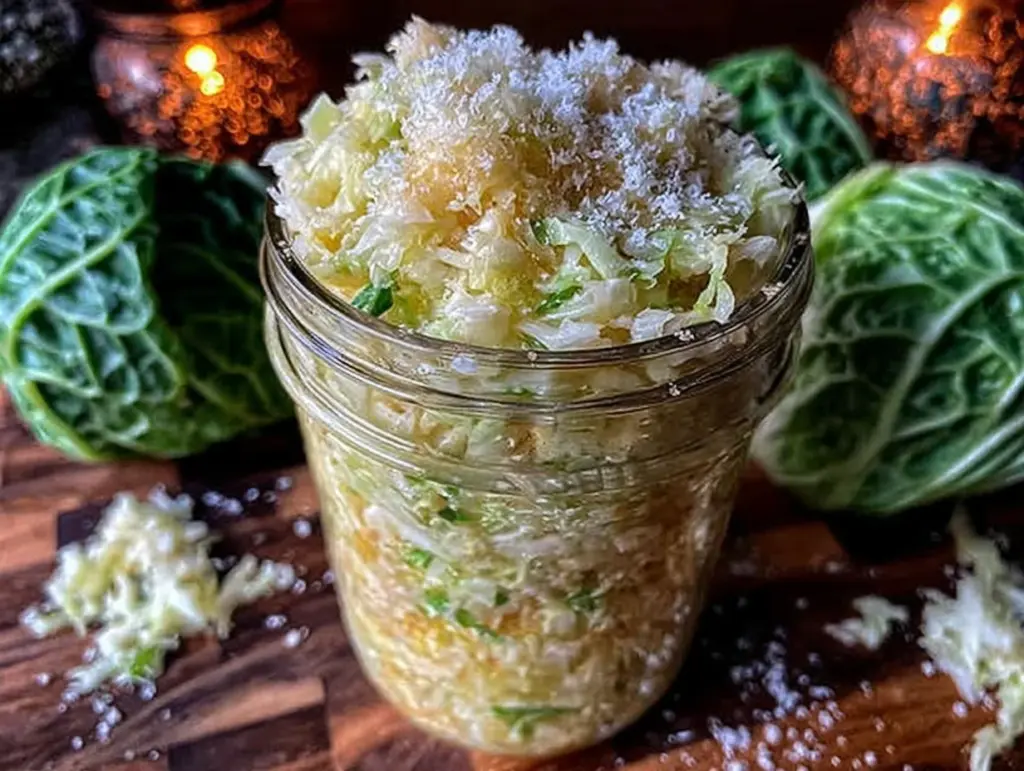
The smell of tangy, fermented cabbage wafting through the kitchen is something that instantly transports me to cozy, nostalgic moments. I first stumbled upon this vibrant homemade sauerkraut recipe during a chilly autumn weekend when I wanted something fresh, healthy, and bursting with flavor to brighten up my meals. Honestly, making sauerkraut at home seemed intimidating at first—fermentation? Bacteria? But after trying this easy and tangy version several times, I can say it’s surprisingly simple and incredibly rewarding. The crunchy texture and bright, zesty flavor of this sauerkraut have become a staple in my kitchen, especially for adding that punch to sandwiches, salads, and even breakfast bowls.
What makes this homemade sauerkraut recipe stand out is its vibrant taste and straightforward method. You don’t need any fancy equipment or mysterious ingredients—just fresh cabbage, salt, and a little patience. Plus, fermenting your own sauerkraut means you control the ingredients, avoiding preservatives and additives found in store-bought versions. It’s perfect for anyone looking to add gut-friendly probiotics to their diet or just wanting a flavorful condiment that’s alive with natural goodness. After making this recipe dozens of times, I can confidently say it’s a game-changer for home fermentation enthusiasts and kitchen beginners alike.
Whether you’re a seasoned fermenter or just curious about starting, this vibrant homemade sauerkraut recipe is a fantastic way to enjoy tangy, crisp sauerkraut that feels fresh and wholesome every time. Let me take you through the simple steps and tips I’ve learned along the way that make this recipe a winner, time after time.
Why You’ll Love This Recipe
- Quick & Easy: Once prepped, it’s hands-off fermentation for 1-4 weeks, leaving you free to do other things.
- Simple Ingredients: All you need is fresh cabbage, kosher salt, and a little patience—no complicated extras.
- Perfect for Every Occasion: Great for sandwiches, as a side dish, or jazzing up your favorite bowls and salads.
- Crowd-Pleaser: This sauerkraut gets rave reviews from family and friends, even those new to fermented foods.
- Unbelievably Delicious: The flavor is tangy, crunchy, and just the right level of sourness, making it a versatile kitchen staple.
This isn’t just any sauerkraut recipe; it’s the one I keep coming back to because it balances that classic tang with a fresh, vibrant crunch. I blend just the right amount of salt to coax natural fermentation without overpowering the cabbage’s natural sweetness. The best part? No fancy fermentation crock needed—just a simple jar and a little love. This recipe is a testament to how something so basic can become a deeply satisfying, probiotic-rich treat that brings good vibes to every meal.
After fermenting this sauerkraut multiple times, I’ve nailed the timing to get it just right—crisp but tender, with a bright tang that wakes up your taste buds. It’s comfort food with a probiotic punch, perfect for anyone wanting to add a little zing and health boost to their diet.
What Ingredients You Will Need
This recipe uses fresh, straightforward ingredients that create a bold, tangy flavor and satisfyingly crunchy texture without any fuss. Most of these are pantry staples or easy to find at your local market.
- Green Cabbage: About 2 pounds (900 grams), finely shredded. Look for firm heads with crisp leaves for best texture.
- Kosher Salt: 1 to 1.5 tablespoons (15-22 grams). I prefer Diamond Crystal for its purity and ease of measurement. Salt is crucial for drawing out moisture and encouraging fermentation.
- Caraway Seeds (Optional): 1 teaspoon (2 grams). Adds a traditional, warm, slightly nutty flavor—totally optional but highly recommended.
- Filtered Water (Optional): Just a splash if the cabbage isn’t releasing enough liquid. Avoid chlorinated tap water as it can interfere with fermentation.
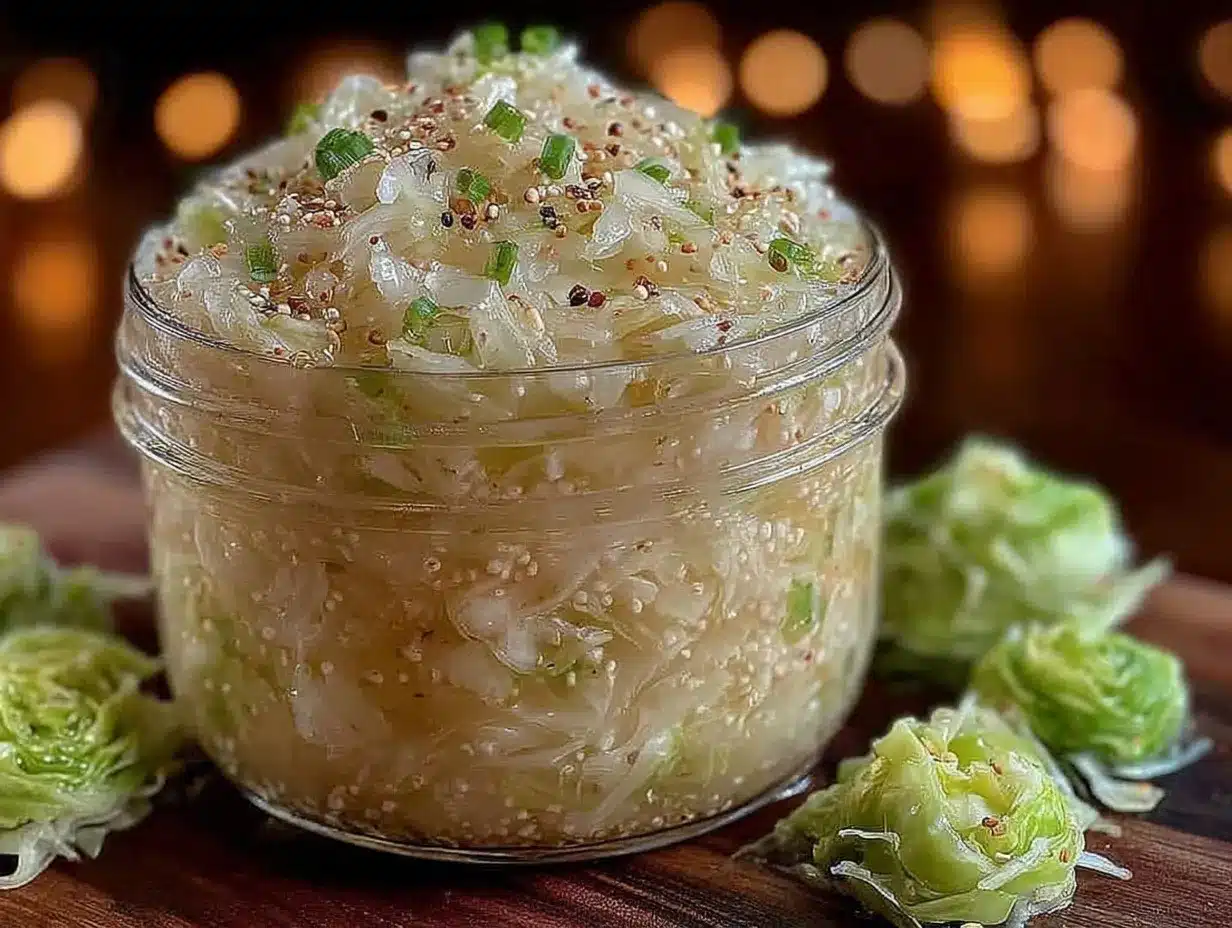
If you want to experiment, you can swap some green cabbage for red cabbage for a colorful twist or add shredded carrots for a touch of sweetness. For a salt alternative, sea salt or Himalayan pink salt works, but be mindful of the saltiness level. For a dairy-free probiotic boost, some folks add a bit of whey from yogurt, but it’s not necessary for this simple sauerkraut.
Equipment Needed
- Large Mixing Bowl: For tossing and massaging your cabbage with salt.
- Sharp Knife or Mandoline: For finely shredding the cabbage evenly.
- Fermentation Jar or Mason Jar (1-quart / 1-liter size): A wide-mouth jar makes packing easier. I’ve used standard mason jars and they work perfectly.
- Fermentation Weight or Small Glass Jar: To keep the cabbage submerged under the brine. If you don’t have a fermentation weight, a clean small jar filled with water or a zip-lock bag with brine works too.
- Clean Cloth and Rubber Band: To cover the jar and allow airflow while keeping dust out.
If you’re on a budget, don’t worry—just a glass jar and a plate to press down the cabbage will do the trick. I learned that using a mandoline speeds things up and gives a consistent cut, but a sharp knife works just fine. Keeping equipment clean is key, so I always wash everything with hot water and let it air dry before starting.
Detailed Preparation Method
- Prepare the Cabbage (10 minutes): Remove outer leaves of the cabbage and set one or two aside for later. Slice the cabbage into quarters and remove the core. Using a sharp knife or mandoline, shred the cabbage finely—aim for even pieces about 1/8-inch (3 mm) thick.
- Salt and Massage (10-15 minutes): Place the shredded cabbage into the large mixing bowl. Sprinkle 1 to 1.5 tablespoons (15-22 grams) of kosher salt evenly over the cabbage. Let it rest for 5 minutes to allow the salt to start drawing out moisture. Then, massage and squeeze the cabbage with your hands—press down firmly and repeat for about 10 minutes until the cabbage becomes limp and releases a good amount of liquid (brine). If it’s not juicy enough after this, let it sit for another 5-10 minutes.
- Add Flavor (Optional): Stir in 1 teaspoon (2 grams) of caraway seeds if you like that traditional tangy spice. This step is optional but adds a lovely depth.
- Pack into Jar (10 minutes): Transfer the cabbage and its brine into your clean fermentation jar. Press down firmly with your fist or a tamper so the brine covers the cabbage completely. Leave about 1 to 2 inches (2.5-5 cm) of headspace at the top to allow for bubbling gases during fermentation.
- Use Reserved Leaves and Weight (5 minutes): Take the reserved cabbage leaves and press them over the surface of the shredded cabbage to help keep it submerged. Place a fermentation weight or small jar filled with water on top to hold everything under the brine.
- Cover and Ferment (1-4 weeks): Cover the jar with a clean cloth secured with a rubber band or a loose lid to allow airflow but keep dust out. Place the jar in a cool, dark spot around 65-70°F (18-21°C). Start tasting after 1 week. The sauerkraut is ready when it’s pleasantly tangy and crunchy—this usually takes 1 to 4 weeks depending on your taste and temperature.
- Store Once Done: When the flavor suits you, seal with a tight lid and refrigerate. It can keep for several months in the fridge, slowly developing flavor.
Watch out for any off smells or colors—healthy fermentation smells sour but fresh, never rotten or moldy. If you see mold, gently skim it off and ensure the cabbage stays submerged. I’ve learned that pressing firmly and keeping everything covered prevents most issues. Patience is key—fermentation is a slow magic!
Cooking Tips & Techniques
Fermentation can seem mysterious, but these tips have saved me from many kitchen mishaps:
- Salt Matters: Too little salt and your sauerkraut can spoil; too much and fermentation slows down. I stick to 1 to 1.5 tablespoons per 2 pounds of cabbage for the perfect balance.
- Keep It Submerged: Oxygen is the enemy here. Make sure your cabbage stays under the brine to avoid mold and encourage lactic acid bacteria. Press firmly and use weights.
- Patience Is Your Friend: The longer it ferments (up to 4 weeks), the more complex the flavor. Don’t rush tasting too early or you’ll miss out on the transformation.
- Temperature Control: Keep your jar in a cool spot—not too hot or cold. Around 65-70°F (18-21°C) is ideal. Too warm and it ferments too fast and can get mushy; too cold and it stalls.
- Cleanliness Counts: Use clean tools and jars to avoid bad bacteria. I always wash with hot water and let things air dry before starting.
- Don’t Panic Over Bubbles: Bubbling and some foam on top are signs of healthy fermentation. Just skim foam if needed and keep going.
Variations & Adaptations
You can easily tweak this vibrant homemade sauerkraut recipe to suit your taste or dietary needs:
- Spicy Sauerkraut: Add sliced chili peppers or a teaspoon of crushed red pepper flakes for a fiery kick.
- Garlic & Dill: Mix in minced garlic and fresh dill sprigs before packing for a savory herb twist.
- Low-Sodium Version: Use less salt but extend fermentation time. Be extra careful to keep cabbage submerged to avoid spoilage.
- Different Veggies: Add shredded carrots, radishes, or even beets for color and unique flavors.
- Fermentation Method: If you have a fermentation crock or airlock system, feel free to use it for more control, though mason jars work just fine.
One personal favorite variation is adding a tablespoon of juniper berries for a subtle piney aroma. It’s a little twist that surprises guests every time!
Serving & Storage Suggestions
This sauerkraut is best served chilled or at room temperature. It’s fantastic as a topping on sausages, Reuben sandwiches, or mixed into grain bowls for a pop of tang. You can also stir it into potato salads or serve alongside roasted meats to cut through richness.
Store your finished sauerkraut in the refrigerator, tightly sealed. It will continue to develop flavor slowly and stay good for up to 6 months. For longer storage, freezing is possible, but it may lose some crunch.
When reheating (if you must), do so gently on the stove or microwave—high heat can kill the live probiotics and make it mushy. Honestly, sauerkraut tastes best cold or slightly warmed.
Flavors deepen over time, so if you can wait a week or two before diving in, you’ll be rewarded with a more complex, delicious bite every time.
Nutritional Information & Benefits
A serving of this vibrant homemade sauerkraut (about 1/4 cup or 60 grams) typically contains:
| Nutrient | Amount |
|---|---|
| Calories | 15-20 |
| Carbohydrates | 3-4 grams |
| Fiber | 2 grams |
| Protein | 1 gram |
| Sodium | 300-400 mg (varies with salt amount) |
More importantly, homemade sauerkraut is rich in probiotics—good bacteria that support gut health and digestion. It’s low in calories and carbs, gluten-free, and vegan, making it a versatile addition for many diets. Just watch the sodium if you’re on a low-salt regimen.
From a wellness perspective, adding this tangy ferment to your meals can help balance your microbiome and add natural enzymes that aid nutrient absorption. I’ve found it’s a simple way to boost digestion without supplements.
Conclusion
If you’ve never tried making your own sauerkraut, this vibrant homemade sauerkraut recipe is the perfect place to start. It’s easy, tangy, and deeply satisfying with just a handful of ingredients and minimal fuss. Plus, you get to enjoy a lively, probiotic-rich condiment that transforms everyday meals into something memorable.
Feel free to customize it with your favorite spices or veggies, and don’t be afraid to experiment with fermentation times until you find your perfect tang. I love this recipe because it’s both humble and powerful—a true kitchen classic that keeps delivering bite after bite of crunchy, sour goodness.
Give it a try, share your experience, and let me know how you make it your own! There’s nothing quite like the pride of crafting your very own jar of vibrant sauerkraut.
FAQs
How long does it take to ferment homemade sauerkraut?
Fermentation usually takes 1 to 4 weeks at room temperature (around 65-70°F or 18-21°C). Start tasting after one week and continue until it reaches your preferred tanginess.
Can I use table salt instead of kosher salt?
It’s best to use kosher or sea salt because they don’t contain anti-caking agents that can interfere with fermentation. If you use table salt, reduce the amount slightly and make sure it’s pure without additives.
What if my sauerkraut smells bad or has mold?
A healthy ferment should smell pleasantly sour and fresh. White scum or kahm yeast is harmless and can be skimmed off. However, fuzzy mold or rotten odors mean the batch should be discarded.
Do I need special equipment to make sauerkraut?
Nope! A clean glass jar and a weight to keep the cabbage submerged work perfectly. Specialized fermentation crocks or airlock lids can help but aren’t necessary.
Is homemade sauerkraut safe for everyone?
Generally, yes—but if you have a compromised immune system or specific health concerns, consult a healthcare provider before adding fermented foods to your diet.
Pin This Recipe!

Vibrant Homemade Sauerkraut

A simple and tangy homemade sauerkraut recipe that is easy to make, packed with probiotics, and perfect for adding a crunchy, flavorful punch to your meals.
- Prep Time: 20-25 minutes
- Cook Time: 0 minutes (fermentation time 1-4 weeks)
- Total Time: 1-4 weeks (including fermentation)
- Yield: About 4 cups sauerkraut 1x
- Category: Condiment
- Cuisine: German
Ingredients
- 2 pounds (900 grams) green cabbage, finely shredded
- 1 to 1.5 tablespoons (15–22 grams) kosher salt
- 1 teaspoon (2 grams) caraway seeds (optional)
- Splash of filtered water (optional)
Instructions
- Remove outer leaves of the cabbage and set one or two aside for later. Slice the cabbage into quarters and remove the core. Using a sharp knife or mandoline, shred the cabbage finely—about 1/8-inch (3 mm) thick.
- Place the shredded cabbage into a large mixing bowl. Sprinkle 1 to 1.5 tablespoons (15-22 grams) of kosher salt evenly over the cabbage. Let it rest for 5 minutes to start drawing out moisture.
- Massage and squeeze the cabbage firmly with your hands for about 10 minutes until it becomes limp and releases a good amount of liquid (brine). If not juicy enough, let it sit for another 5-10 minutes.
- Stir in 1 teaspoon (2 grams) of caraway seeds if desired.
- Transfer the cabbage and brine into a clean fermentation jar. Press down firmly so the brine covers the cabbage completely. Leave 1 to 2 inches (2.5-5 cm) of headspace at the top.
- Place the reserved cabbage leaves over the surface to keep it submerged. Add a fermentation weight or a small jar filled with water on top.
- Cover the jar with a clean cloth secured with a rubber band or a loose lid to allow airflow but keep dust out. Place in a cool, dark spot at 65-70°F (18-21°C).
- Start tasting after 1 week. Fermentation takes 1 to 4 weeks depending on taste and temperature.
- Once ready, seal with a tight lid and refrigerate. Keeps for several months in the fridge.
Notes
Keep cabbage submerged under brine to avoid mold. Use kosher or sea salt for best fermentation results. Fermentation temperature should be 65-70°F (18-21°C). Taste periodically after 1 week to reach desired tanginess. Store refrigerated after fermentation. Avoid high heat when reheating to preserve probiotics.
Nutrition
- Serving Size: 1/4 cup (60 grams)
- Calories: 1520
- Sugar: 1
- Sodium: 300400
- Carbohydrates: 34
- Fiber: 2
- Protein: 1
Keywords: sauerkraut, homemade sauerkraut, fermentation, probiotic, fermented cabbage, easy sauerkraut recipe, tangy sauerkraut


