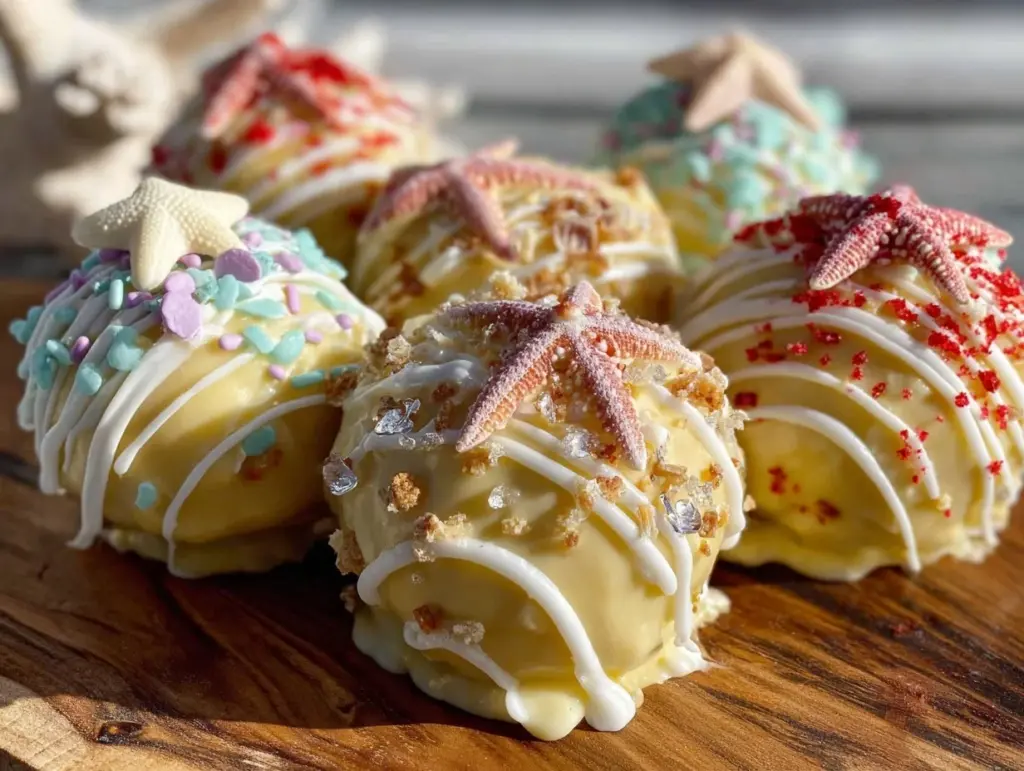
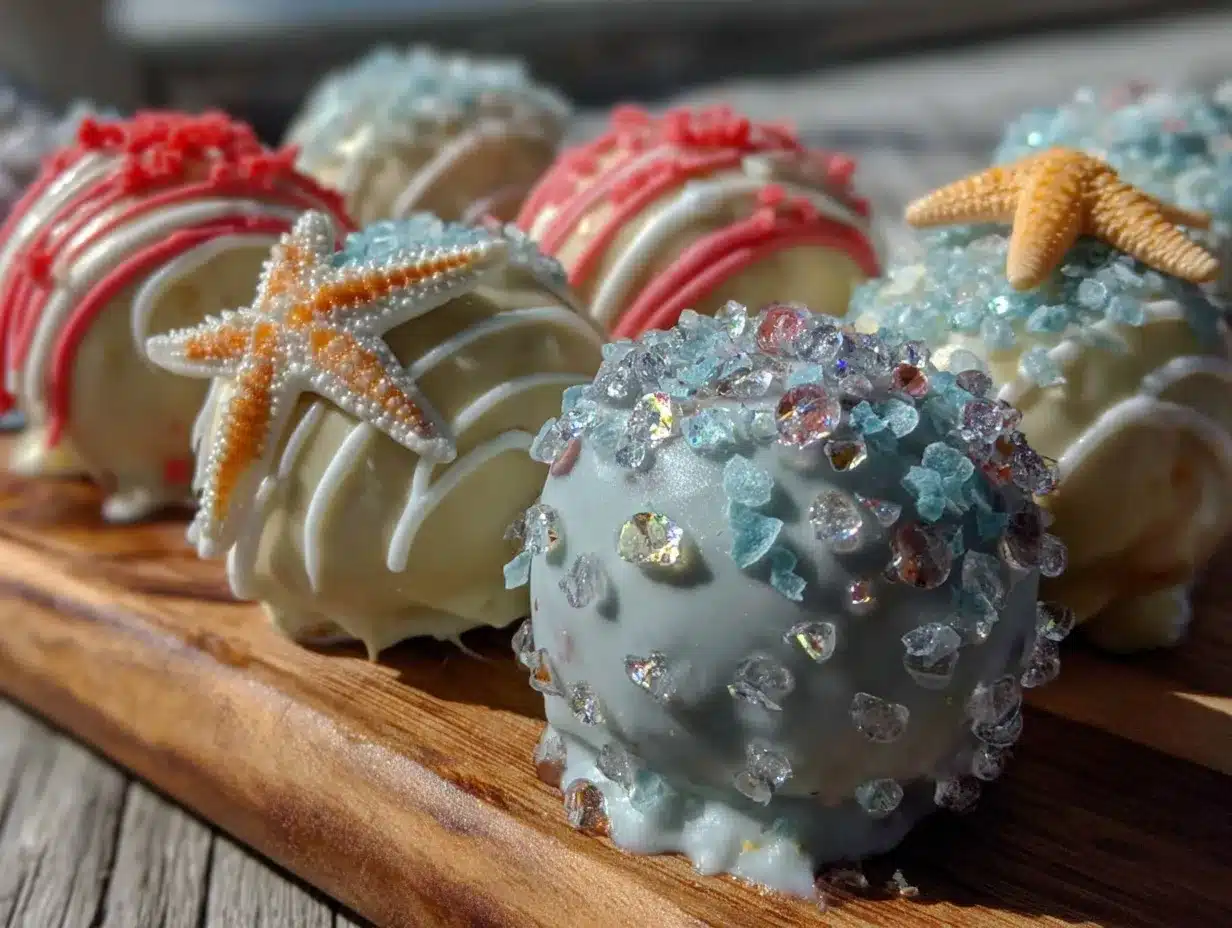
“Are you sure these are cake pops?” my friend asked, eyes wide as she bit into the little sphere coated in blue and sandy sugar crystals. Honestly, I was just as surprised. I’d whipped up these perfect beach themed cake pops on a whim one hectic afternoon when a last-minute invite to a summer gathering popped up. With just a few ingredients on hand and a vague memory of a childhood beach trip, I decided to create little edible memories that would fit the occasion. What started as a rushed project turned into a fun obsession — I made them three times that week, tweaking the colors and textures until they looked just like tiny beach scenes you could hold in your hand.
The smell of vanilla cake mixing with the sweet, slightly salty crunch of sugar crystals transported me back to that day by the shore, the sun warming my skin and the sound of waves crashing nearby. These cake pops aren’t just treats; they’re little moments of summer joy captured on a stick. They somehow feel playful yet elegant, perfect for slowing down even the busiest summer day. And, honestly, I never guessed something so simple could bring that kind of happy calm.
Each bite offers a mix of moist cake and creamy frosting, all wrapped in a colorful shell that’s half nostalgia and half celebration. With their playful presentation and easy prep, these cake pops have earned a permanent spot in my summer recipe rotation — and I’m betting they’ll sneak into yours too.
Why You’ll Love This Recipe
After testing countless cake pop recipes and decorating ideas, these beach themed cake pops stand out because they bring that summer vibe to life without fuss. Here’s why I keep coming back to this recipe:
- Quick & Easy: You can have these ready in under 2 hours, including chilling time — perfect for last-minute summer get-togethers.
- Simple Ingredients: Most are pantry staples or easy to find at any store, no need for specialty items.
- Perfect for Summer Celebrations: From pool parties to beach picnics, these cake pops add a whimsical touch that guests adore.
- Crowd-Pleaser: Kids love the bright colors and fun shapes, while adults appreciate the balanced sweetness.
- Unbelievably Delicious: Moist cake inside with just the right amount of frosting, dipped in candy melts that harden to a satisfying snap.
What makes this recipe different? It’s the attention to detail in the beach theme — from edible sand made with crushed vanilla wafers to tiny candy seashells and a touch of shimmer that looks like sunlight on water. Plus, the cake base is extra moist thanks to a simple trick of folding in sour cream, which I picked up from some family baking secrets. It’s not just cake pop making; it’s a little edible piece of summer you can hold and share.
What Ingredients You Will Need
This recipe uses straightforward ingredients that come together to create bold summer vibes and delightful textures. Most of these are pantry or fridge staples, with a few fun extras to bring the beach theme alive.
- For the Cake:
- All-purpose flour – 2 cups (240g), sifted
- Baking powder – 1 ½ tsp
- Salt – ¼ tsp
- Unsalted butter – ½ cup (115g), softened (I usually go for Land O Lakes for that creamy richness)
- Granulated sugar – 1 ½ cups (300g)
- Large eggs – 3, room temperature
- Pure vanilla extract – 1 tbsp
- Buttermilk – ¾ cup (180ml)
- Sour cream – ½ cup (120g) (this keeps the cake super moist)
- For the Frosting:
- Unsalted butter – ¼ cup (57g), softened
- Powdered sugar – 2 cups (240g), sifted
- Vanilla extract – 1 tsp
- Milk – 1-2 tbsp (15-30ml), as needed to reach spreadable consistency
- For Decorating & Assembly:
- Candy melts in ocean blue and sandy beige – about 12 oz (340g) each
- Vanilla wafer cookies – crushed (for edible sand texture)
- Edible glitter or shimmer dust – optional, for sunlight effect
- Mini candy seashells or gummy fish – optional but adds charm
- Lollipop sticks – standard size
- Non-stick spray or parchment paper – for easy cleanup
If you want a gluten-free version, swapping the flour for a 1:1 gluten-free blend works well here. For dairy-free, almond milk and coconut-based butter substitutes can take the place of buttermilk and butter without losing much moisture or flavor. The crushed vanilla wafers bring in that sandy crunch — if you can’t find them, graham crackers work too, but the vanilla wafers have a lighter, sweeter taste.
Equipment Needed
- Mixing bowls – at least 2 (one for batter, one for frosting)
- Electric mixer or stand mixer – essential for smooth batter and frosting
- Measuring cups and spoons – precise measurements make a difference
- Baking pans – preferably 9×13 inch (23x33cm) for the cake
- Cooling rack – to let your cake cool completely before crumbling
- Large mixing bowl – to combine crumbled cake and frosting
- Baking sheet lined with parchment paper – for setting cake pops
- Microwave-safe bowls – for melting candy melts (microwave or double boiler works)
- Lollipop sticks – sturdy enough to hold cake balls without bending
- Small offset spatula or spoon – to help coat the cake pops smoothly
If you don’t have a stand mixer, a good hand mixer will do just fine — it just takes a bit more elbow grease. I recommend warming your candy melts gently in short bursts to avoid burning; patience here pays off. For budget-friendly options, you can repurpose skewers cut down to size if you’re short on lollipop sticks, but they might not be as sturdy for long-term holding.
Preparation Method
- Preheat your oven to 350°F (175°C) and grease your 9×13 inch (23x33cm) baking pan with butter or non-stick spray. Line with parchment paper for easier removal later.
- Prepare the cake batter: In a medium bowl, whisk together 2 cups (240g) sifted all-purpose flour, 1 ½ tsp baking powder, and ¼ tsp salt. Set aside.
- Cream the butter and sugar: In your mixer bowl, beat ½ cup (115g) softened unsalted butter and 1 ½ cups (300g) granulated sugar on medium speed until light and fluffy — about 3-4 minutes. This step is key for a tender crumb.
- Add eggs one at a time: Beat in 3 large eggs, one at a time, making sure each is fully incorporated before adding the next. Scrape down the sides as needed.
- Mix in vanilla extract: Add 1 tablespoon pure vanilla extract, stirring gently.
- Alternate adding dry ingredients and buttermilk: With the mixer on low, add one-third of the flour mixture, then half the ¾ cup (180ml) buttermilk. Repeat once more, then finish with the last of the flour mixture. Mix just until combined — over-mixing will toughen the cake.
- Fold in sour cream: Gently fold ½ cup (120g) sour cream into the batter for extra moisture and tenderness.
- Bake: Pour batter into the prepared pan and bake for 35-40 minutes, or until a toothpick inserted in the center comes out clean.
- Cool completely: Let the cake cool in the pan for 10 minutes, then transfer to a wire rack to cool fully. This can take about an hour, but do not skip this step.
- Make the frosting: While the cake cools, beat ¼ cup (57g) softened unsalted butter until creamy. Gradually add 2 cups (240g) powdered sugar, beating on low speed. Add 1 teaspoon vanilla extract and 1-2 tablespoons milk as needed to reach a smooth but thick spreadable consistency.
- Form the cake pops: Crumble the cooled cake into a large bowl. Add about ½ cup (120g) frosting and gently mix until the mixture holds together when pressed (add a little more frosting if too dry).
- Shape the balls: Roll the mixture into 1 ¼ inch (3 cm) balls. Place on a parchment-lined baking sheet and chill for at least 1 hour until firm.
- Prepare candy melts: Melt your blue and sandy beige candy melts separately in microwave-safe bowls, stirring every 30 seconds until smooth.
- Insert sticks: Dip the tip of a lollipop stick into melted candy, then insert about halfway into each cake ball (this helps secure the stick).
- Coat the pops: Hold the stick and dip each cake pop into the melted candy, tapping off excess. For a beach effect, dip some in blue and others in sandy beige. While still wet, sprinkle crushed vanilla wafers around the base to mimic sand. Add edible glitter for shimmer and press mini candy seashells on the wet coating.
- Set and serve: Stick the pops upright in a foam block or glass to dry completely. Once set, they’re ready to dazzle your summer party table.
Cooking Tips & Techniques
One thing I learned the hard way: don’t rush the chilling step. The cake balls need to be firm to hold up during dipping, or you’ll end up with sad, saggy pops. Also, melting candy melts slowly and stirring often is crucial — if too hot, they’ll seize or become grainy.
When dipping, hold the stick vertically and tap gently on the bowl’s edge to remove excess coating. This gives you a nice even layer and avoids clumps. If the coating thickens, microwave it for 10-15 seconds to soften again.
Sprinkling crushed vanilla wafers immediately after dipping helps the “sand” stick perfectly before the candy hardens. I find working in small batches keeps the candy melts fresh and smooth, so I don’t dip all pops at once.
For consistent size, use a small cookie scoop or measure by weight. This also helps with even baking and chilling times. When shaping, don’t overwork the mixture — a gentle hand keeps the texture tender.
Variations & Adaptations
This recipe is a fun base for all sorts of creative twists:
- Tropical Twist: Add shredded coconut to the cake mixture or sprinkle on top for a beachy texture and extra flavor.
- Chocolate Beach: Use chocolate cake and dark chocolate candy melts for a richer take that still feels summery with bright blue accents.
- Vegan Version: Swap eggs for flax eggs, use dairy-free butter and plant-based milk, and choose vegan candy melts. The texture won’t be quite the same but still delicious!
- Seasonal Adaptation: Swap vanilla wafers with crushed ginger snaps for fall-themed “sandy” pops with a warm spice note.
- Extra Decoration: Use edible markers or food coloring pens to draw tiny beach balls, starfish, or waves on hardened cake pops for a personal touch.
I once tried adding a splash of lemon zest to the frosting — it gave a fresh zing that worked surprisingly well with the vanilla base and brightened the whole experience.
Serving & Storage Suggestions
These cake pops are best served at room temperature, allowing the candy coating to have a perfect snap without being too hard. They look adorable displayed upright in a decorated foam block, or nestled in a beach-themed basket for easy grabbing.
They pair lovely with light summer drinks like iced tea or sparkling lemonade, and for a savory contrast, consider serving alongside a crisp green bean salad like this vibrant green bean and tomato salad with feta, which balances the sweetness beautifully.
Store leftovers in an airtight container at room temperature for up to 2 days, or refrigerate up to 5 days. Avoid humid spots to keep the candy shell crisp. To refresh after chilling, let them sit out for 20 minutes before serving.
They freeze well too — just wrap individually in plastic wrap and store in a sealed container for up to a month. Thaw in the fridge overnight and bring to room temp before serving. Flavors meld nicely over time, making them even more enjoyable after a day or two.
Nutritional Information & Benefits
Each cake pop is a small treat, roughly 150 calories, depending on size and decorations. The recipe uses real butter and eggs, providing a bit of protein and healthy fats along with sweetness. The sour cream adds moisture without extra sugar or oil.
While these pops are indulgent, you can lighten them by using reduced-fat dairy or sugar substitutes. The simple ingredient list means you avoid preservatives and artificial flavors often found in store-bought snacks.
For those watching allergens, remember the recipe contains gluten, dairy, and eggs. Substitutions can accommodate many dietary needs, making these cake pops a versatile choice for gatherings.
Conclusion
These perfect beach themed cake pops bring a little sunshine and fun to any summer celebration. They’re easy to make, visually charming, and perfectly sized for sharing — plus, they capture that carefree beach feeling in every bite. Whether you’re hosting a pool party or just want a sweet reminder of warmer days, this recipe fits the bill.
I love how they bring people together, sparking smiles and conversations about favorite summer memories. Feel free to tweak the colors or decorations to match your own style or theme — they’re forgiving enough for all skill levels.
Give them a try, and I’d love to hear how your beach pops turned out or any unique spins you added. Summer deserves treats like this, don’t you think?
Frequently Asked Questions
Can I make these cake pops ahead of time?
Yes! You can prepare and freeze them up to a month in advance. Just thaw in the fridge overnight and bring to room temperature before serving.
What if I don’t have candy melts?
You can use white chocolate or colored melting chocolate as a substitute. Just melt gently to avoid burning and test the consistency before dipping.
How do I prevent cake pops from falling off the sticks?
Dipping the stick tip into melted candy before inserting into the cake ball helps secure it. Also, chilling the cake balls well before dipping makes a big difference.
Can I use a boxed cake mix for this recipe?
Absolutely! A vanilla or white cake mix works well. Just add a bit of sour cream or extra butter to keep the cake moist.
What’s the best way to store cake pops for a party?
Keep them upright in a foam block or a container lined with parchment to avoid smudging. Store at room temperature for short-term or refrigerate if it’s hot outside.
For more ideas to complement your summer celebrations with fresh, vibrant sides, try the sautéed green beans with lemon zest and pine nuts. It’s a bright, easy dish that pairs wonderfully with sweet treats and keeps the menu balanced and exciting.
Pin This Recipe!
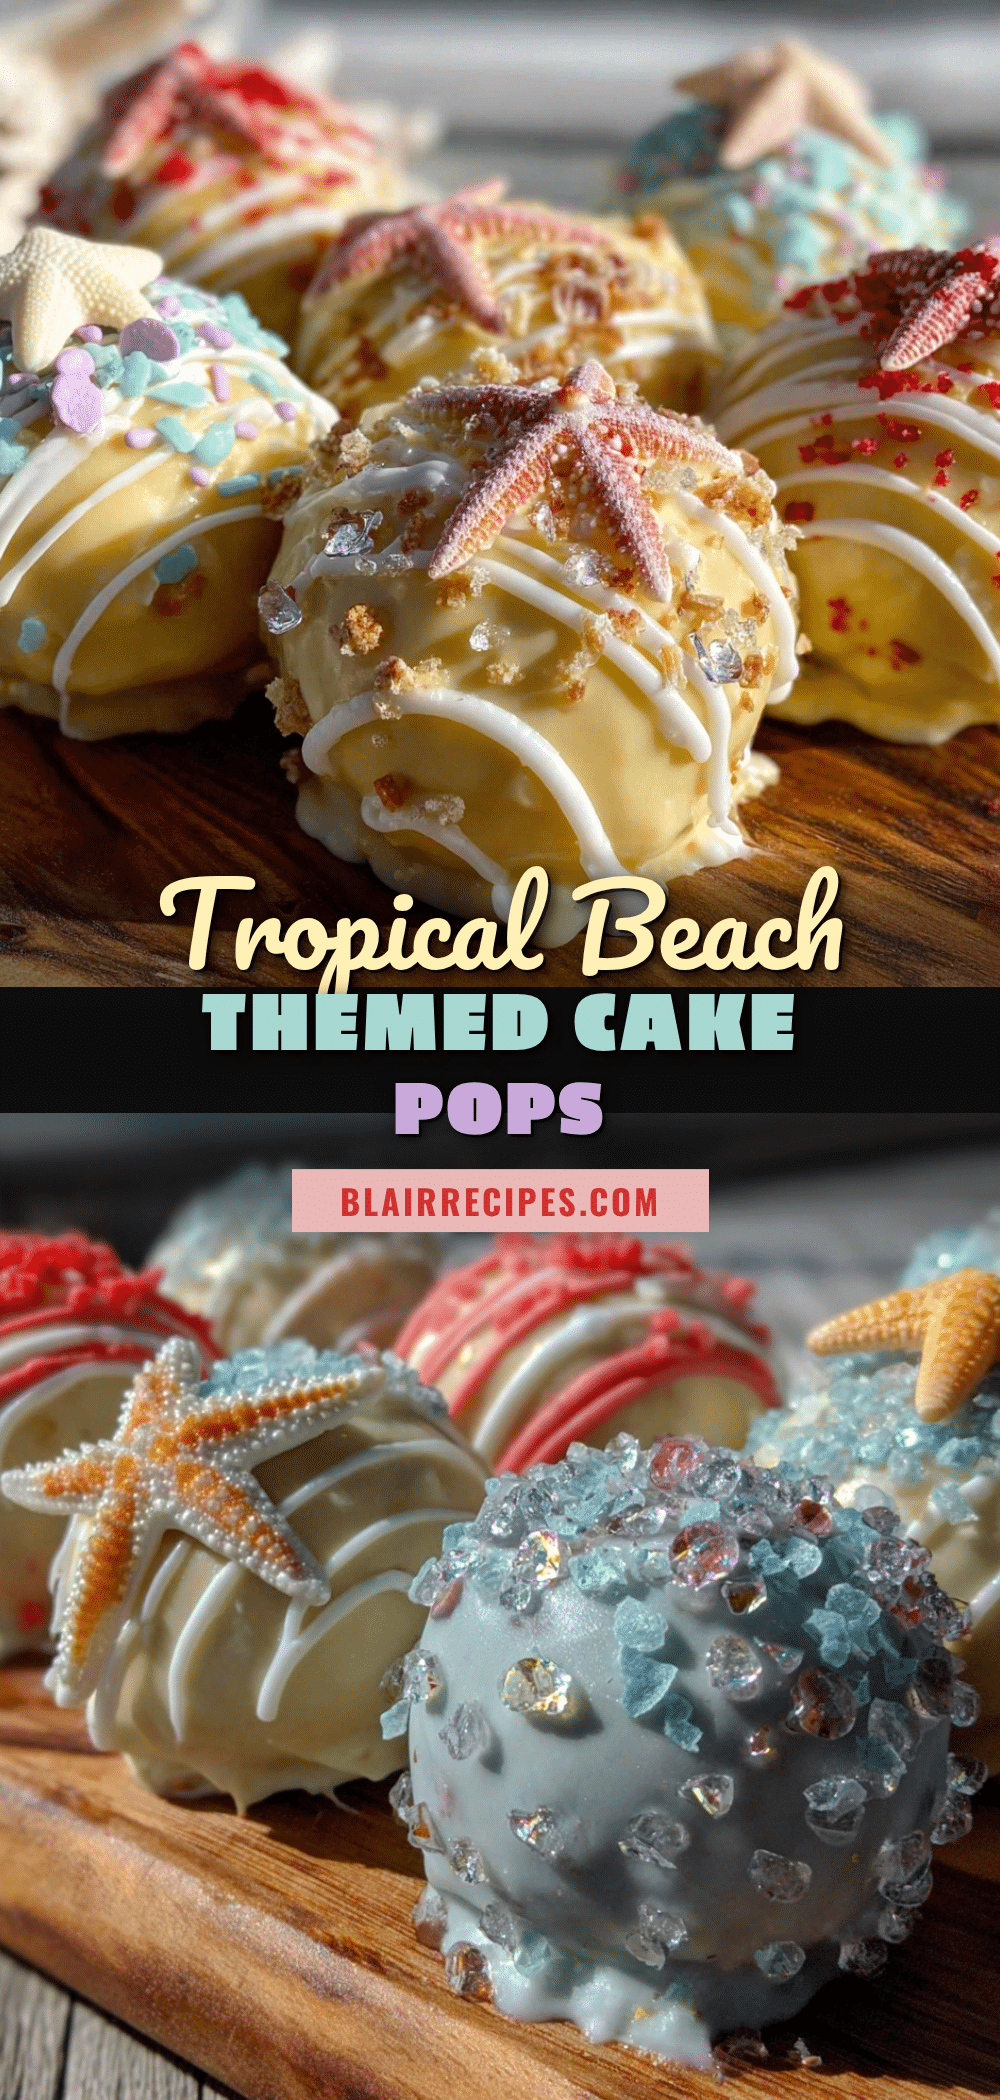
Perfect Beach Themed Cake Pops Easy Summer Celebration Treats

These beach themed cake pops are moist, creamy, and coated in colorful candy melts with edible sand and seashell decorations, perfect for summer celebrations and easy to make.
- Prep Time: 30 minutes
- Cook Time: 40 minutes
- Total Time: 2 hours
- Yield: 24 cake pops 1x
- Category: Dessert
- Cuisine: American
Ingredients
- 2 cups (240g) all-purpose flour, sifted
- 1 ½ tsp baking powder
- ¼ tsp salt
- ½ cup (115g) unsalted butter, softened
- 1 ½ cups (300g) granulated sugar
- 3 large eggs, room temperature
- 1 tbsp pure vanilla extract
- ¾ cup (180ml) buttermilk
- ½ cup (120g) sour cream
- ¼ cup (57g) unsalted butter, softened (for frosting)
- 2 cups (240g) powdered sugar, sifted
- 1 tsp vanilla extract (for frosting)
- 1–2 tbsp (15-30ml) milk (for frosting)
- About 12 oz (340g) ocean blue candy melts
- About 12 oz (340g) sandy beige candy melts
- Crushed vanilla wafer cookies (for edible sand texture)
- Edible glitter or shimmer dust (optional)
- Mini candy seashells or gummy fish (optional)
- Lollipop sticks
- Non-stick spray or parchment paper
Instructions
- Preheat oven to 350°F (175°C) and grease a 9×13 inch baking pan with butter or non-stick spray. Line with parchment paper.
- In a medium bowl, whisk together sifted flour, baking powder, and salt. Set aside.
- In a mixer bowl, beat softened butter and granulated sugar on medium speed until light and fluffy, about 3-4 minutes.
- Add eggs one at a time, beating well after each addition. Scrape down sides as needed.
- Add vanilla extract and stir gently.
- With mixer on low, alternately add flour mixture and buttermilk in thirds and halves respectively, starting and ending with flour mixture. Mix just until combined.
- Fold in sour cream gently.
- Pour batter into prepared pan and bake for 35-40 minutes or until a toothpick inserted in center comes out clean.
- Cool cake in pan for 10 minutes, then transfer to wire rack to cool completely (about 1 hour).
- While cake cools, make frosting by beating softened butter until creamy. Gradually add powdered sugar, beating on low speed. Add vanilla extract and milk as needed to reach spreadable consistency.
- Crumble cooled cake into a large bowl. Add about ½ cup frosting and mix gently until mixture holds together when pressed. Add more frosting if too dry.
- Roll mixture into 1 ¼ inch (3 cm) balls. Place on parchment-lined baking sheet and chill for at least 1 hour until firm.
- Melt blue and sandy beige candy melts separately in microwave-safe bowls, stirring every 30 seconds until smooth.
- Dip tip of lollipop stick into melted candy, then insert halfway into each cake ball to secure stick.
- Hold stick and dip each cake pop into melted candy, tapping off excess. Dip some in blue and others in sandy beige.
- While coating is wet, sprinkle crushed vanilla wafers around base to mimic sand. Add edible glitter and press mini candy seashells on wet coating if desired.
- Set cake pops upright in foam block or glass to dry completely before serving.
Notes
Do not skip chilling the cake balls before dipping to prevent sagging. Melt candy melts slowly and stir often to avoid graininess. Use crushed vanilla wafers immediately after dipping to help ‘sand’ stick. Work in small batches for best results. Use a cookie scoop for consistent size. For gluten-free, substitute flour with 1:1 gluten-free blend. For dairy-free, use almond milk and coconut-based butter substitutes. Vegan adaptations include flax eggs and vegan candy melts.
Nutrition
- Serving Size: 1 cake pop
- Calories: 150
- Sugar: 16
- Sodium: 90
- Fat: 7
- Saturated Fat: 4
- Carbohydrates: 22
- Fiber: 0.5
- Protein: 2
Keywords: cake pops, beach themed, summer treats, party desserts, easy cake pops, candy melts, vanilla cake, summer celebration


